DIY Pedestal Dog Feeders
 First of all- thank you so much for the sweet comments in regards to the laundry room reveal yesterday! You guys always make my day with your feedback. As promised, I’m back today to share the DIY pedestal dog feeders that Emmett built for our fur babies. Click through for the super detailed tutorial.
 I’ll begin by saying, there aren’t a lot of well designed pet feeders out there. They’re either bulky, ugly, or the wrong size. A couple years ago, we made our own (see that post here)– but given we live in a smaller house, our aesthetic has evolved, and we now have TWO dogs… it made sense to create new matching ones for each dog that were customized for our updated laundry room.
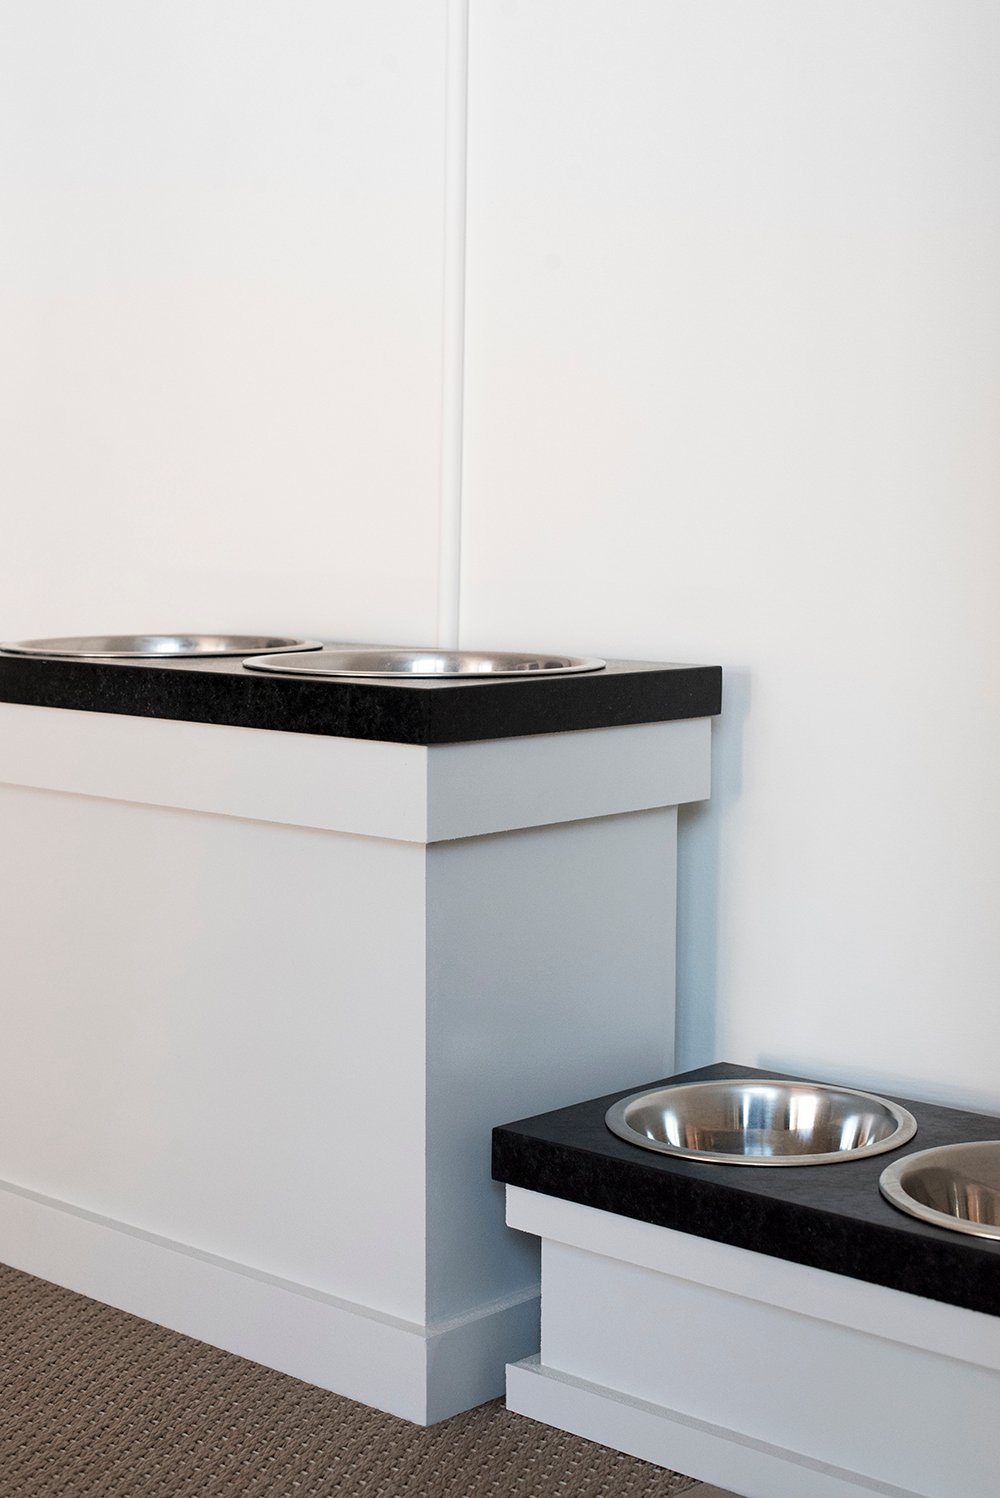
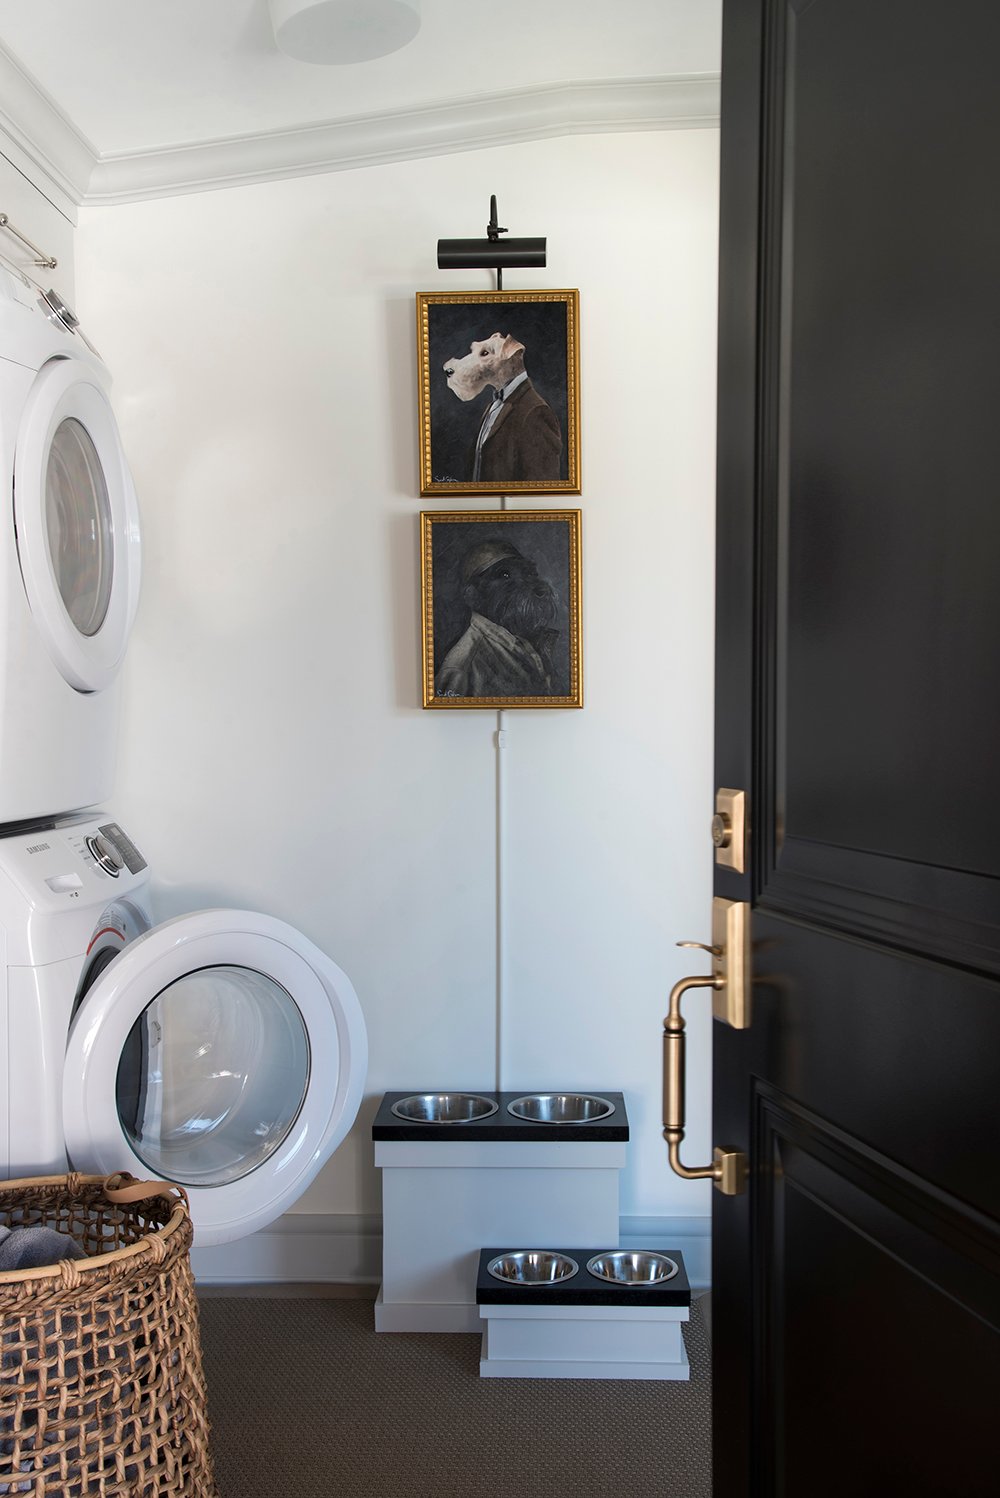
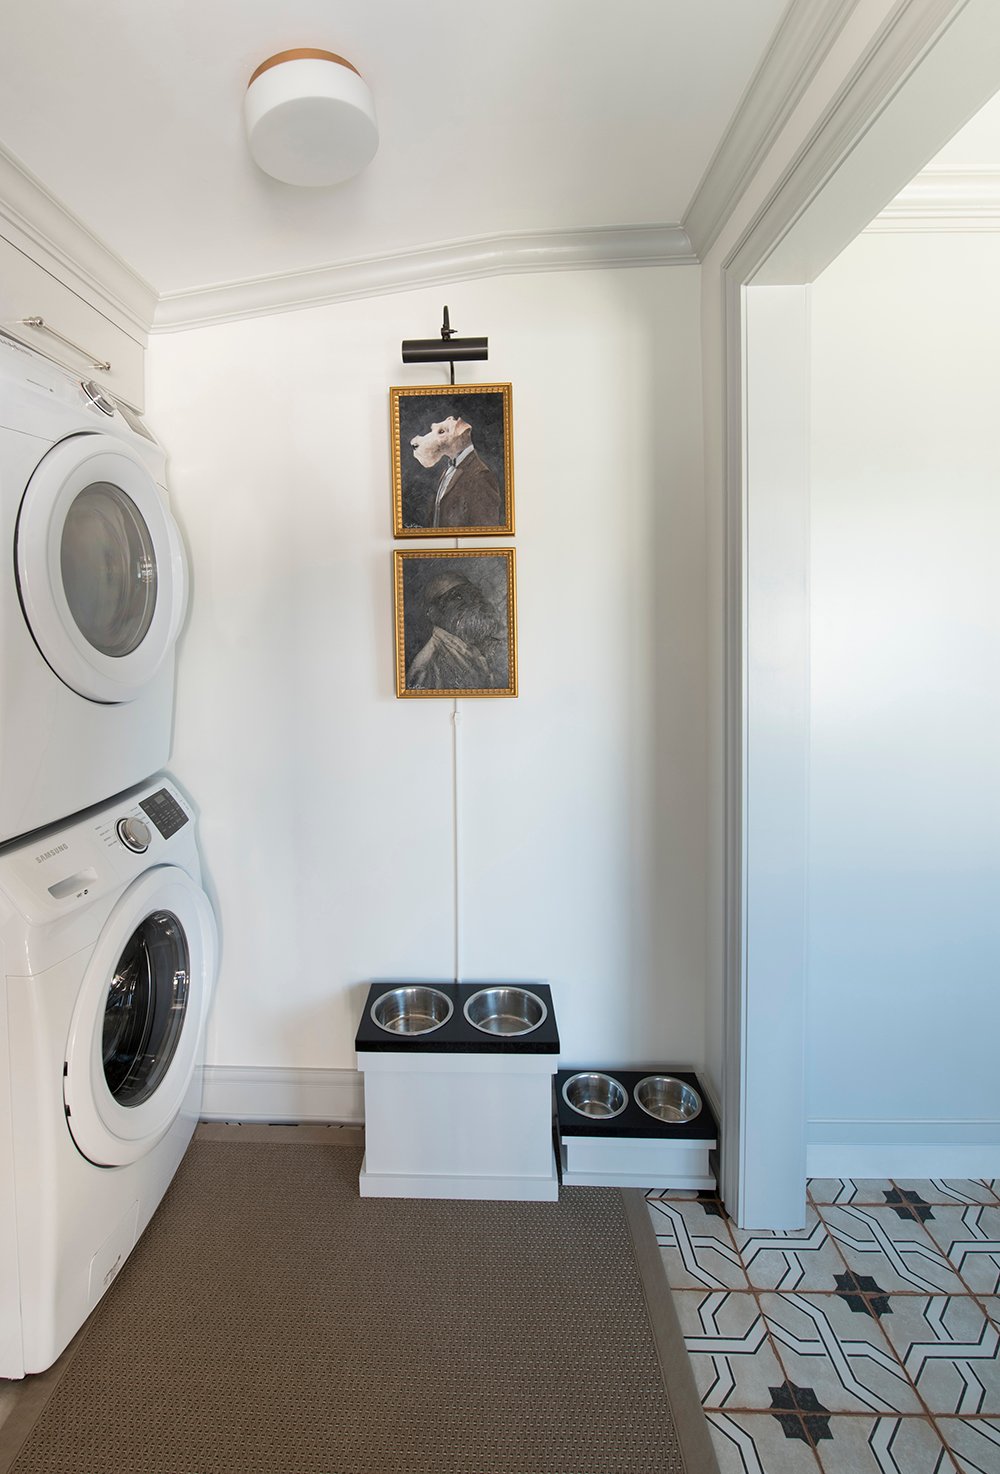
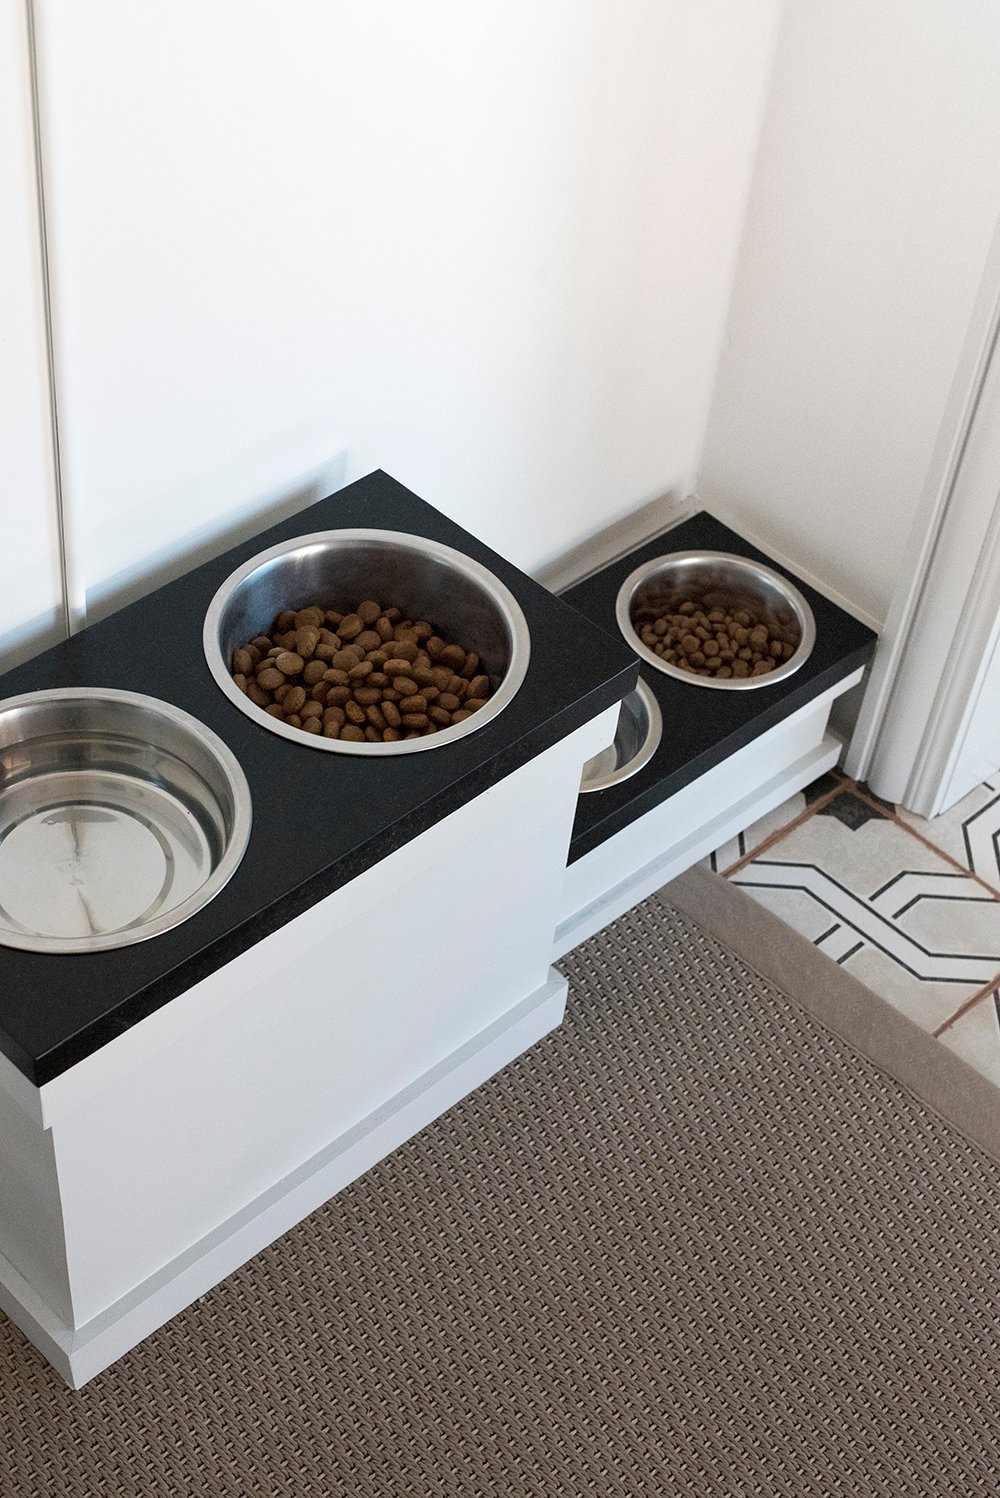
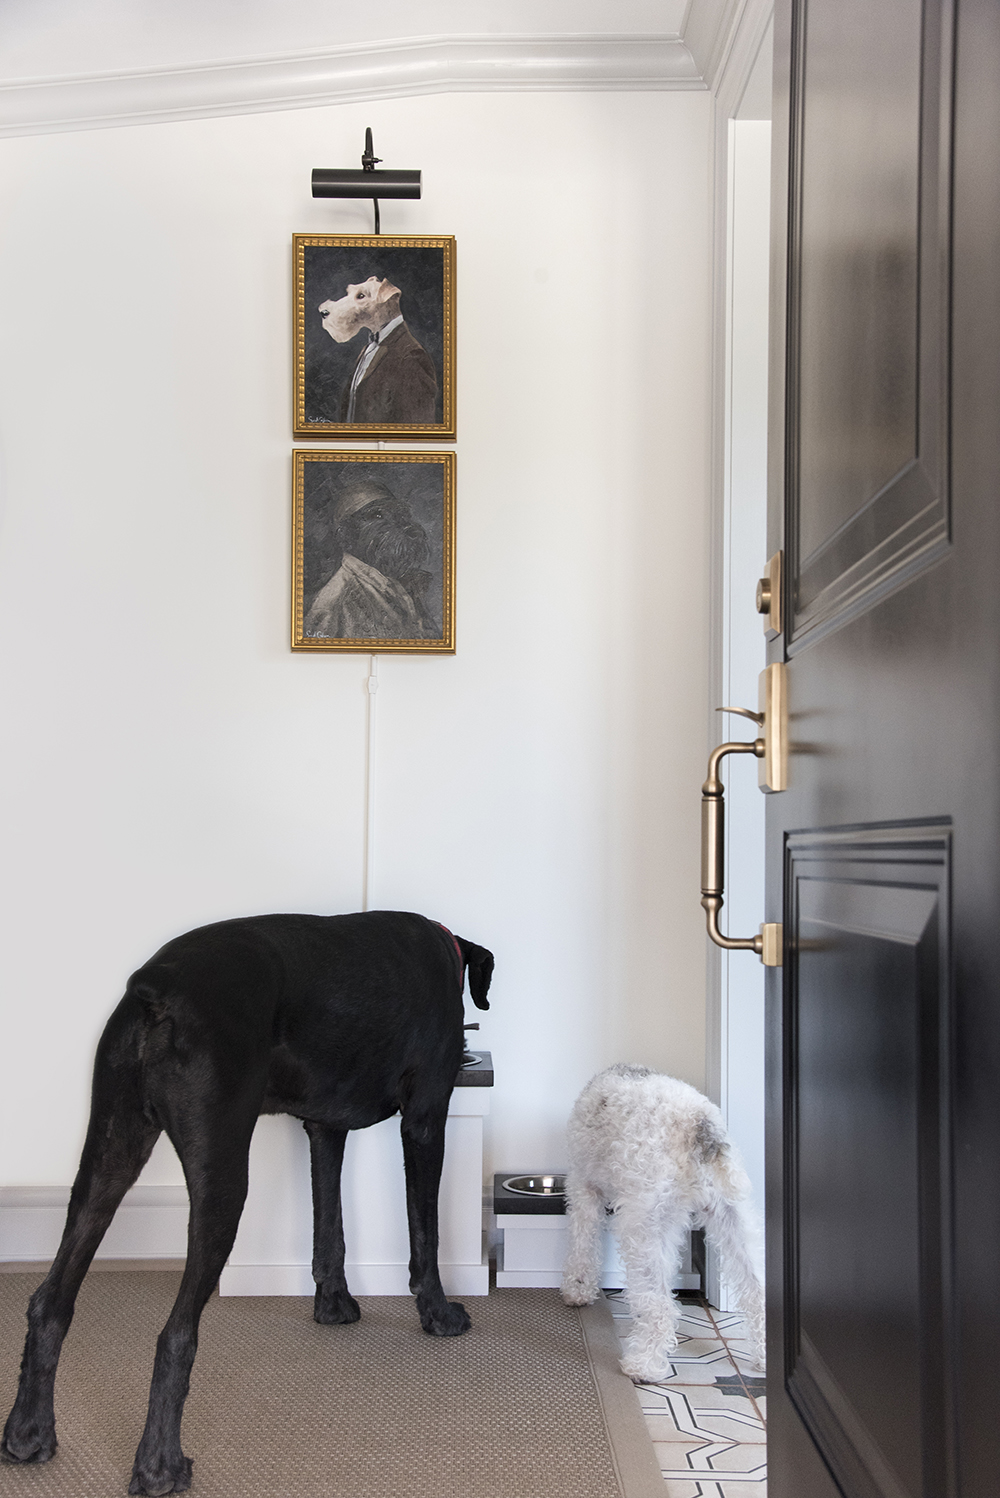
 Did you know it’s healthier to feed your pets from an elevated feeder? Check out this article for additional information and the benefits of using pedestal dog dishes. Obviously, we want our boys to live long, happy lives, so we took the pedestal / elevated route once again. I also care about the design and aesthetic, so I specified soapstone for the top (to match the countertop) and Emmett did the rest. I gave him free reign to design the pedestals and he didn’t disappoint. I’m really happy with how they turned out! That side of the laundry room reminds me of an art gallery- with the painted portraits, gallery light, and pedestal feeders framing the vignette at the bottom.
 Here’s a list of what you’ll need for this project…
S U P P L I E S + T O O L S
- soapstone (pre-fabricated… we had our preferred fabricator cut the holes for us)
- stainless steel dog dishes with flange
- 1/2″ MDF
- primer
- paint
- wood glue
- 3/4″ pocket screws
- tape measure
- table saw
- miter saw
- pocket screw jig
- power drill
- paint sprayer
- nail gun
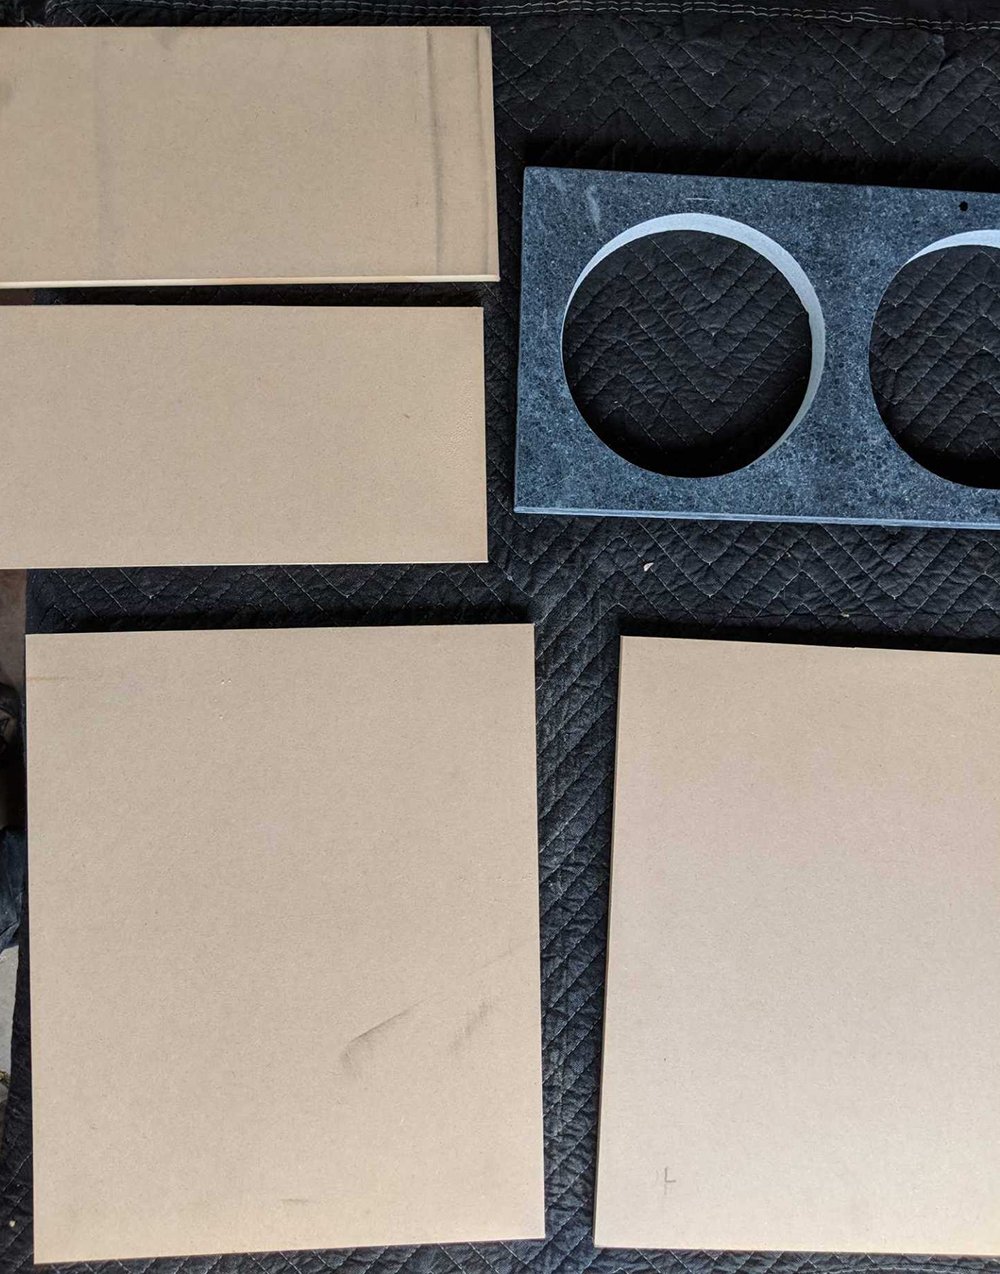
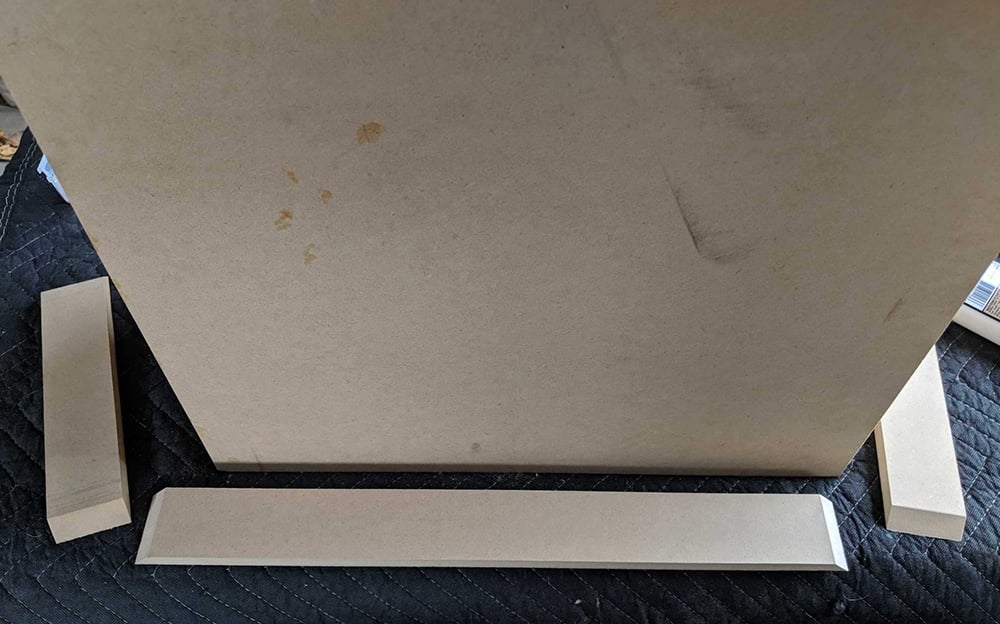
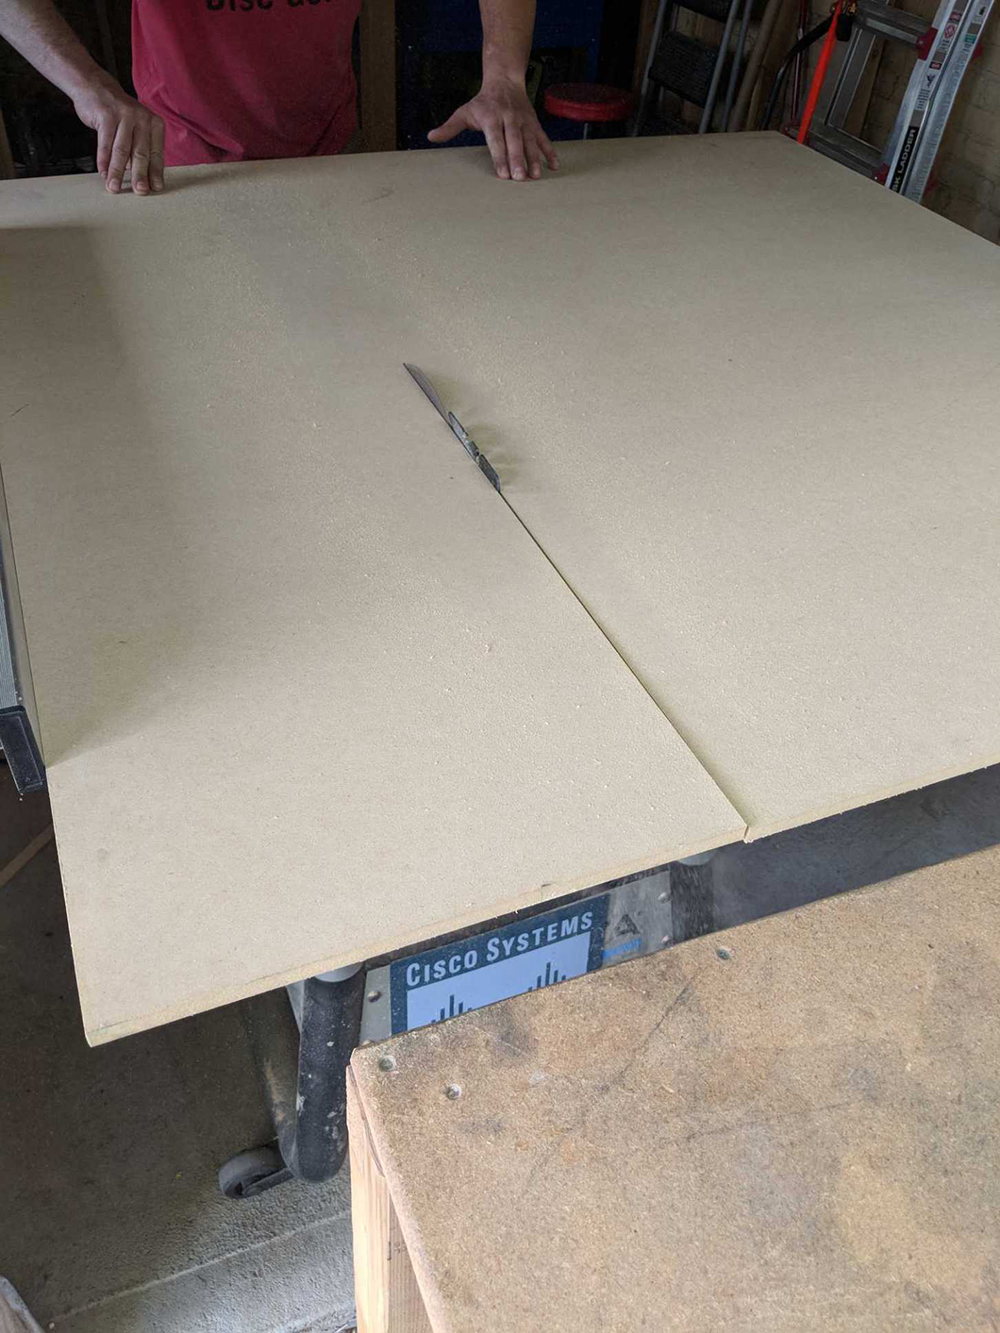 Step 1 // Cut the MDF. Measure and plan your dimensions, then cut the four sides and trim pieces to the appropriate size. We used a table saw for this, but you can also use other tools to cut the MDF.
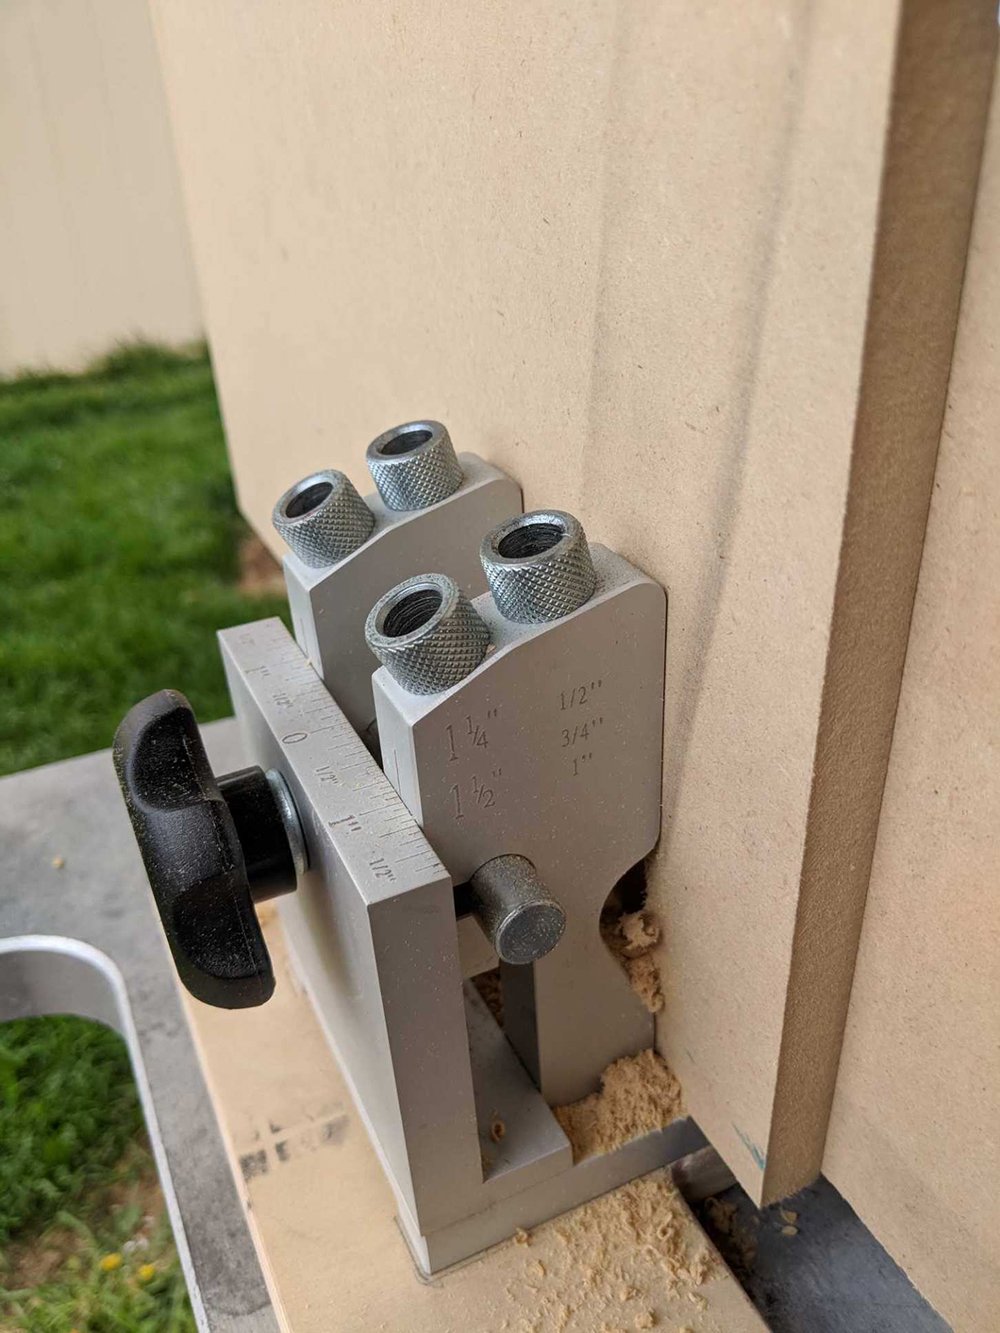
 Step 2 // Drill pocket holes. Using the two smaller rectangular pieces for the base and the pocket hole jig, drill your holes.
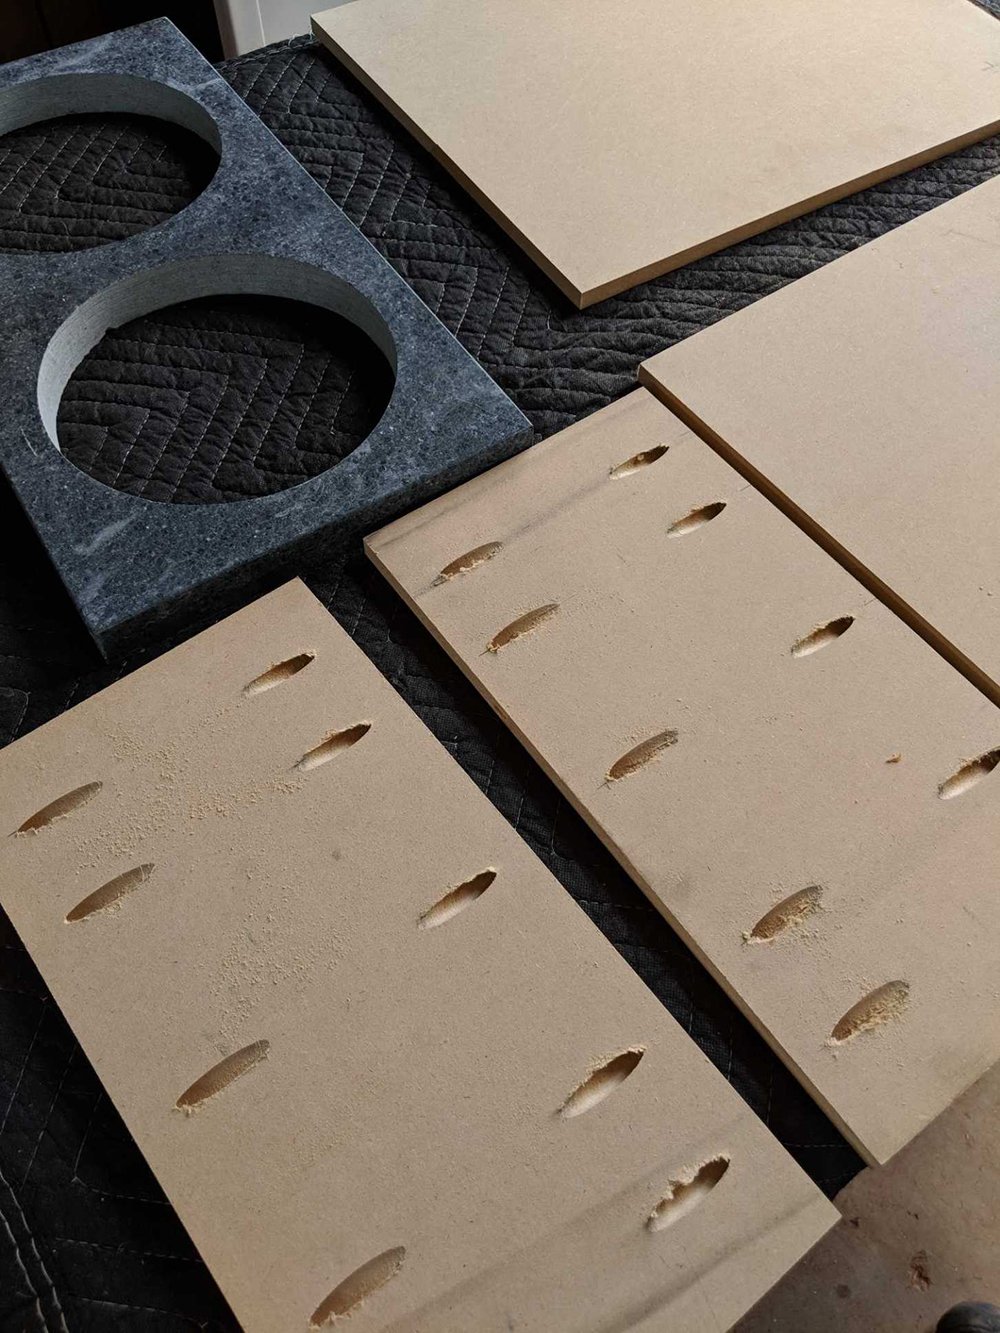
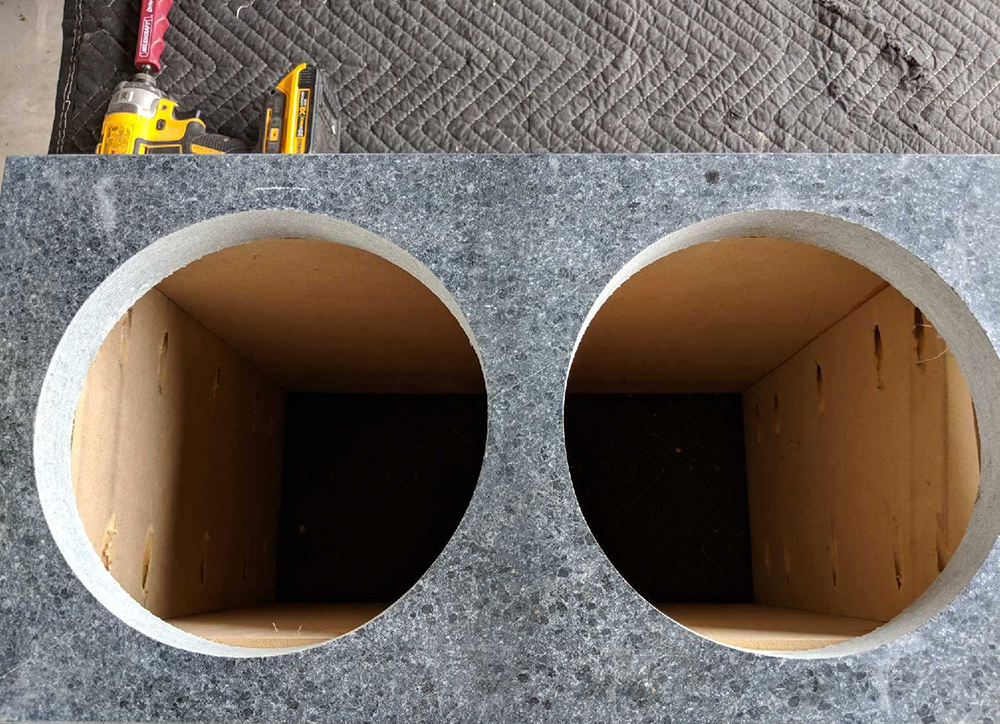
 It should look something like this once your holes have been drilled…
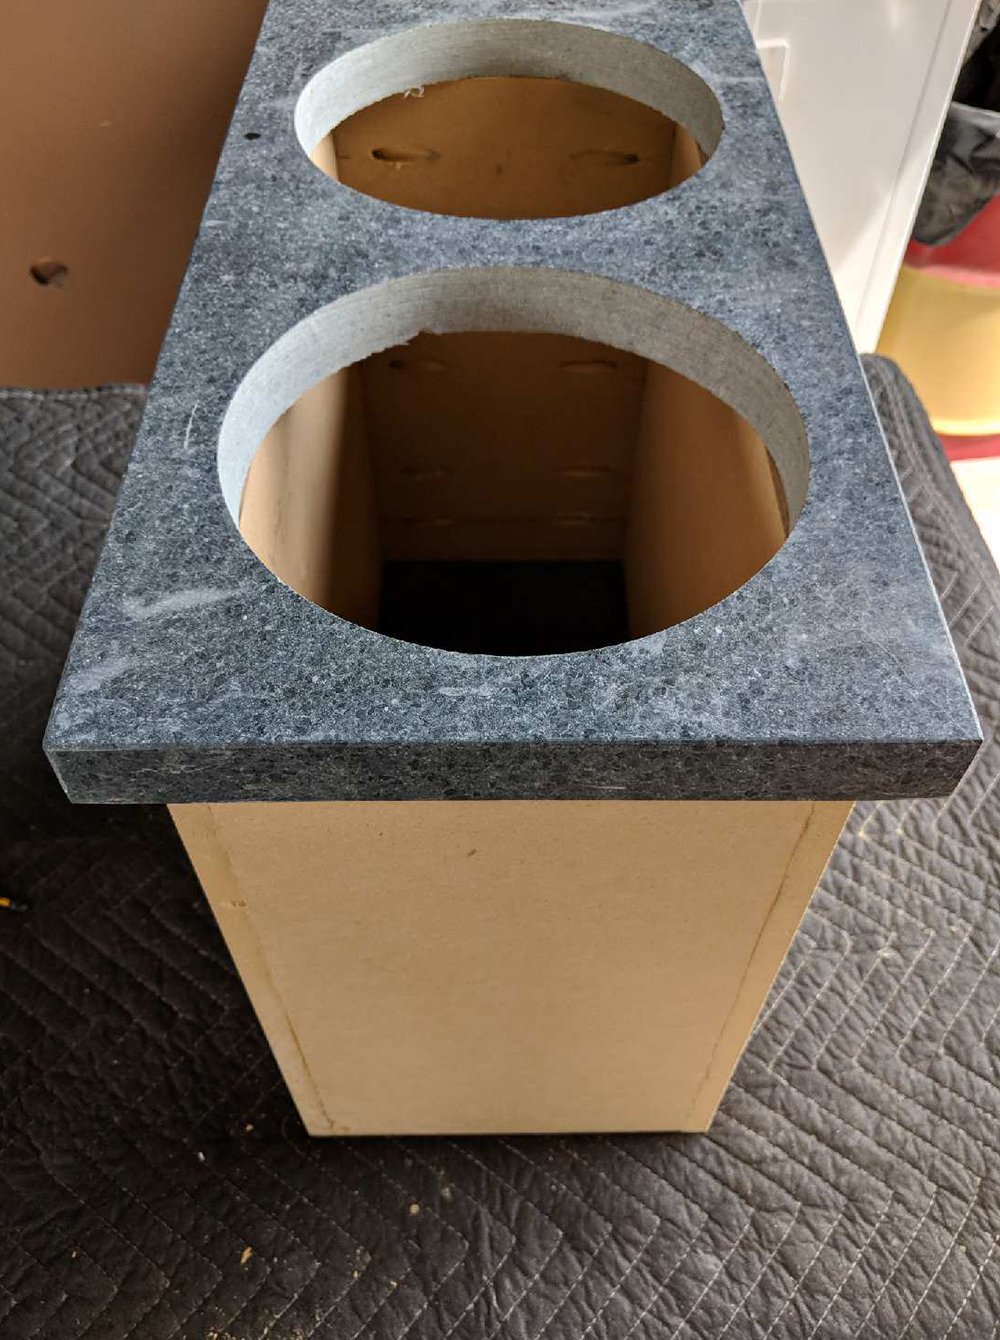
 Step 3 // Assemble the pedestal. Begin by assembling the corner two pieces with glue, then reinforce with pin nails. The pin nails will hold the piece together while you add the pocket screws. Repeat the process on the opposite side until all four pieces are connected and secure.
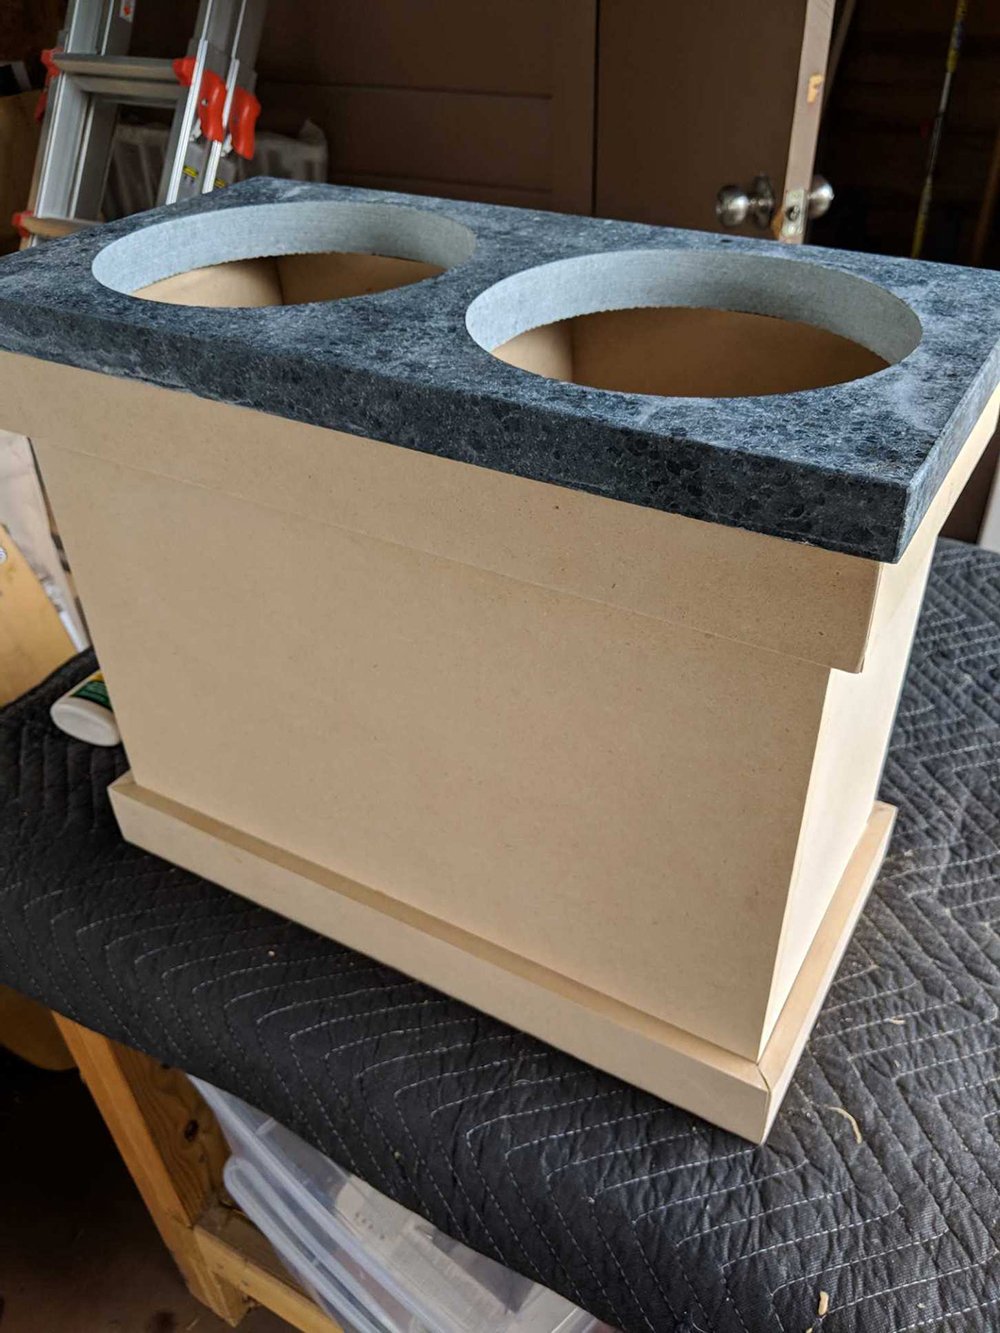
 Step 4 // Add the trim pieces. Miter the ends of the trim pieces and affix them to the pedestal using glue and finishing nails. Trim pieces are definitely optional, but they add nice visual interest!
 Your project at this point should look something like this…
 Step 5 // Silicone the stone. Put a bead of silicone around the top edge and adhere the stone to the MDF. Allow it to completely dry before painting or moving the piece.
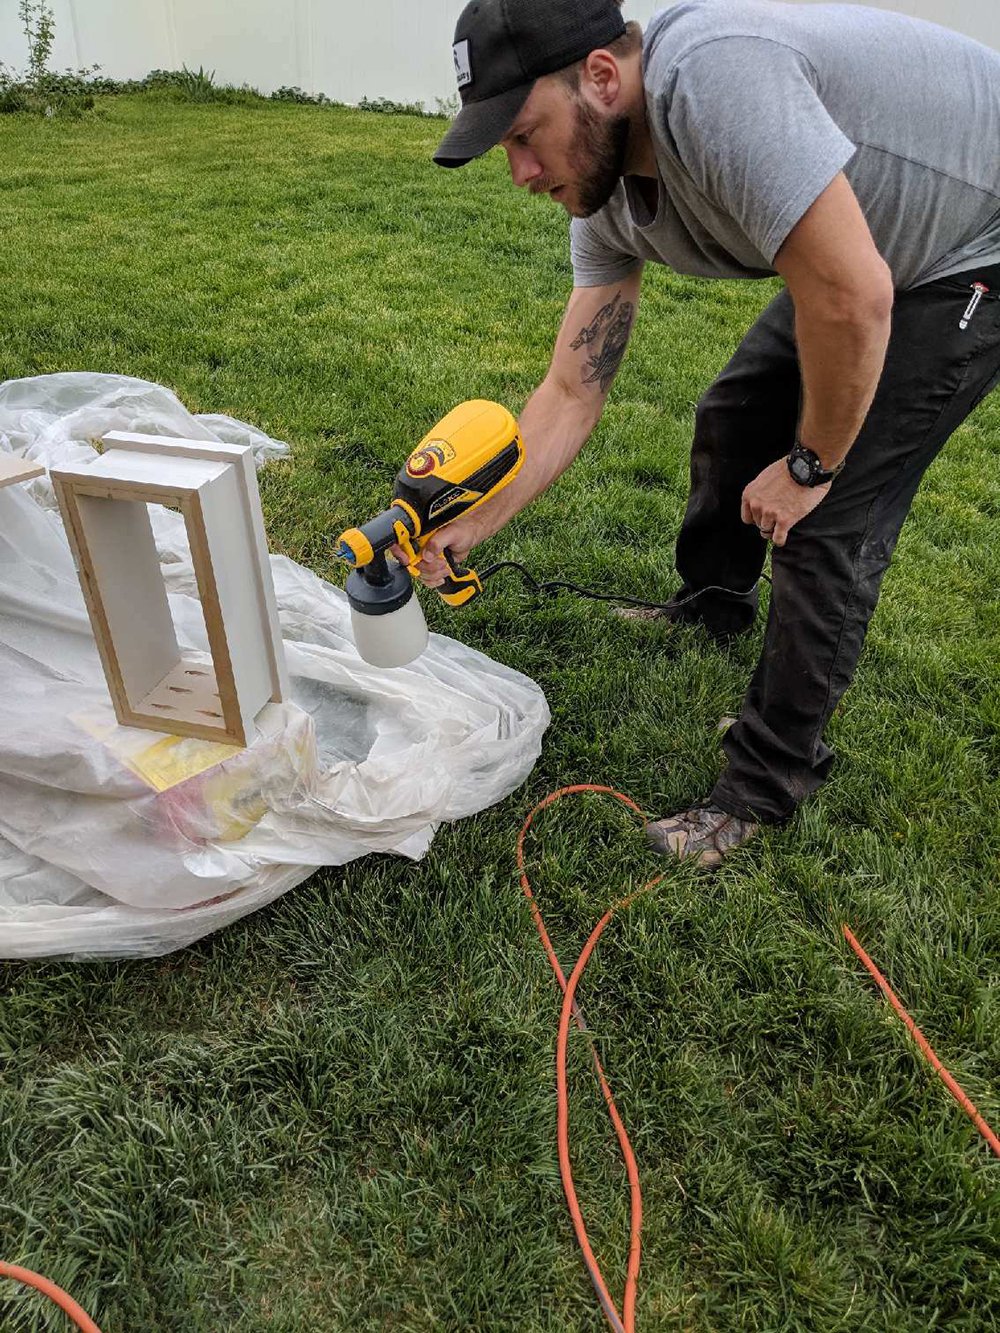
 Step 6 // Prep and paint. Prepare the piece for paint by sanding and filling any holes. We used a handheld paint sprayer to paint the piece, but you can use your preference of paint supplies.
 That’s really all there is to it! You can easily customize this to fit your needs… size, color, design, etc.
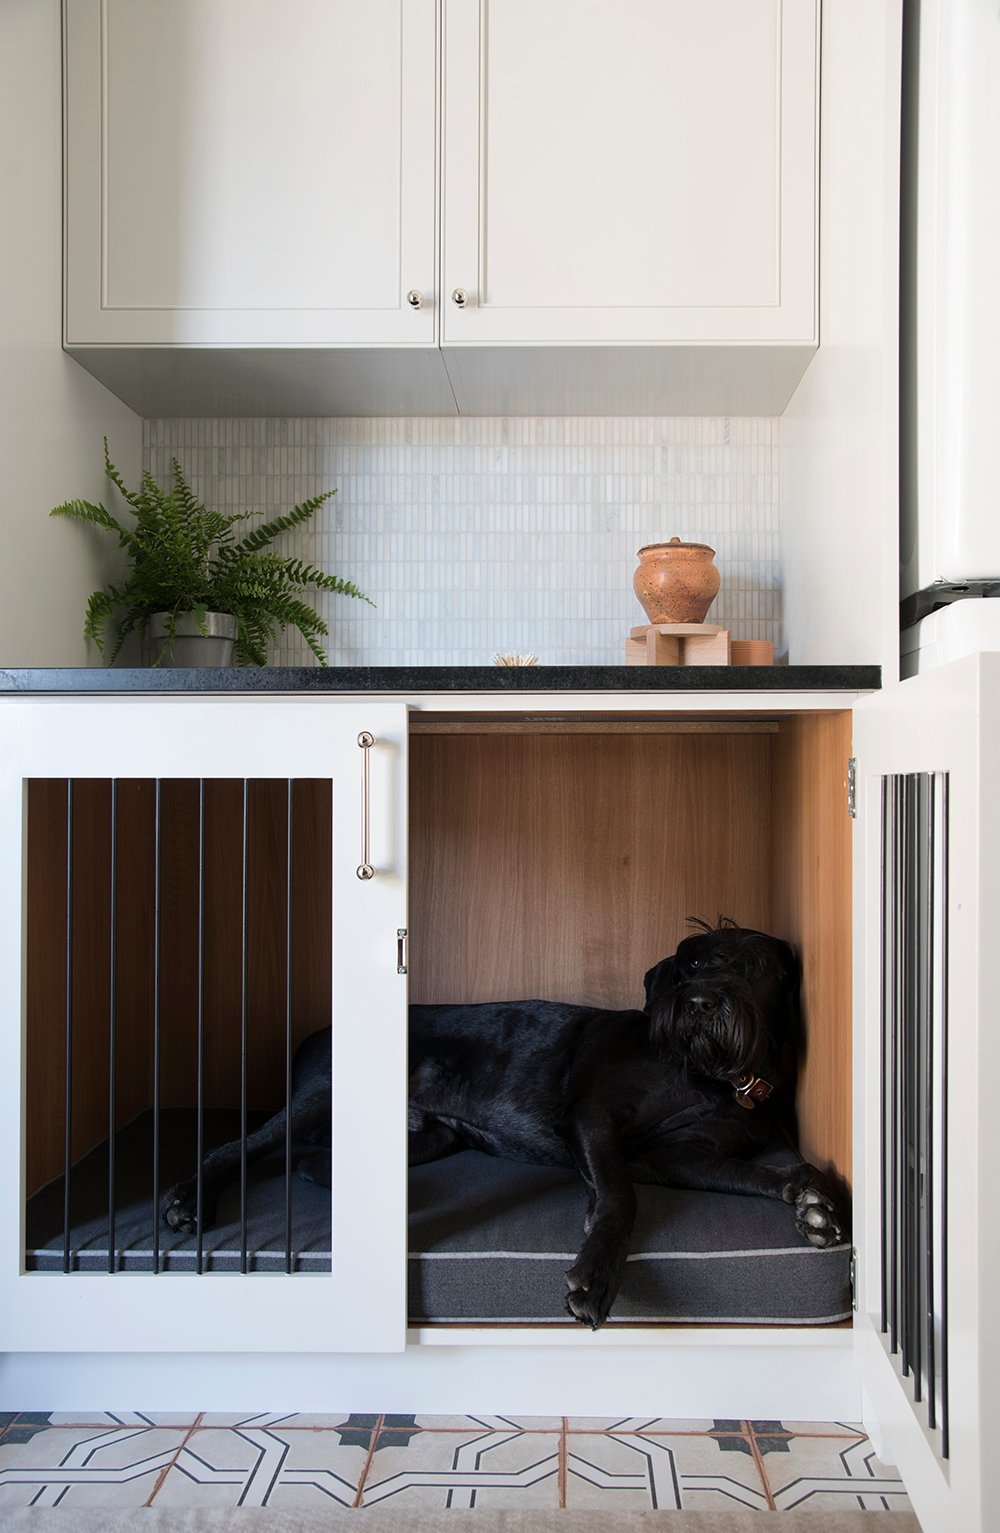
 I’ll wrap things up by saying this… having well planned and nicely designed pet products makes a big difference in the overall aesthetic of a room- especially when it’s something you leave out on a daily basis. I like for everything to be intentional and I tend to focus on the little details.
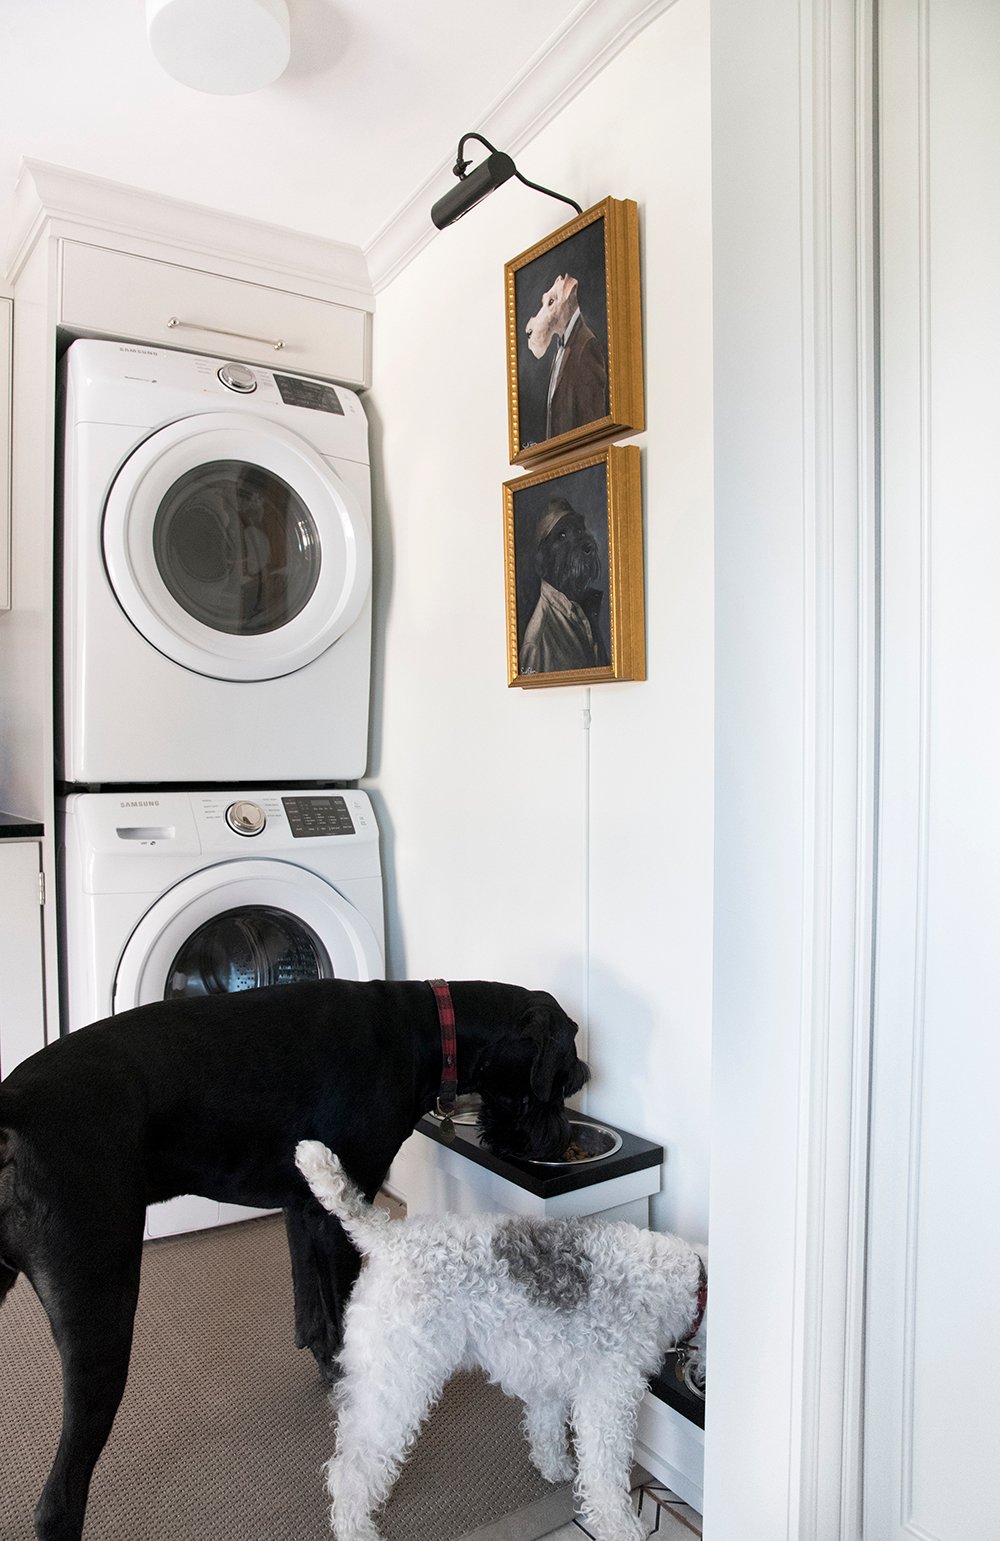
 If the dogs are happy, then we’re happy. It’s the least we could do for humans best friend. I mean, is there anything better than coming home to your dog? I think not. They’re always SO overjoyed to see you and are never mad. Obviously I’m a dog lover, but I can’t help to wonder… what did we ever do to deserve dogs? They’re the best!
 If you have any DIY questions or comments in regards to the DIY feeders, drop us a line below! Emmett and I are always happy to help. What do your pets eat from?