DIY Floating Canvas Frame
 There’s one thing I’m really particular about and truly appreciate, yet hate spending tons of money on… custom canvas framing. Remember these canvases I painted awhile back? I went to have them framed at a local shop and was quoted $130. Per frame, people!! They’re only 8″ x 10″ canvases and I just couldn’t justify paying that much. I also wasn’t about to hang them unframed either. Of course I went to my main guy (aka Kalyn) and asked if we could build them for way less- the answer was definitely yes. You’re going to want to save this DIY floating canvas frame tutorial because it’s going to save you tons of money, and it’s a project we’ve done a few times already.
One of my pet peeves is a DIY that “looks like a DIY”. I am definitely not into these sort of projects and I want everything I share to be of quality and appear to look much more expensive than it actually cost. This tutorial is super descriptive, a little lengthy, but also really easy! Don’t be intimidated by the length of this tutorial- I just wanted to make sure each step was super clear, easy, and well described! Stick to the instructions and you’ll end up with a high-end, well built and completely custom frame. If I can do it, you can too!
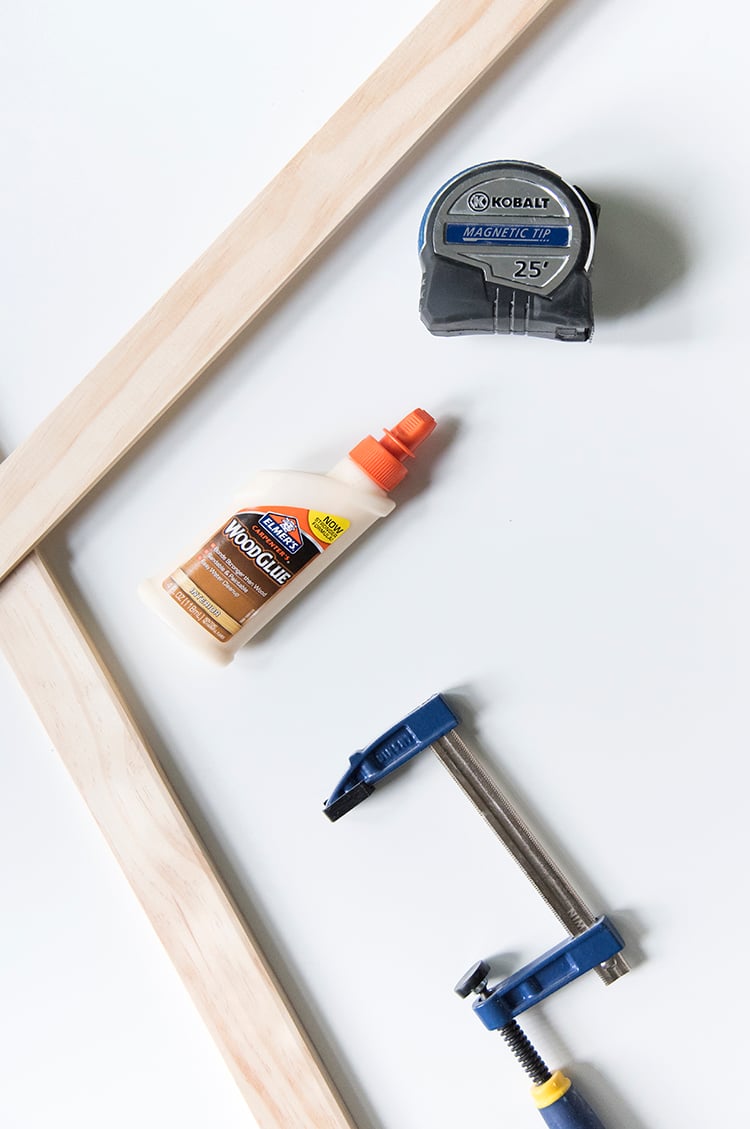 What you’ll need for this project:
– Lumber
– Wood Glue
– Tape Measure
– Wood Clamps (OR self squaring jig clamp)
– Sand Paper (80 – 100 grit)
– V-nail punch & v-nails (12 per frame), optional
– Stain, paint or clear coat of your choice
– Finishing Nails
– Kraft Paper
– Scissors
– Mounting Hardware
– Saw
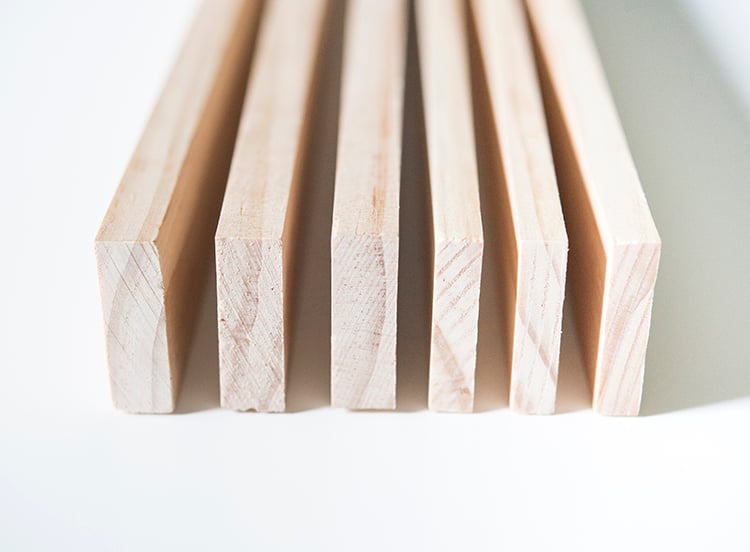
Step 1 // Measure your canvas & draw your plans. Prior to purchasing your lumber, measure your canvas (also consider the depth). In the image below, you’ll notice the three pieces on the left are wider than the three pieces on the right. The thicker boards were used for the back of the frame, and the narrow boards became the side rails. This combination gave me the thickness I needed for my canvas- it’s totally ok to mix and match.
Choose whatever lumber makes sense for your project! You can buy these in the “hobby” section of Lowes or any there big box store… they’re sold in 3 foot pieces. To give you an idea of my material, I selected a piece that measured 1 1/2″ x 3/8″, while the other piece measured 1/2″ x 2″.
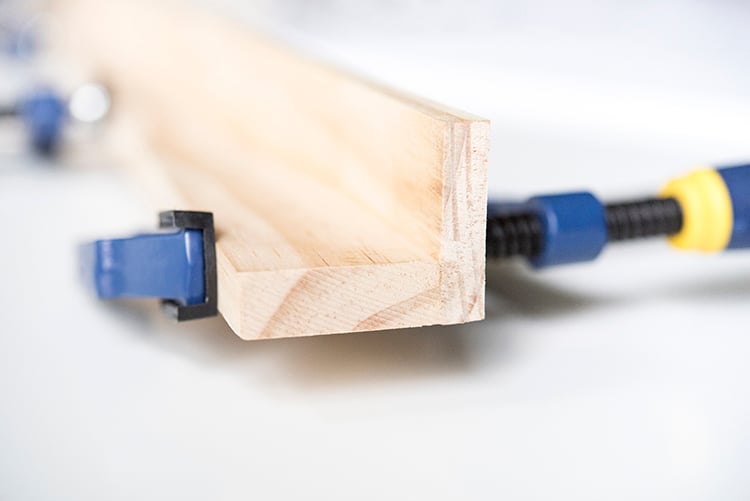
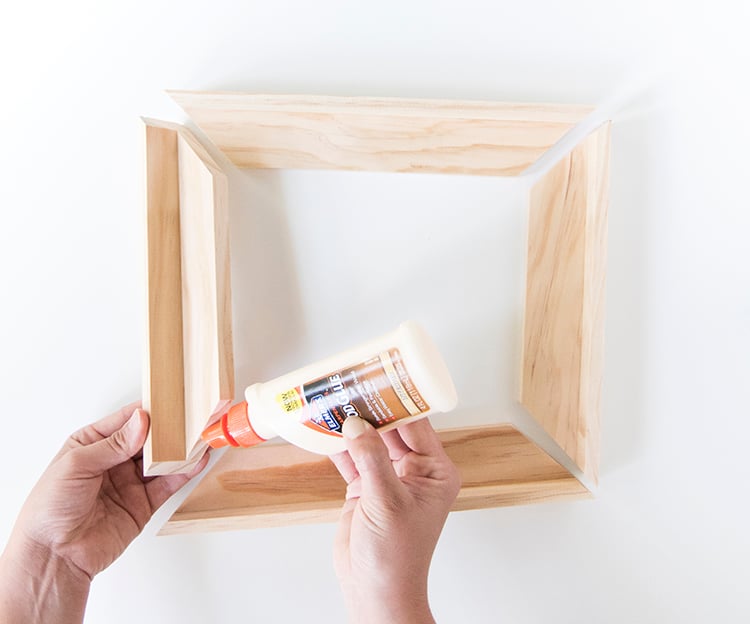
 Step 2 // Assemble the side rails. Glue the side rail to the backboard… make sure to glue the INNER EDGE with a thin line of glue. Press the side rail flush to the BACK of the frame.
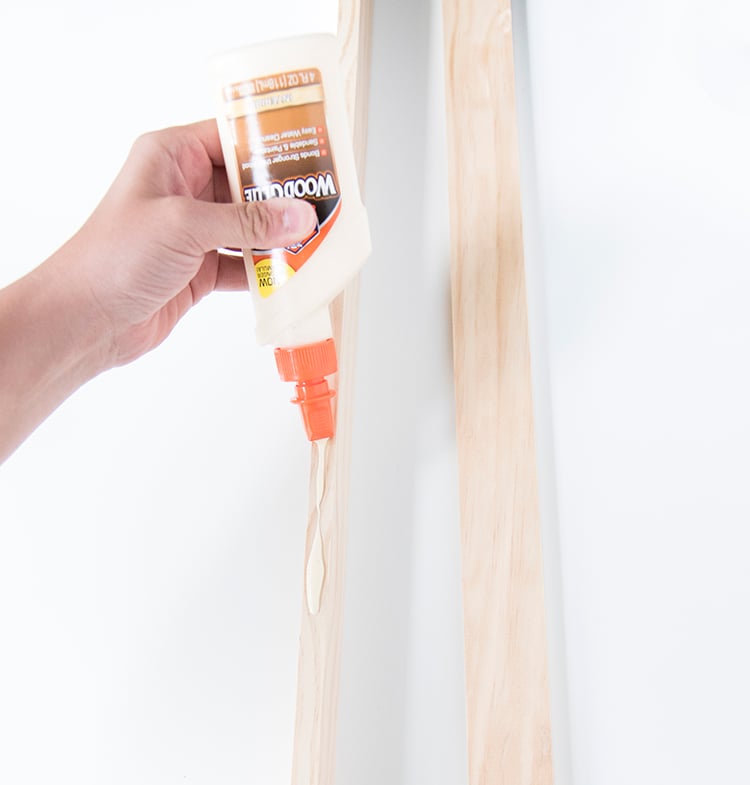 Use a clamp to secure the pieces together and allow it to cure overnight.
 Step 3 // Cut your frame. Use a mitered 45 degree angle and cut four pieces- 2 sides, and 2 top & bottom pieces. Remember… measure twice, cut once!
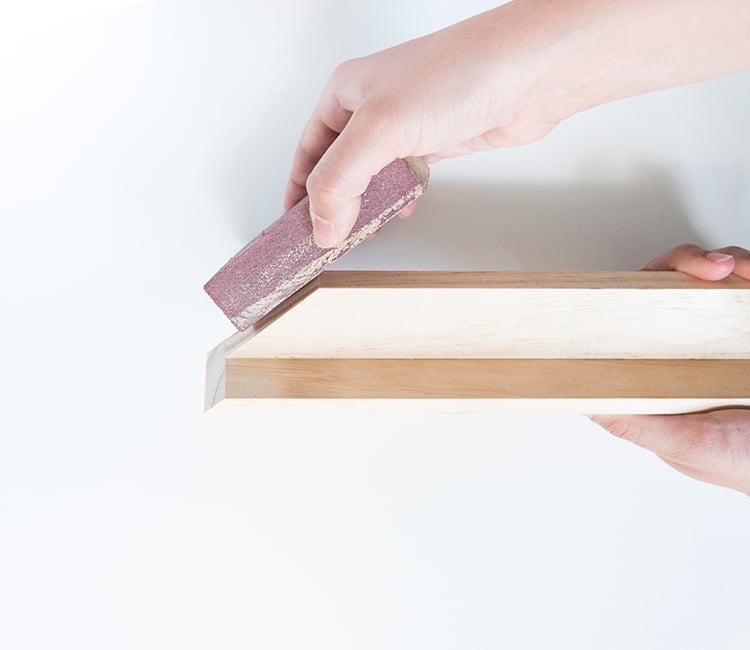
 Step 4 // Fine-tune your angle by sanding. Sand the inner edge of the frame for a perfect fit.
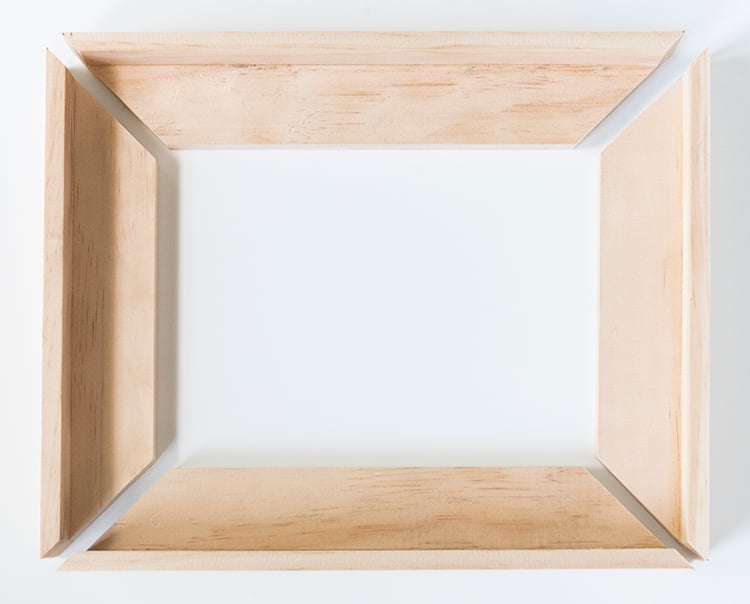
 Step 5 // Test fit your frame. Make sure the joints align perfectly. Sand more if needed.
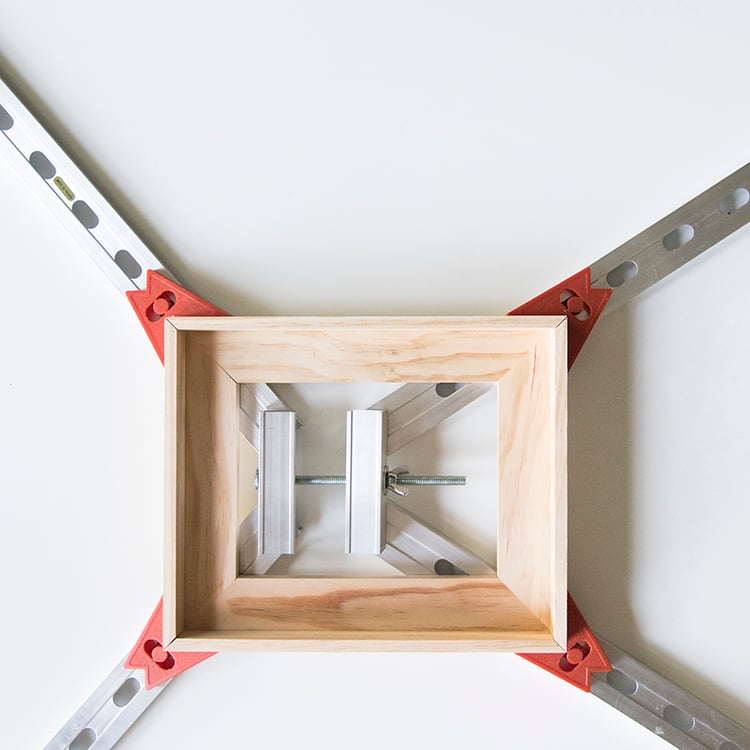
 Step 6 // Glue and assemble the frame. Apply a thin line of glue to the mitered joints.
 I found this specific tool for frame building- it’s called a mitered jig and it came in super handy. This isn’t necessary, but it’s seriously helpful. If you don’t have this tool, you can easily use the wood clamps from Step 2. I left the frame in the self squaring jig overnight.
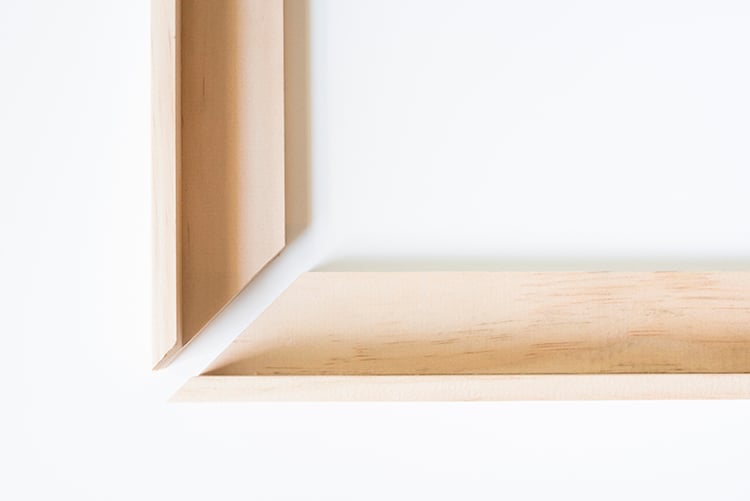
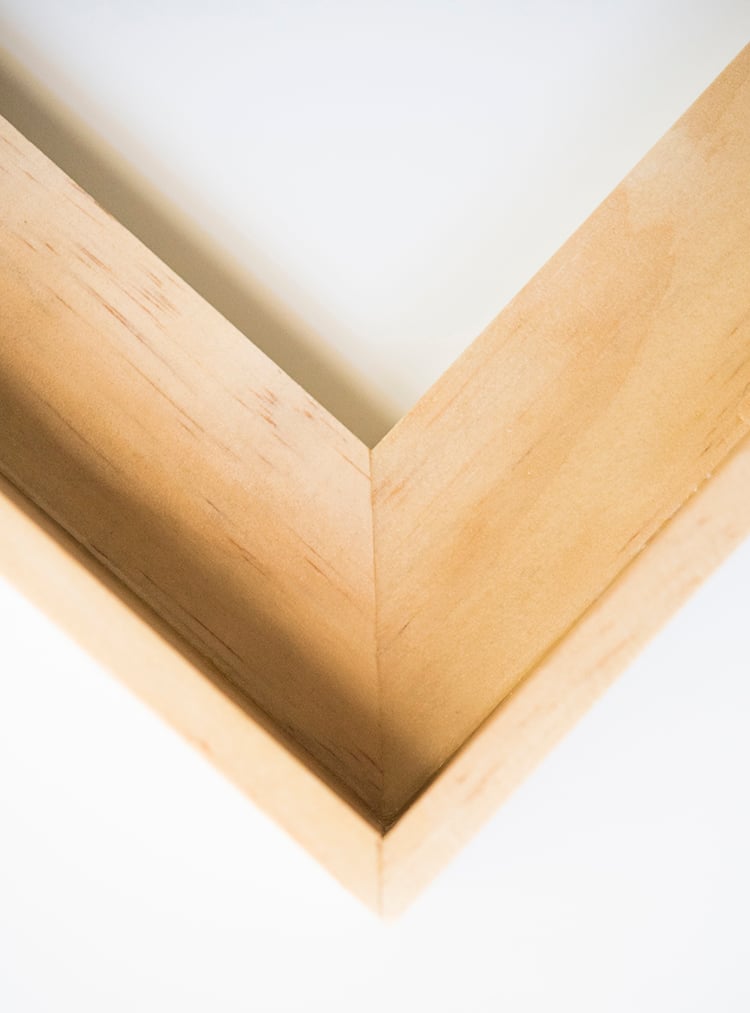
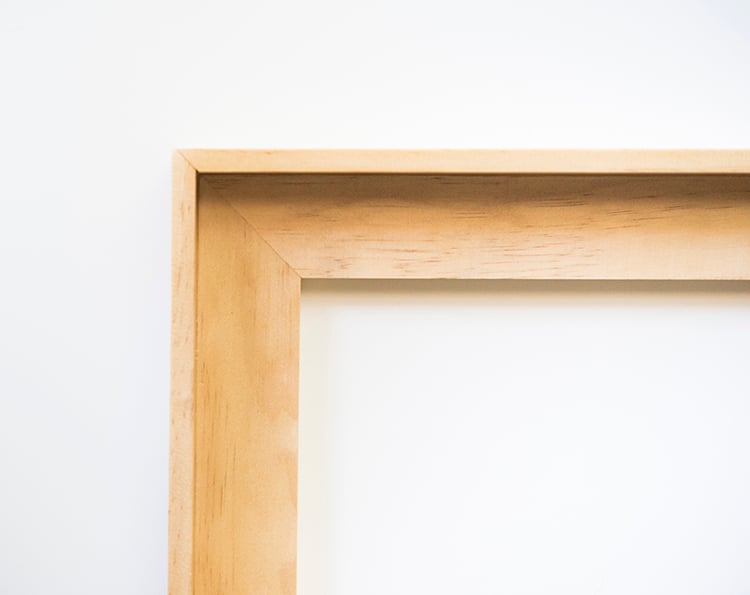
 Your completed glued joint should look like this… if your joint doesn’t perfectly align, you can always use a little wood filler to hide and fill miner imperfections.
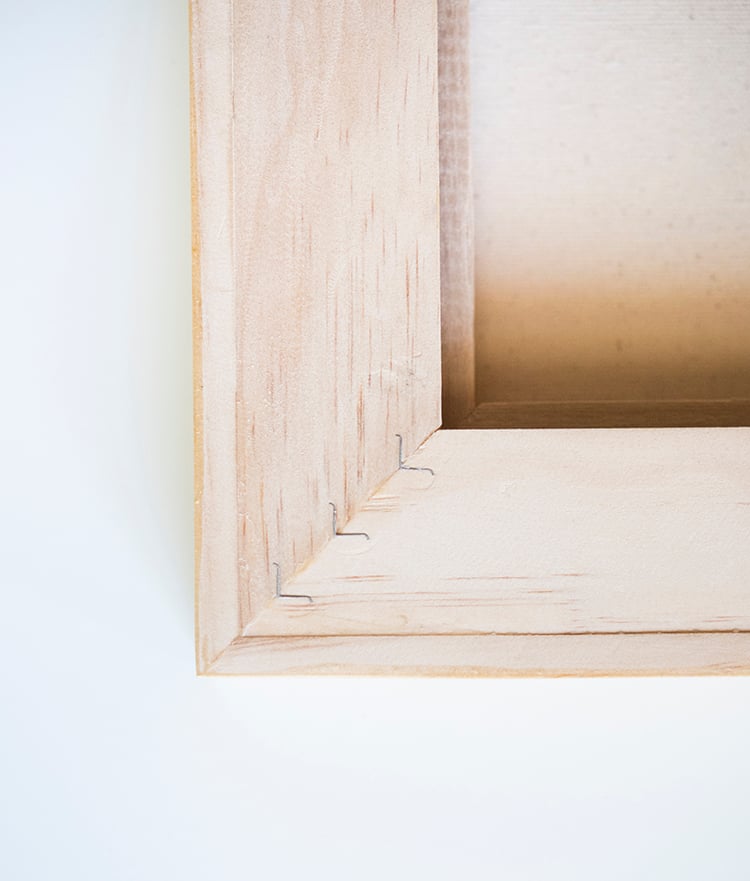
 Step 7 (optional): Use a v-nail punch and v-nails to secure the joints. This step isn’t necessary but it helps to create a professional grade (meaning super duper sturdy) frame that will pretty much last forever. Start your v-nails from the inside and work your way to the outer corner. If this isn’t evident or clear, these are installed on the BACKSIDE of the frame.
 Step 8 // Add a finish. Stain, clear coat, or paint, the frame with your preferred product. I used a satin clear coat leftover from another project.
 Step 9 // Mount your artwork. Using a small drill bit and finishing nails (carefully making sure not to split your frame)– mount your artwork. Be steady and gentle!
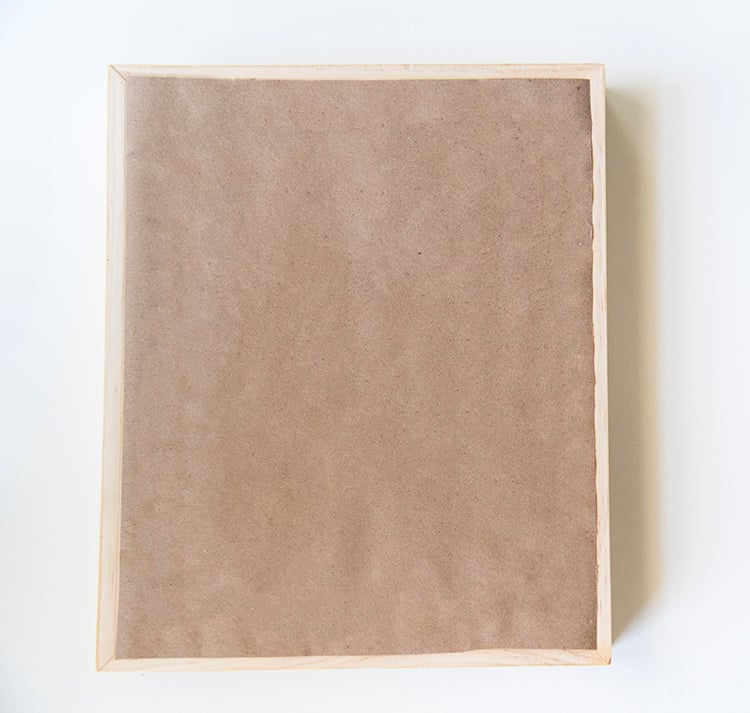
 Step 10 // Finish the back. Glue kraft paper to the back of the frame to hide the finishing nails (this isn’t necessary but it looks more professional).
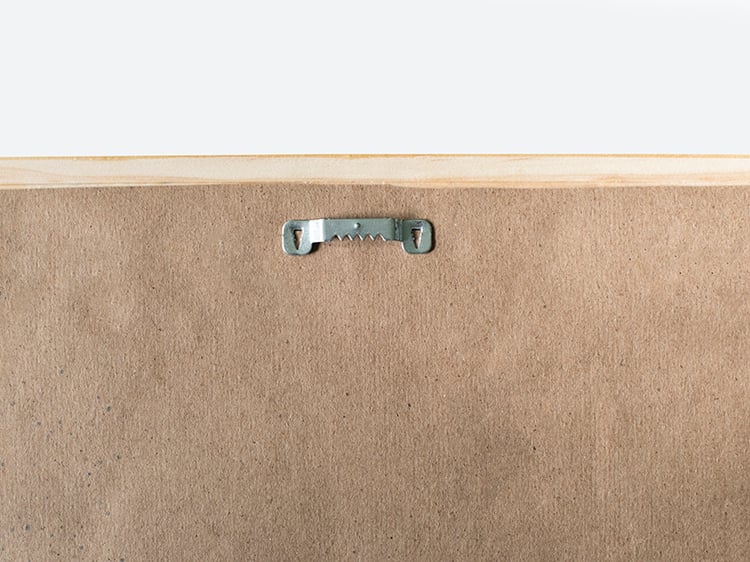
 Step 11 // Mount your hardware. Mount the hanging hardware according to the instructions on the package.
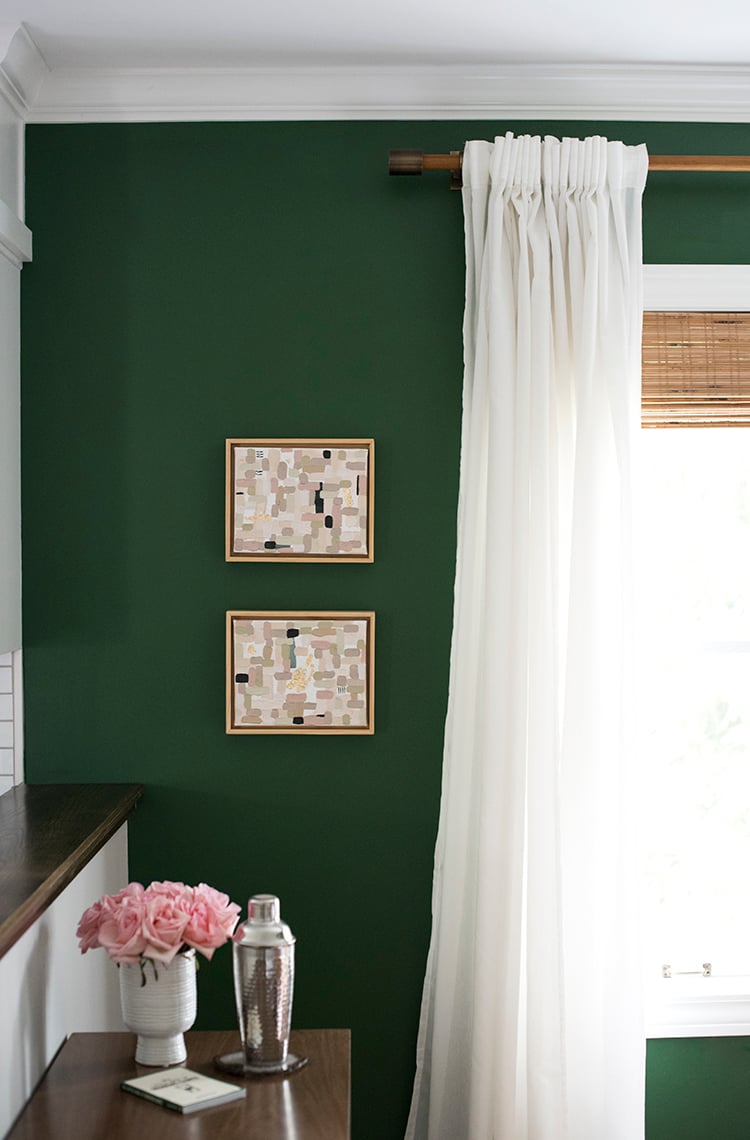
 Now you’re ready to install your artwork! I actually painted these with the intention of giving them as a gift to a friend, but after seeing them installed in my dining room, I’m a little tempted to hang onto them!
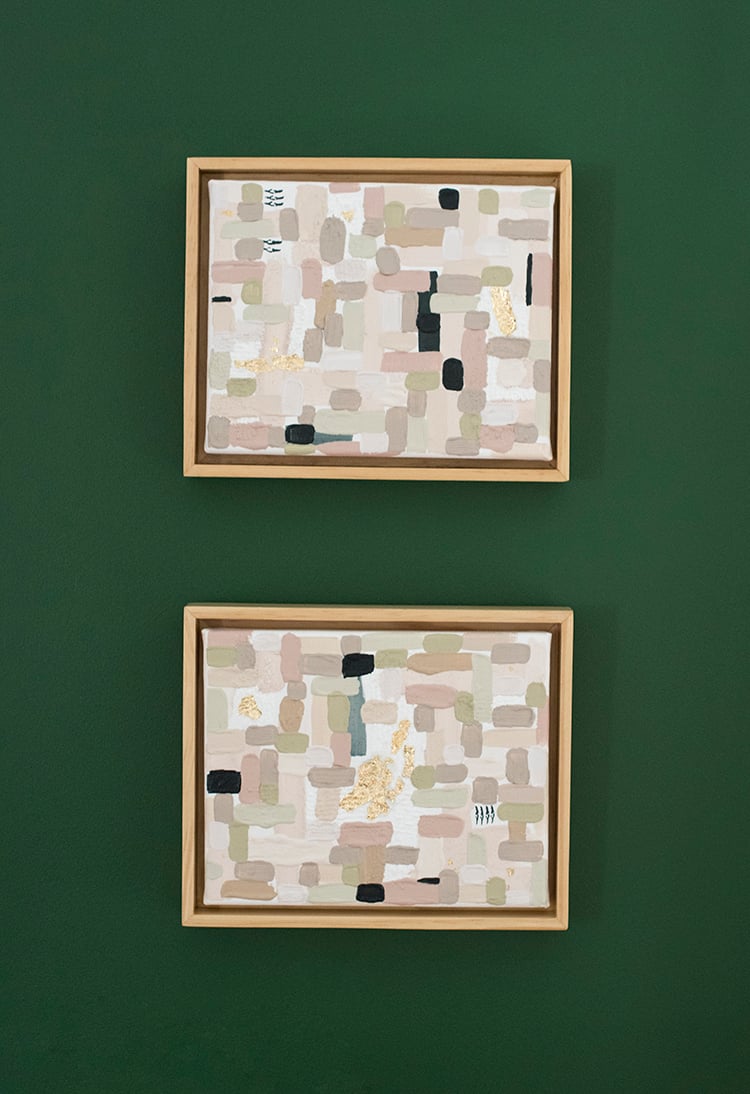
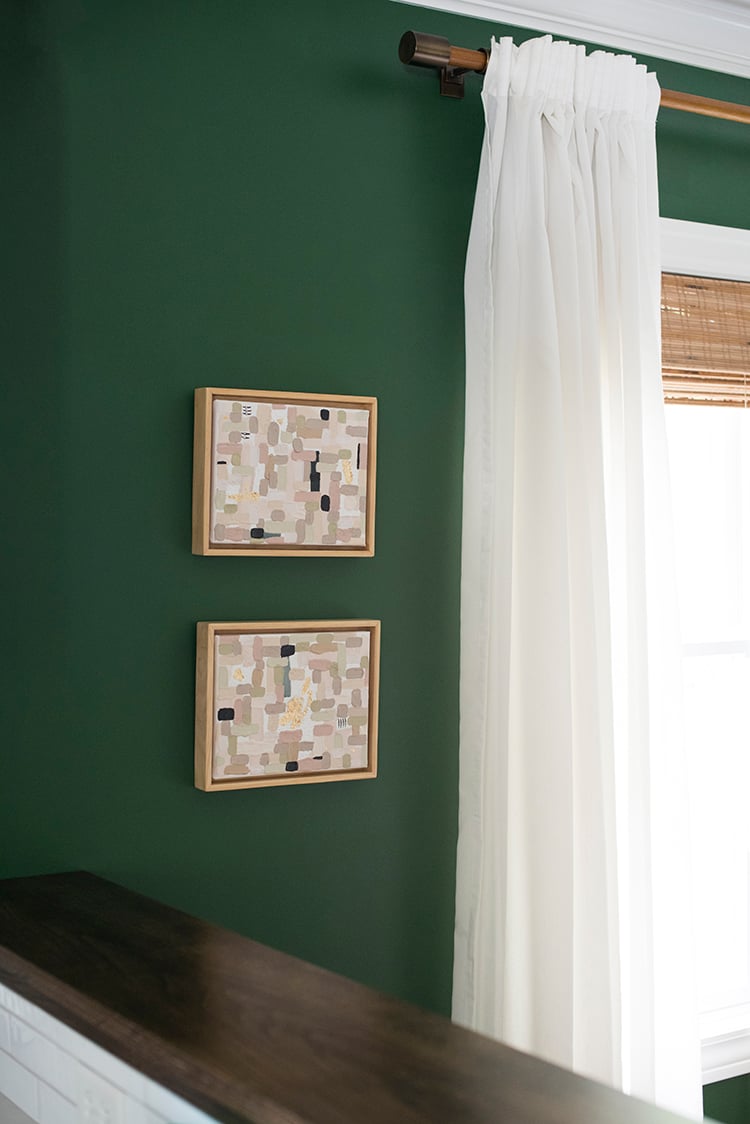 Floating frames are my favorite when it comes to finishing a canvas. What do you think? Are you going to give this DIY a try?