Custom Outdoor Seating DIY
 Lots of people are asking how we built the custom outdoor sofa. I’m not going to lie… Emmett and I weren’t exactly sure how it was going to turn out because we’ve never built anything like this before, but I can gladly say it’s probably my favorite part of the backyard! It’s larger than our living room sofa and provides comfortable, durable seating on the patio. If you’re willing to put in the time, energy, and elbow grease, this gorgeous project is calling your name. Click through for the tutorial…
 I had initially sketched an idea of a stucco sofa when planning the backyard. Emmett was super skeptical of my idea and did a TON of research prior to agreeing to help me build this thing. I’m really satisfied with the end result and it honestly exceeded my expectations. Here’s everything on the supply list:

Step 1 // Plan and prep the area. We actually sourced the cushions prior to building the structure, which tremendously helped with planning. If you’re going the custom route, it really won’t matter. This is only important if you’re purchasing readymade outdoor cushions. Once we had the dimensions of the cushions, we planned how large we wanted the structure to be. Emmett tripled checked his math and we began prep!
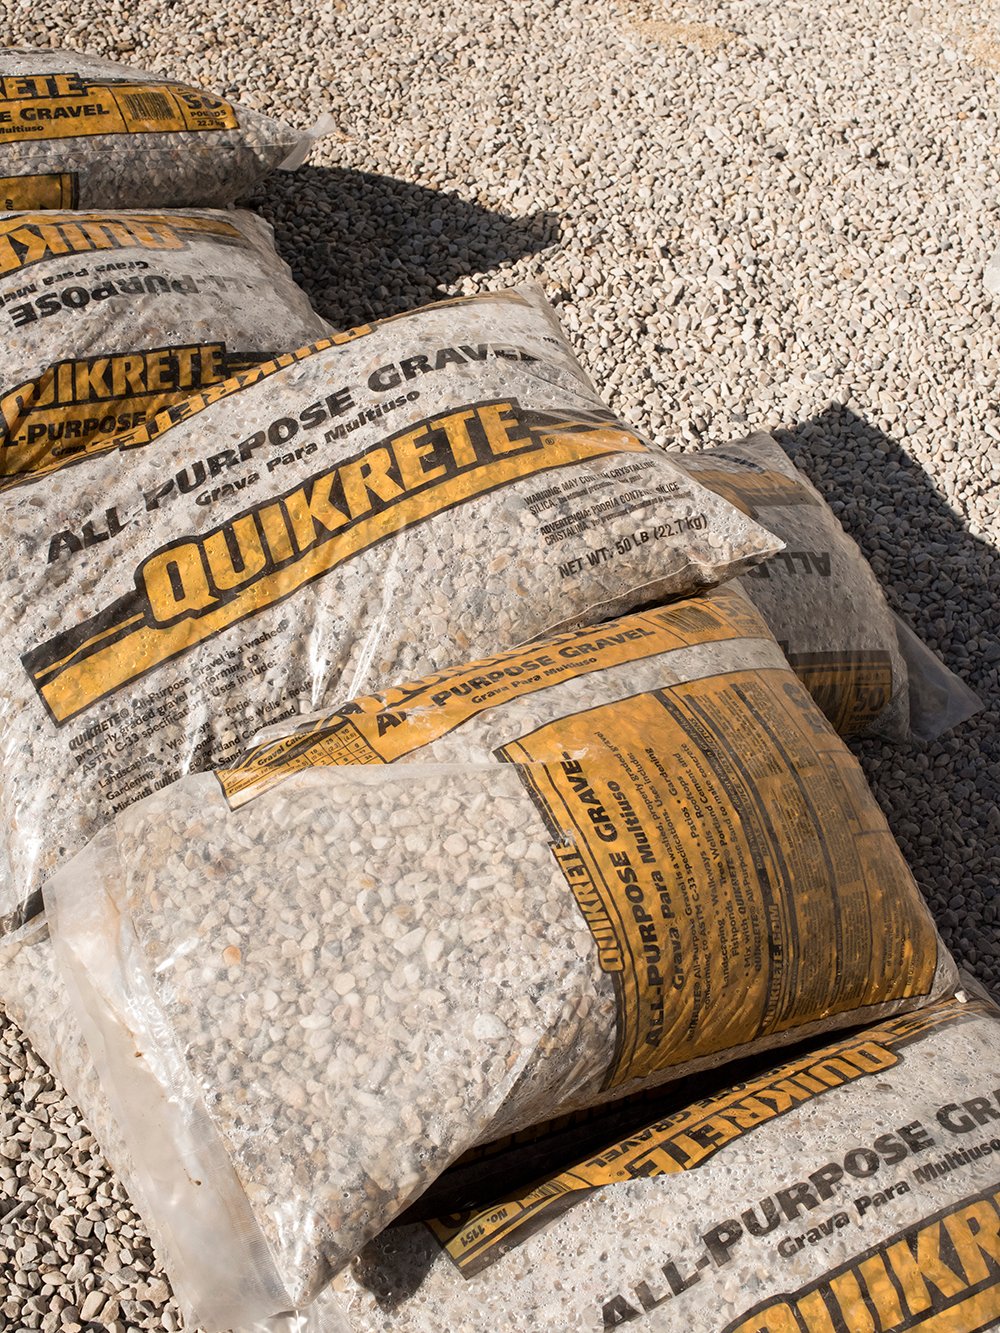 Prepping the area is a lot like prepping for a paver patio. We dug out the area, tamped the ground, and added some fine gravel prior to setting our cinderblocks. The key is to make sure everything is level.
Step 2 // Begin setting the blocks. Stack the cinder blocks in a running bond (brick) pattern until you reach your desired size and shape. We opted to leave our sofa hollow inside, so we can use it for storage if needed… this tutorial sticks to our exact process. Use a level to make sure everything is nice and square! It will actually start to look like a sofa frame right away.
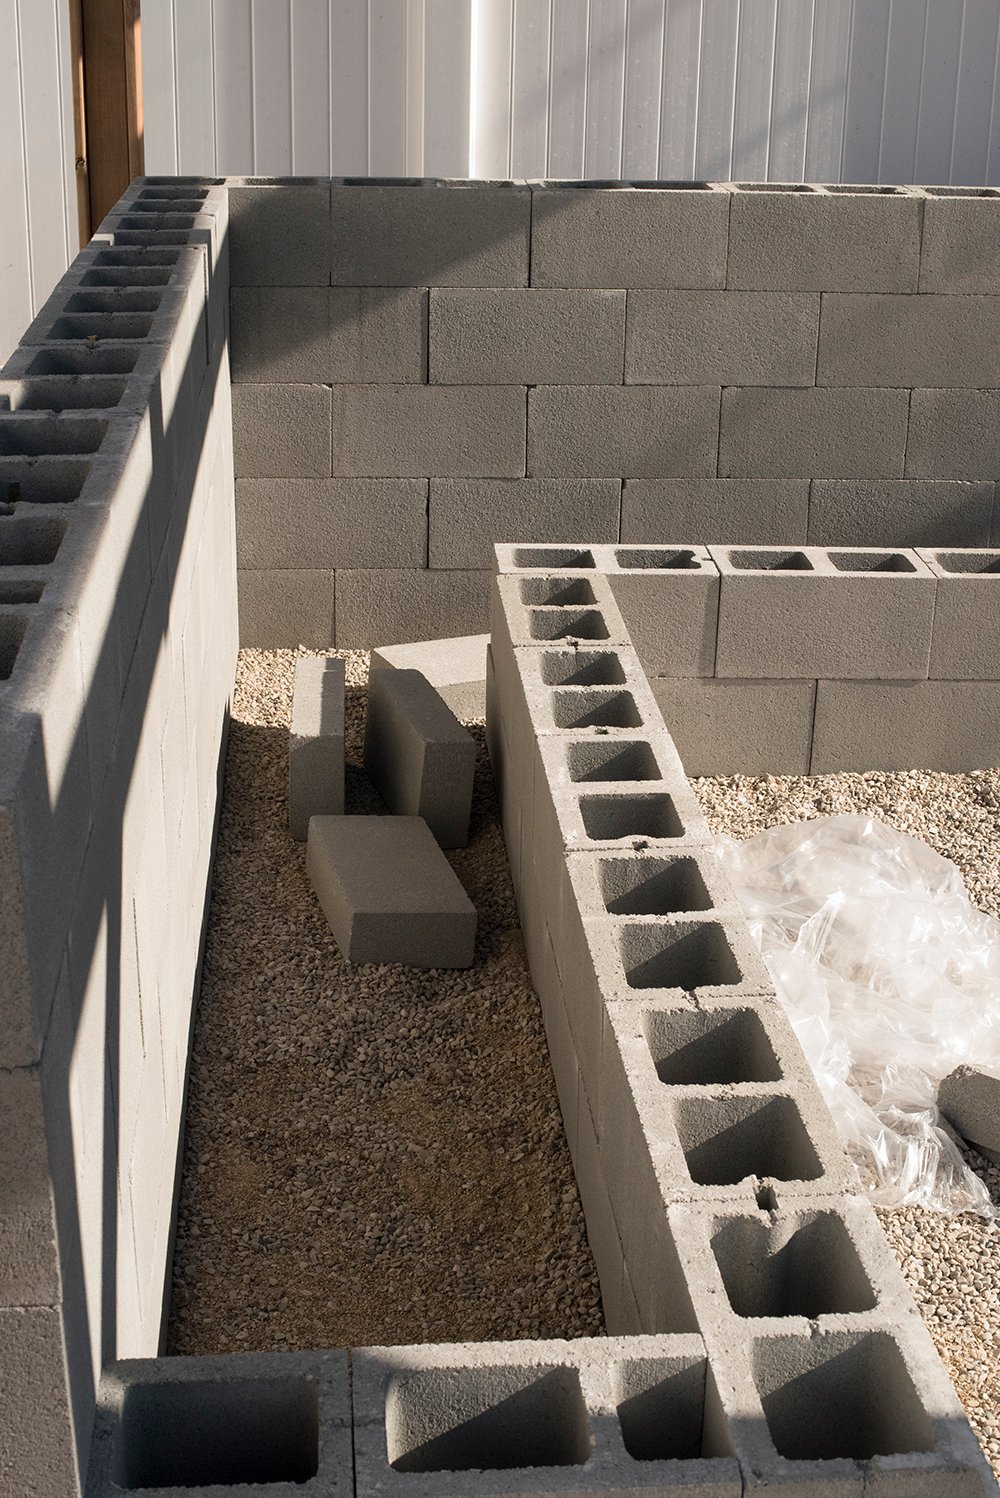 Step 3 // Secure the cinderblocks. Once the blocks are perfectly set, it’s time to make them permanent and secure. This part is arguably the worst. It takes a little muscle, but I did this step entirely on my own without Emmett’s help. So lady friends… if you’re worried you need a super strong guy to help you out, I bet you’ll be ok on your own (girl power!!).
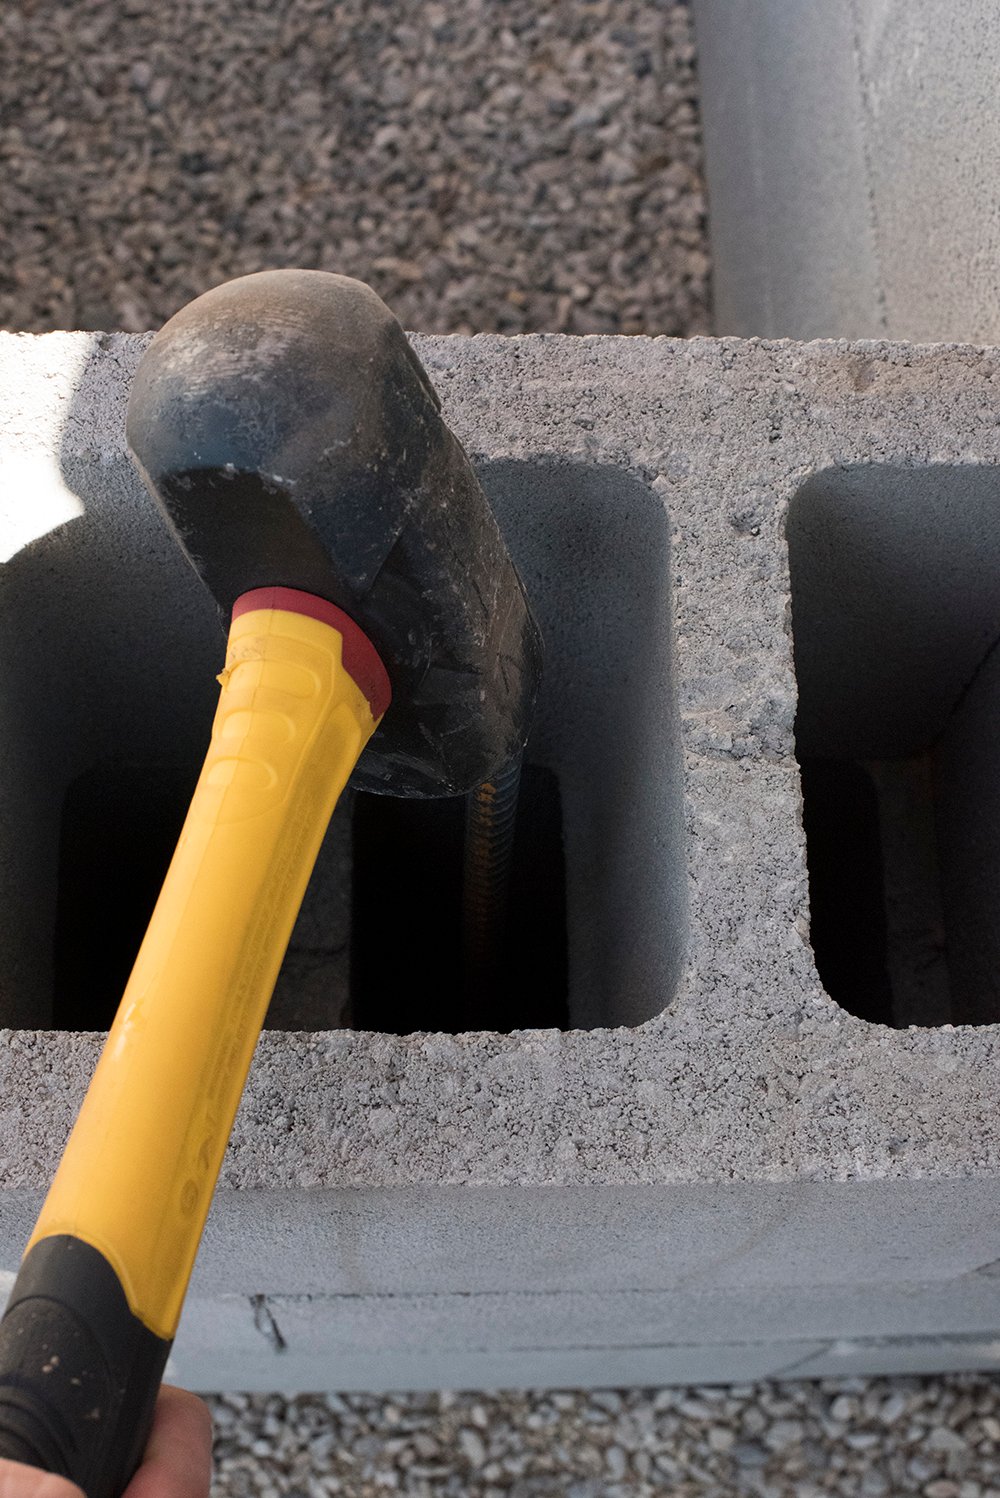
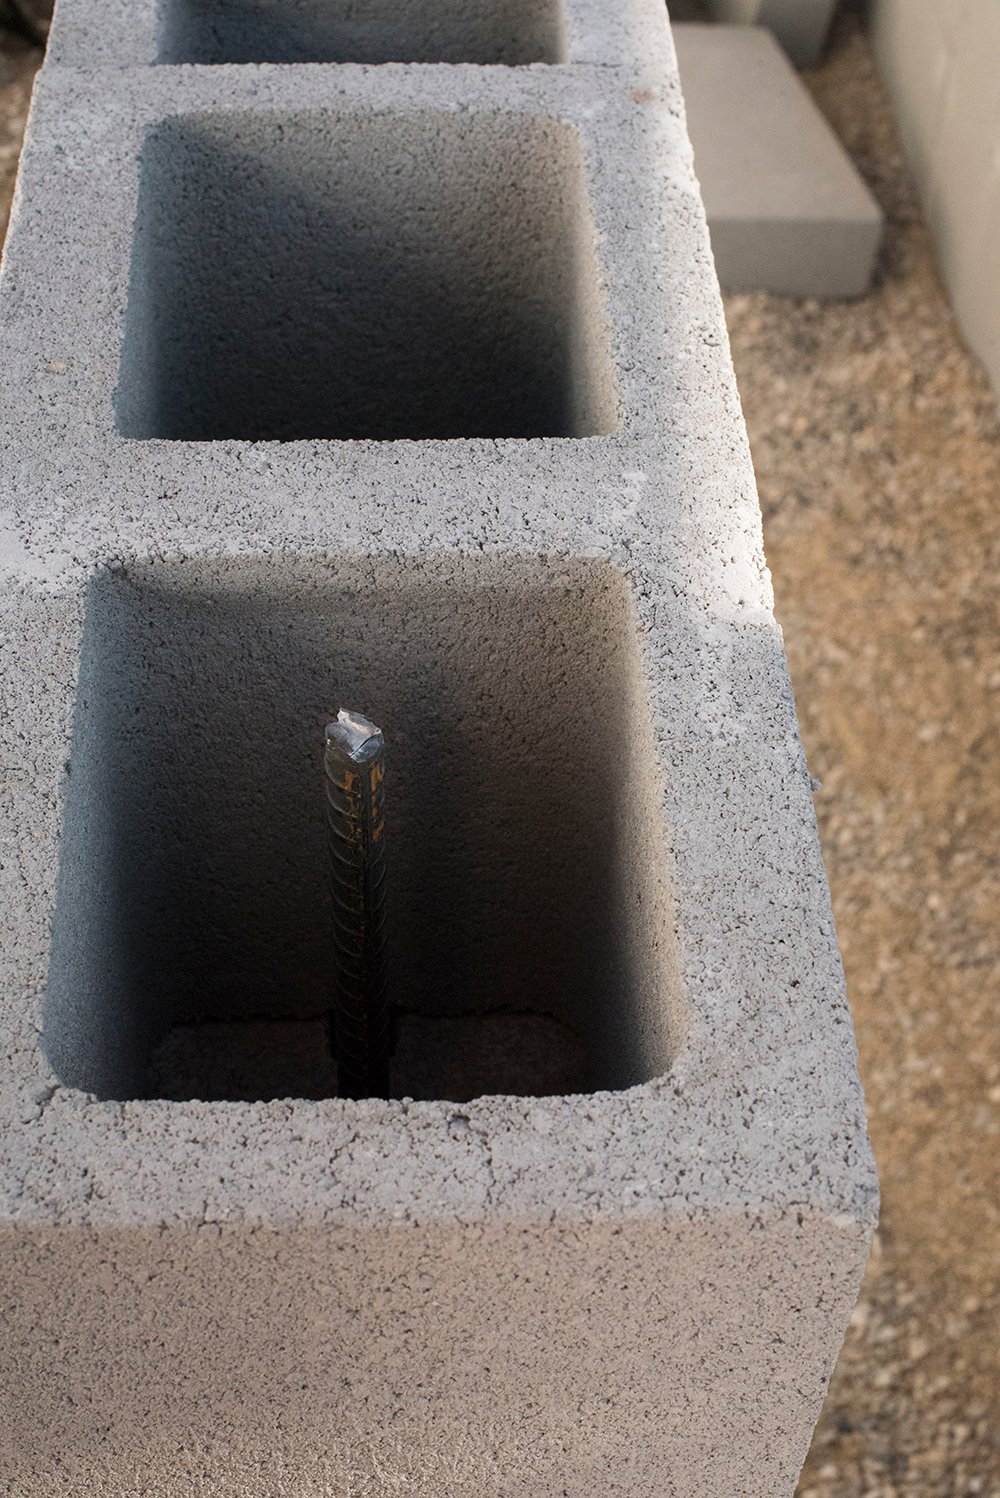
Insert one piece of rebar into every other hole, hammering it down with a mallet until it is flush with the top cinderblock, as shown below.
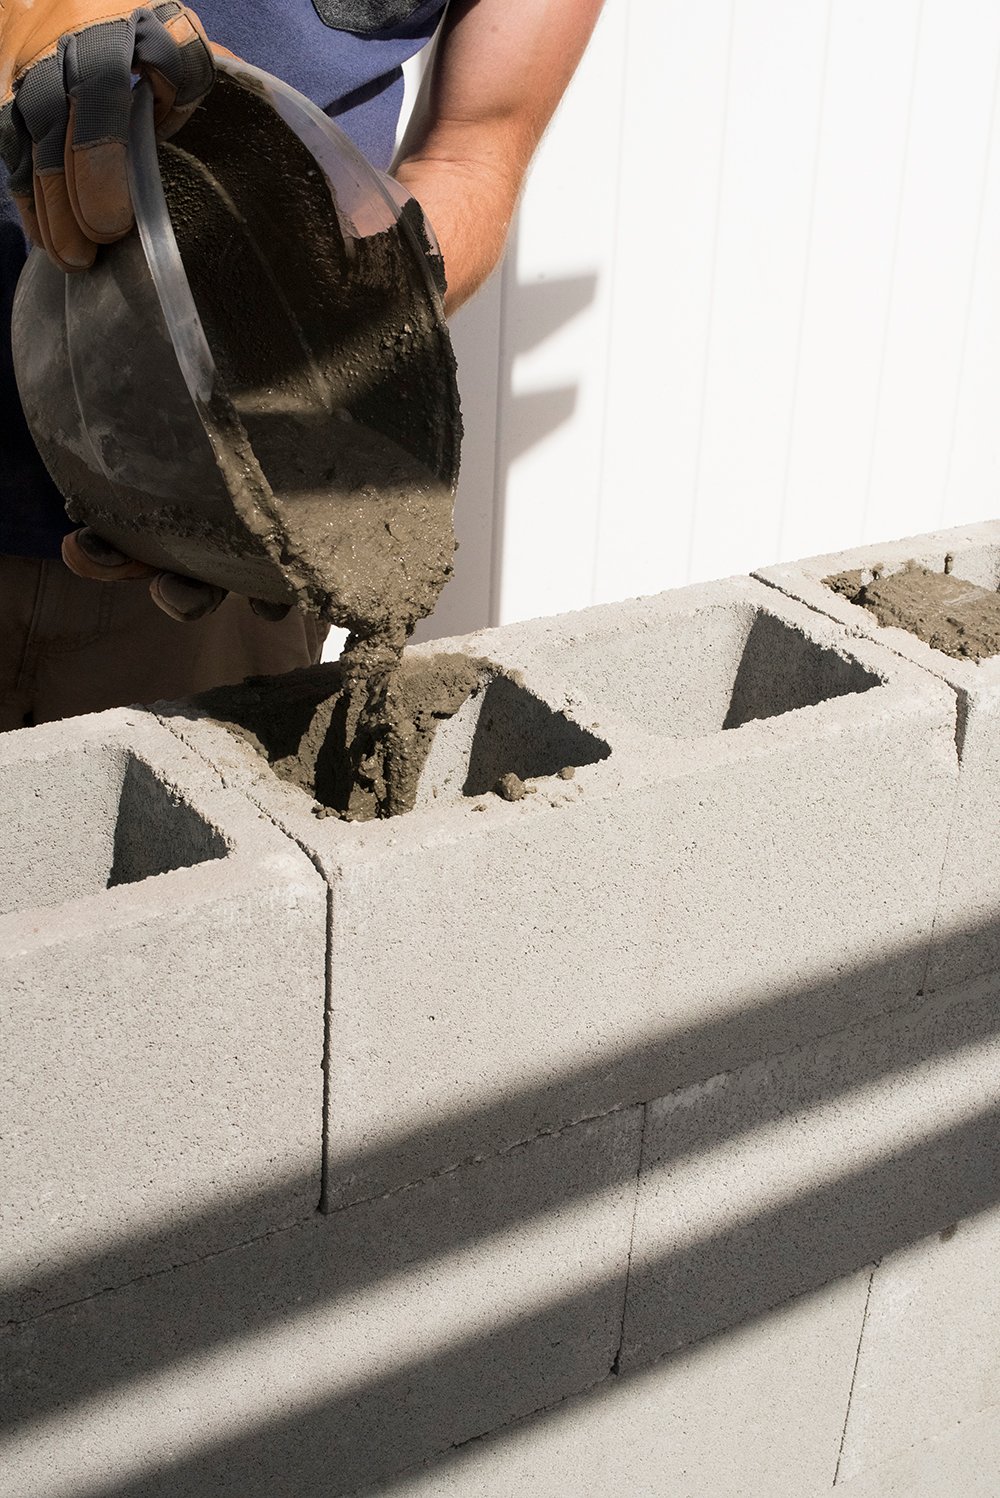
 Once all of the rebar rods have been installed, mix up concrete and pour the concrete into the holes surrounding the rebar. You only have to pour concrete into the holes containing rebar rods (every other one). This ensures the structure stays together and won’t shift with time.
 Allow the concrete to cure overnight before beginning the next step. You want to make sure it’s nice and sturdy.
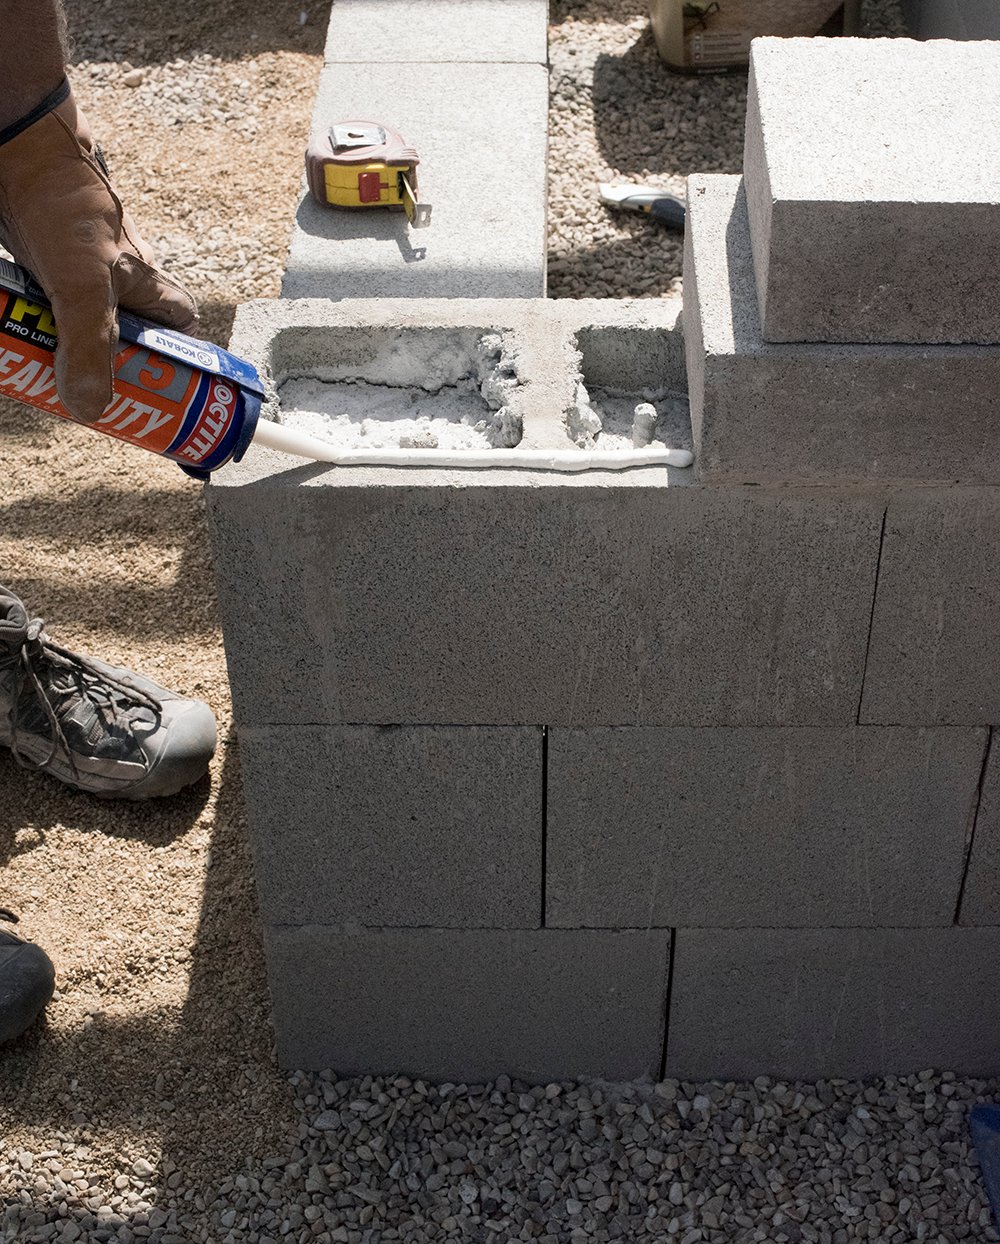
 Step 4 // Add the caps. Next, you’ll want to use concrete cap blocks to finish the top of the sofa. Using a brick exterior landscape adhesive, squeeze a fair amount around the perimeter of the cinderblock.
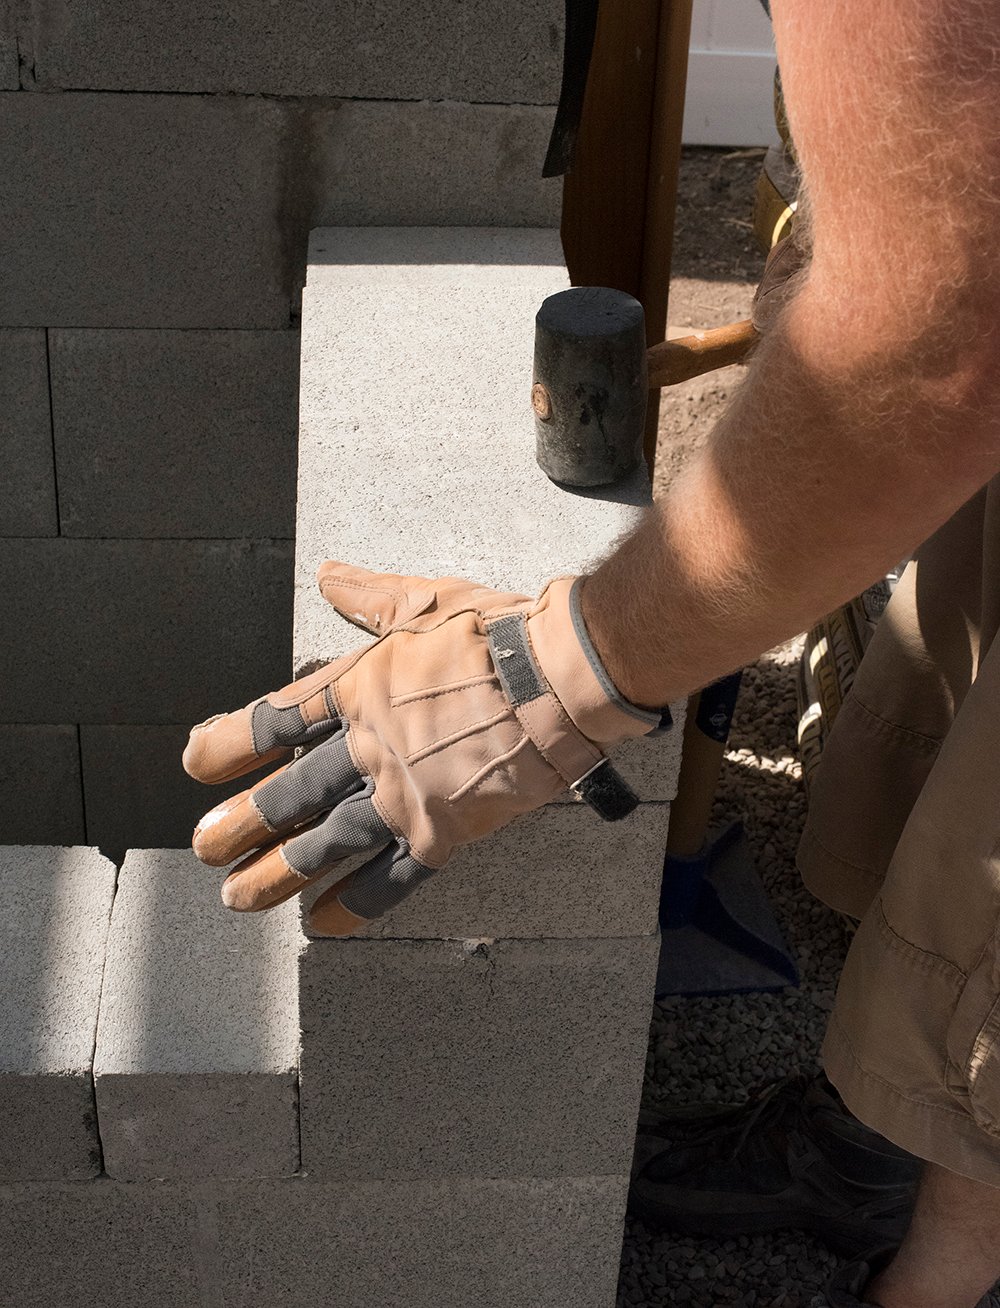
 Place the cap block onto the adhesive and use a rubber mallet to secure it into a permanent position. Allow these to completely set and harden before moving onto the next step!
 Step 5 // Mix the QuikWall. This specific product was new to us and one we’ll definitely use again in the future!
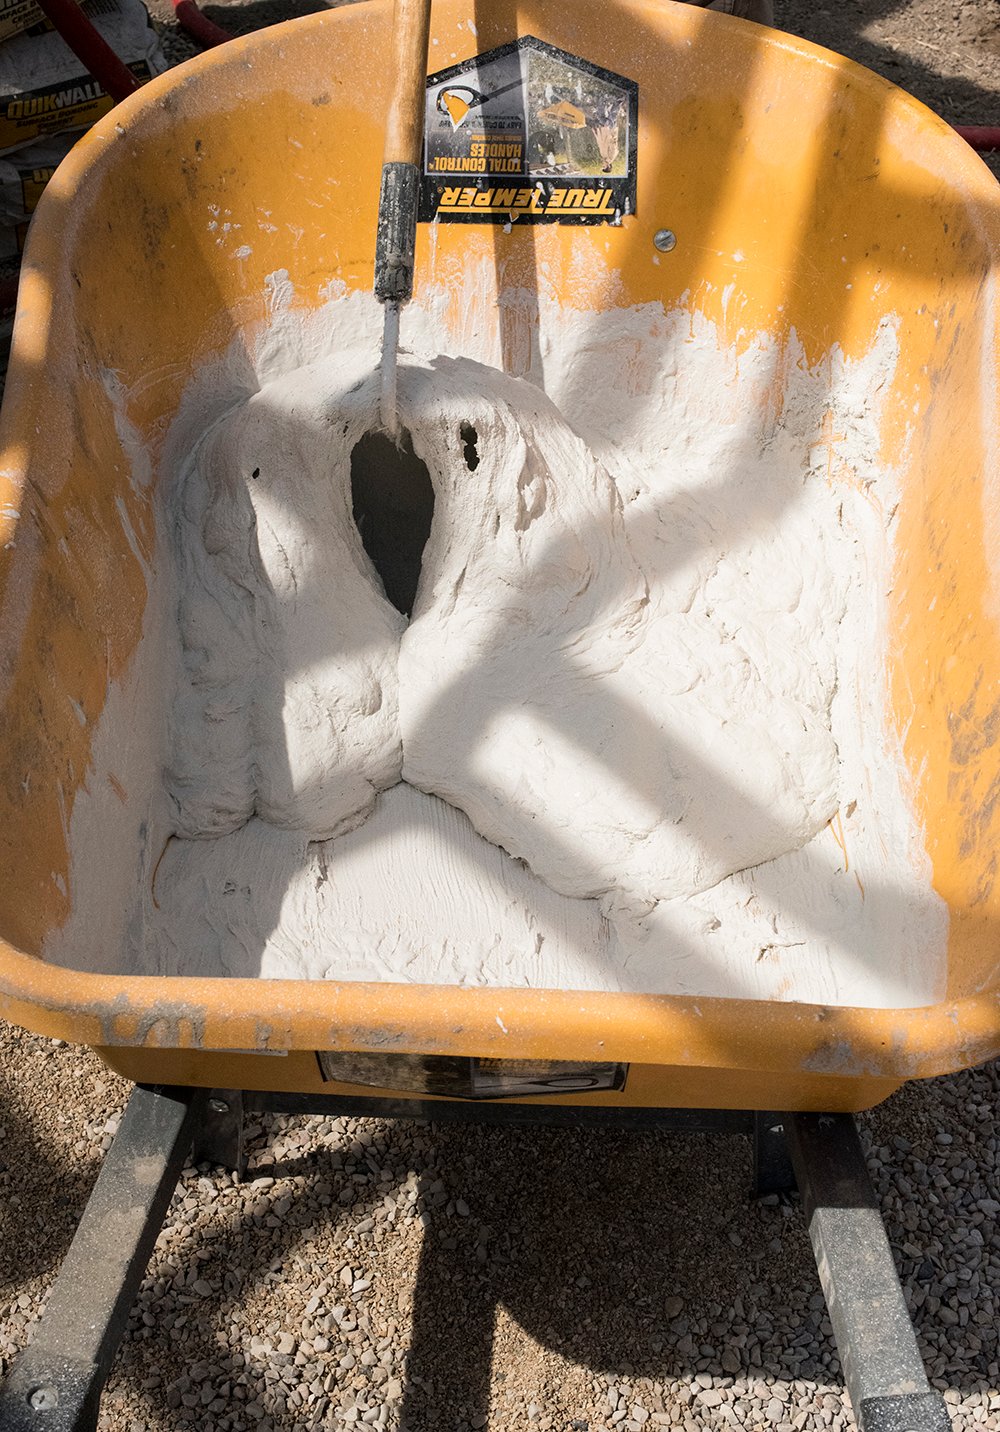
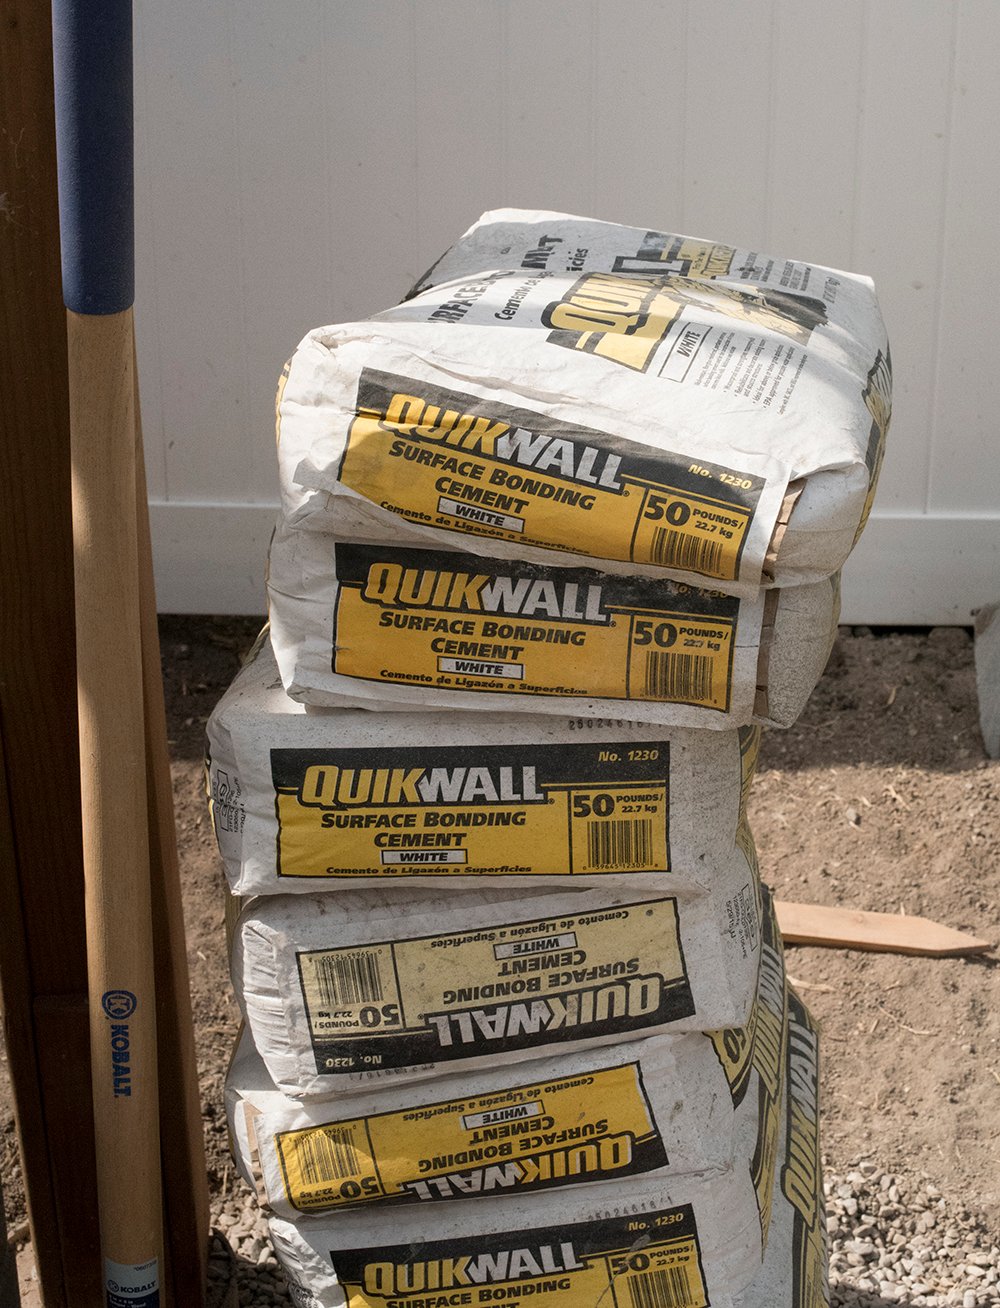 It’s like traditional stucco, but easier to apply and more durable. It is a little tricky to mix the correct consistency. Add water slowly and a little at a time. It should look a little something like this…
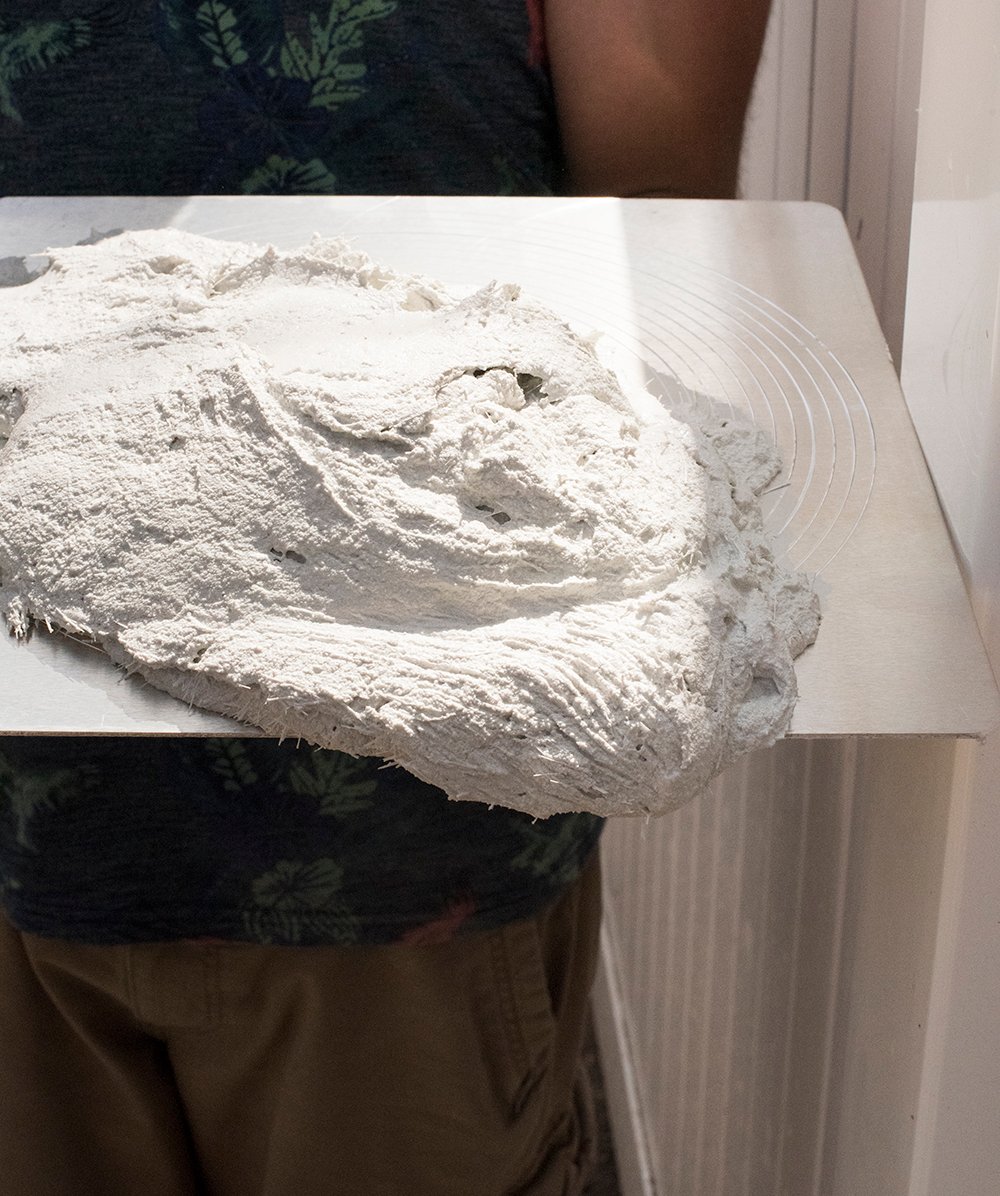
 You’ll actually be able to see the fiberglass particles in the mixture. This is what makes this material so strong.
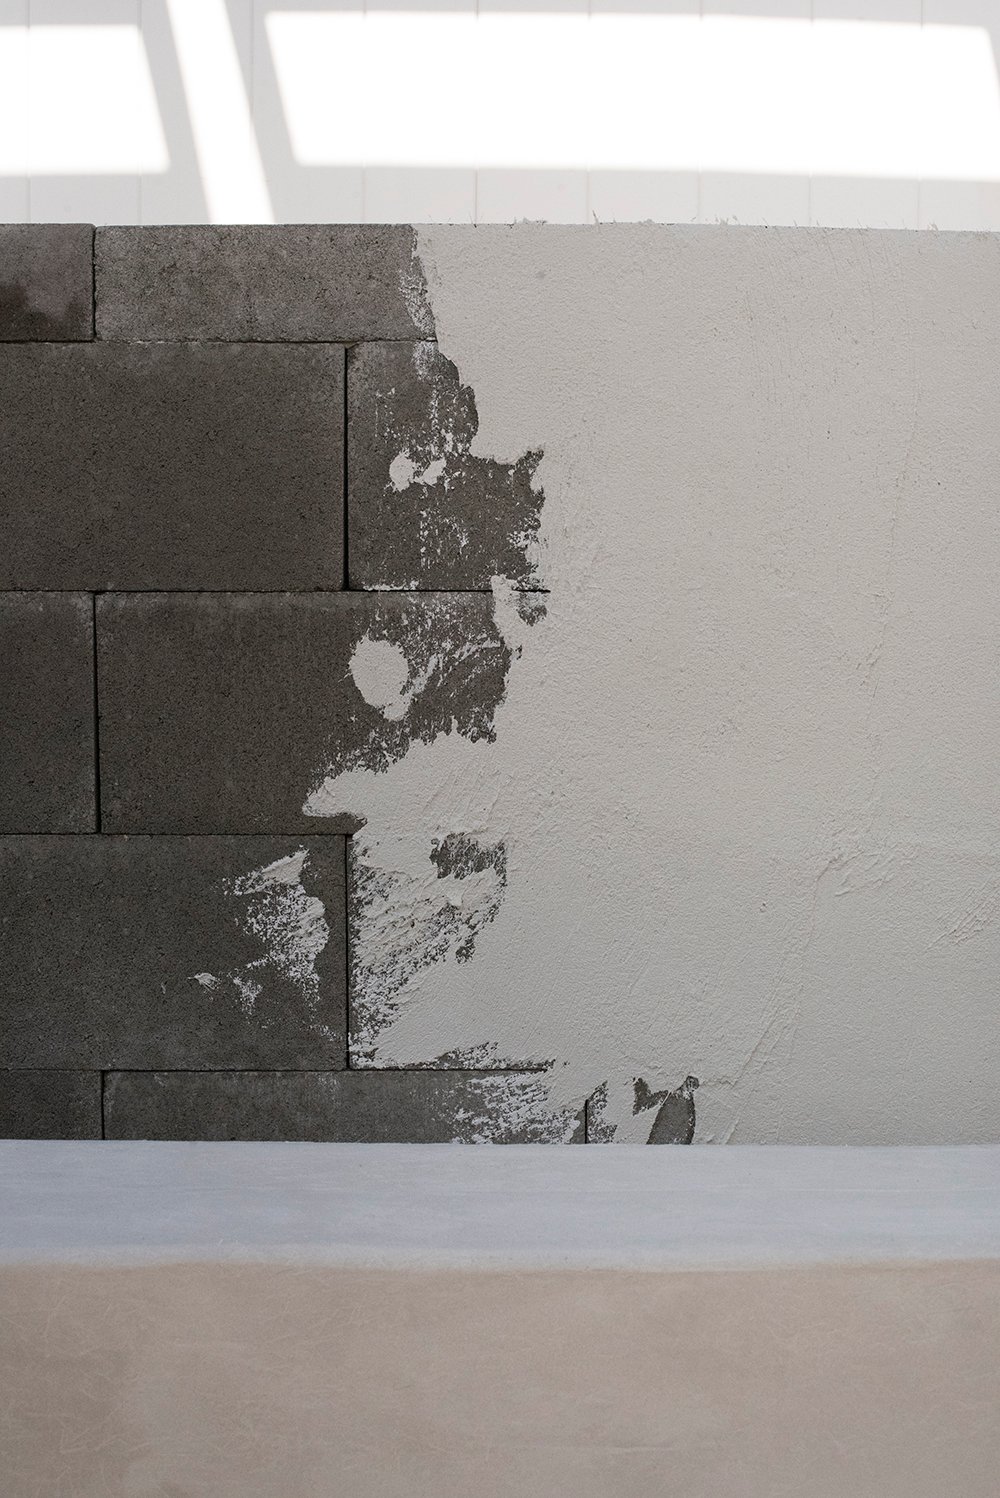
 Step 6 // Apply the QuikWall. Wet the cinderblocks with a hose on the shower setting prior to beginning. Using a trowel, begin to apply the material. It’s best to work from one corner to the other, finishing one section at a time. Fluid motions are also best. Emmett was much better at this… swiping the trowel over the cinderblock in one motion.
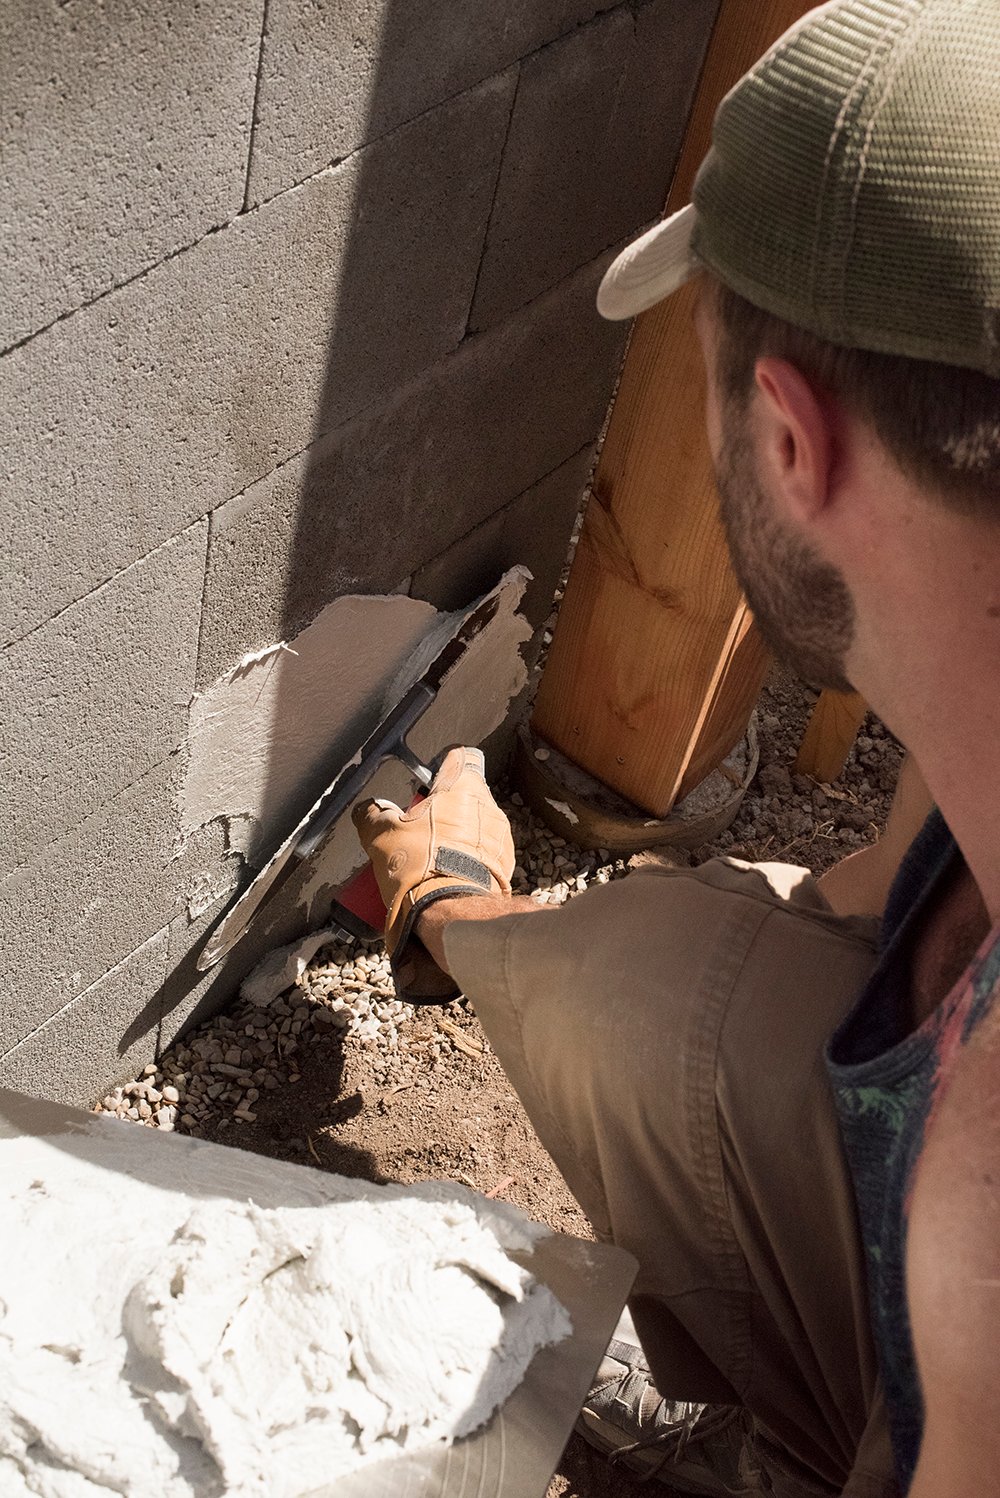 It’s also worth reading the directions on the package… you want to keep the material wet as you’re working, and even once it’s finished. This assists with the curing process.
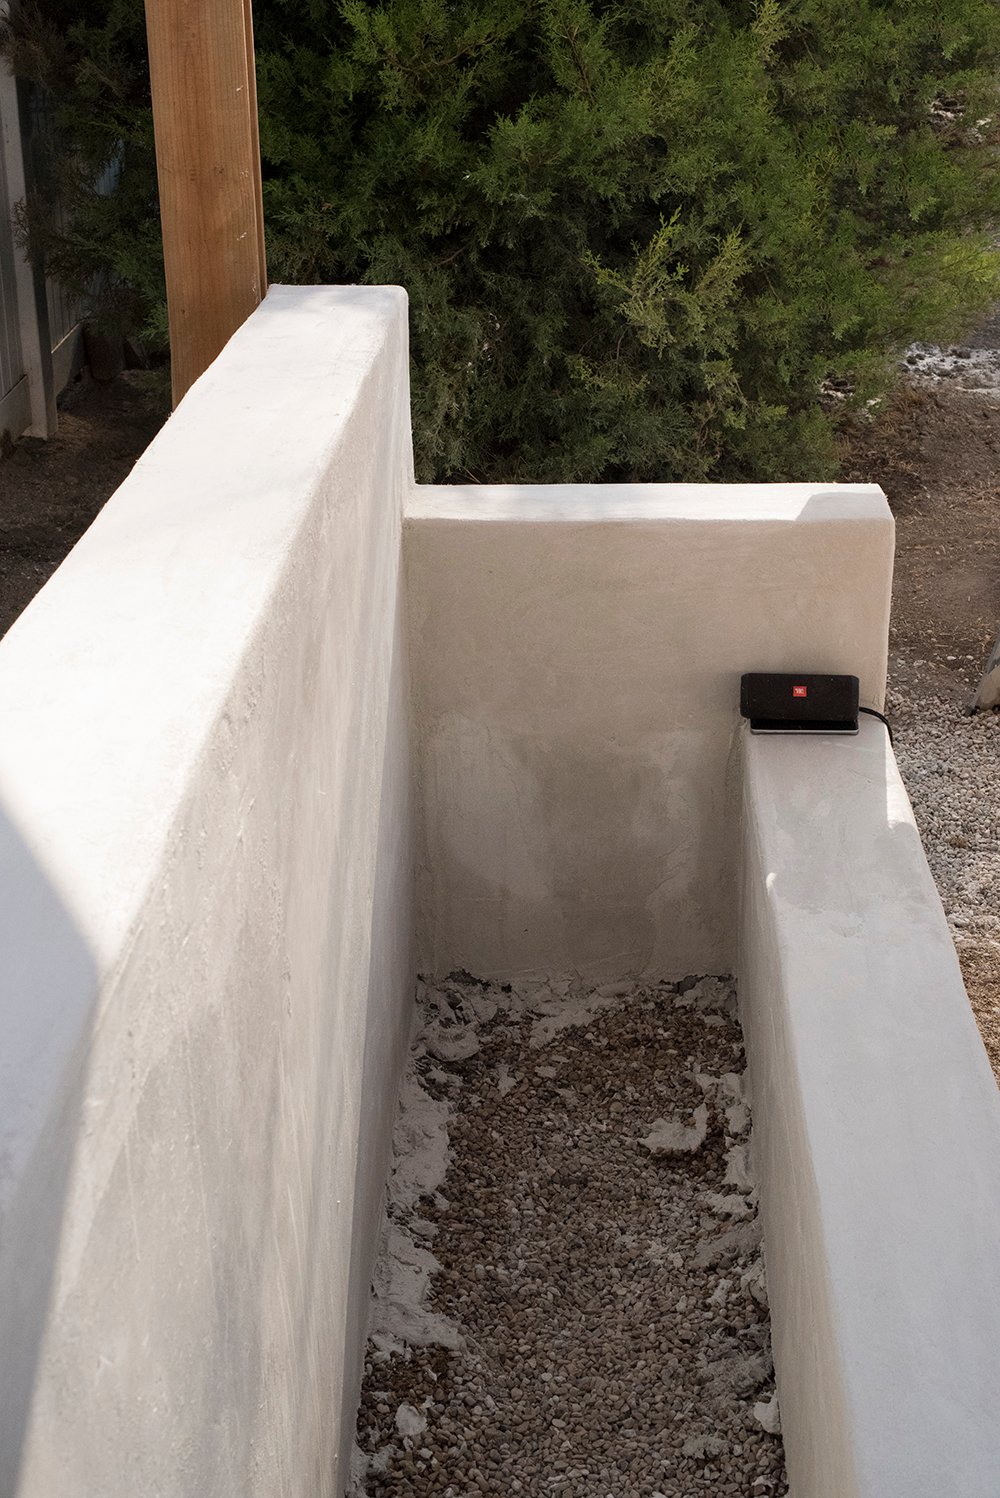
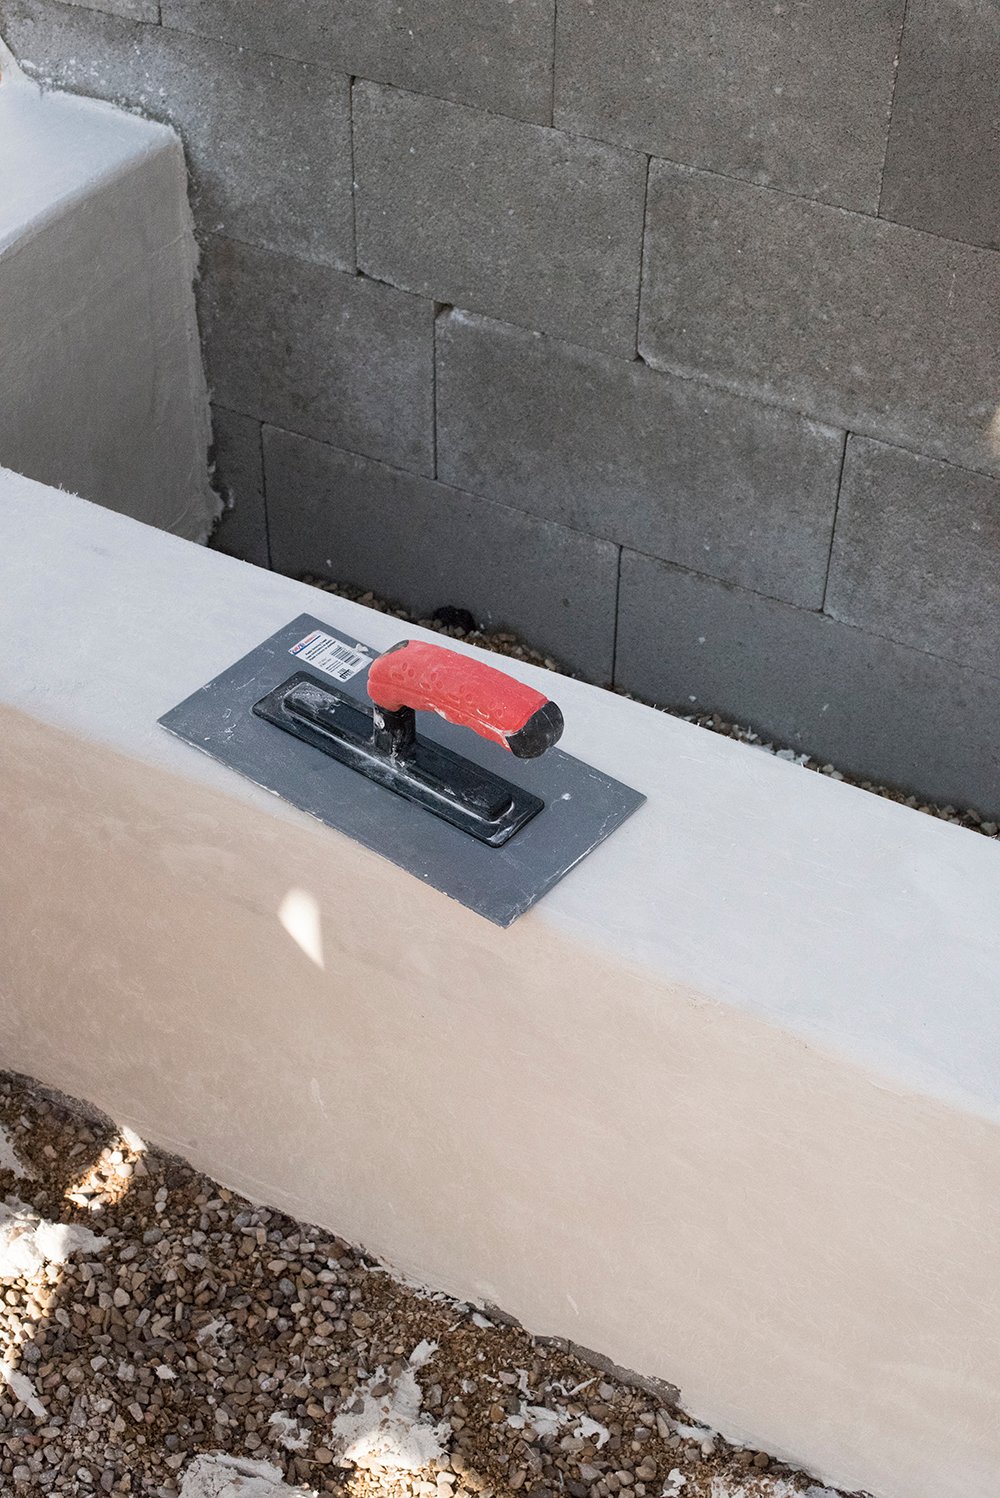 Step 7 // Wait… then add the seat. Once the entire structure has been covered and you’ve followed the curing instructions (spraying it from time to time), allow it to harden for at least 24 – 48 hours. It should look like this:
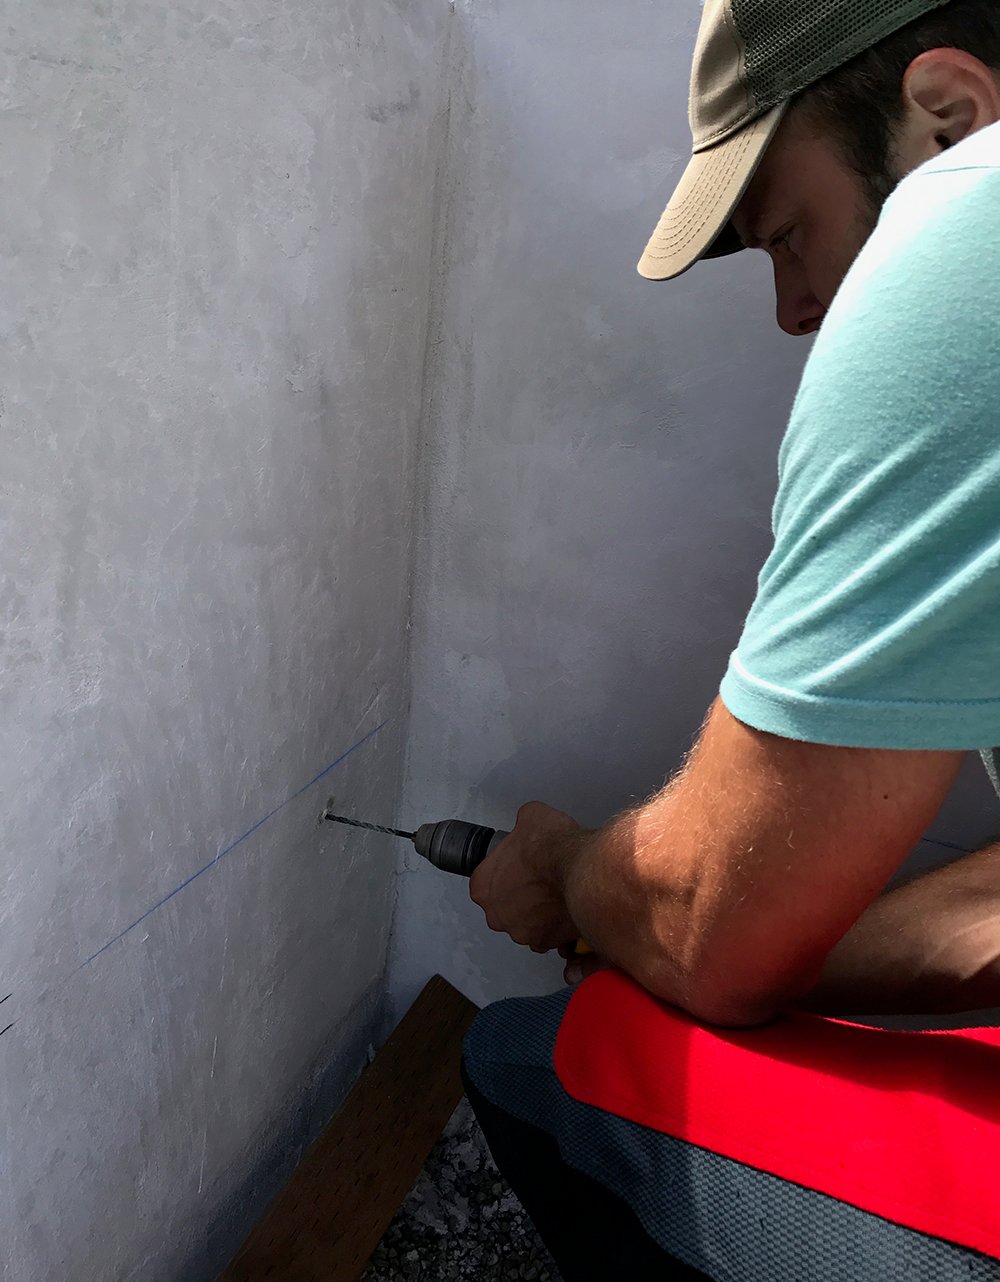
 Measure and use a chalk line to mark where the seating will go. Pre drill holes to mark where the structure will be installed. Again, this is all to your preference- structure size, cushion size / style, etc.
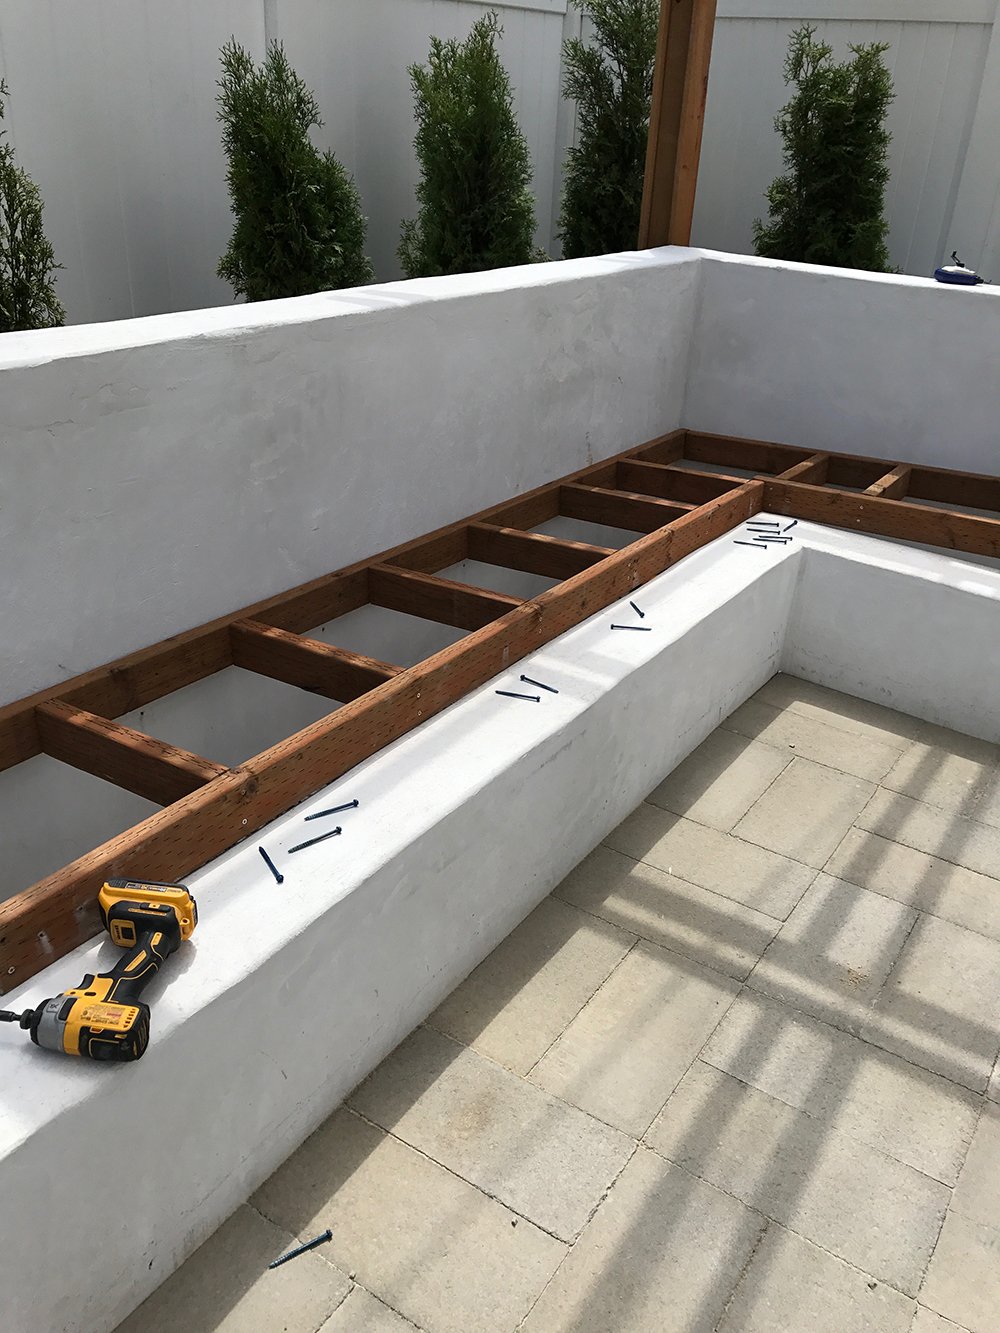
 Emmett used treated, weather resistant lumber to build the grid support structure. Once it was completed, I helped him screw it directly into the structure. Contrary to the image below, the wooden support will be mounted just below the seat. This was before we pushed it into the appropriate position…
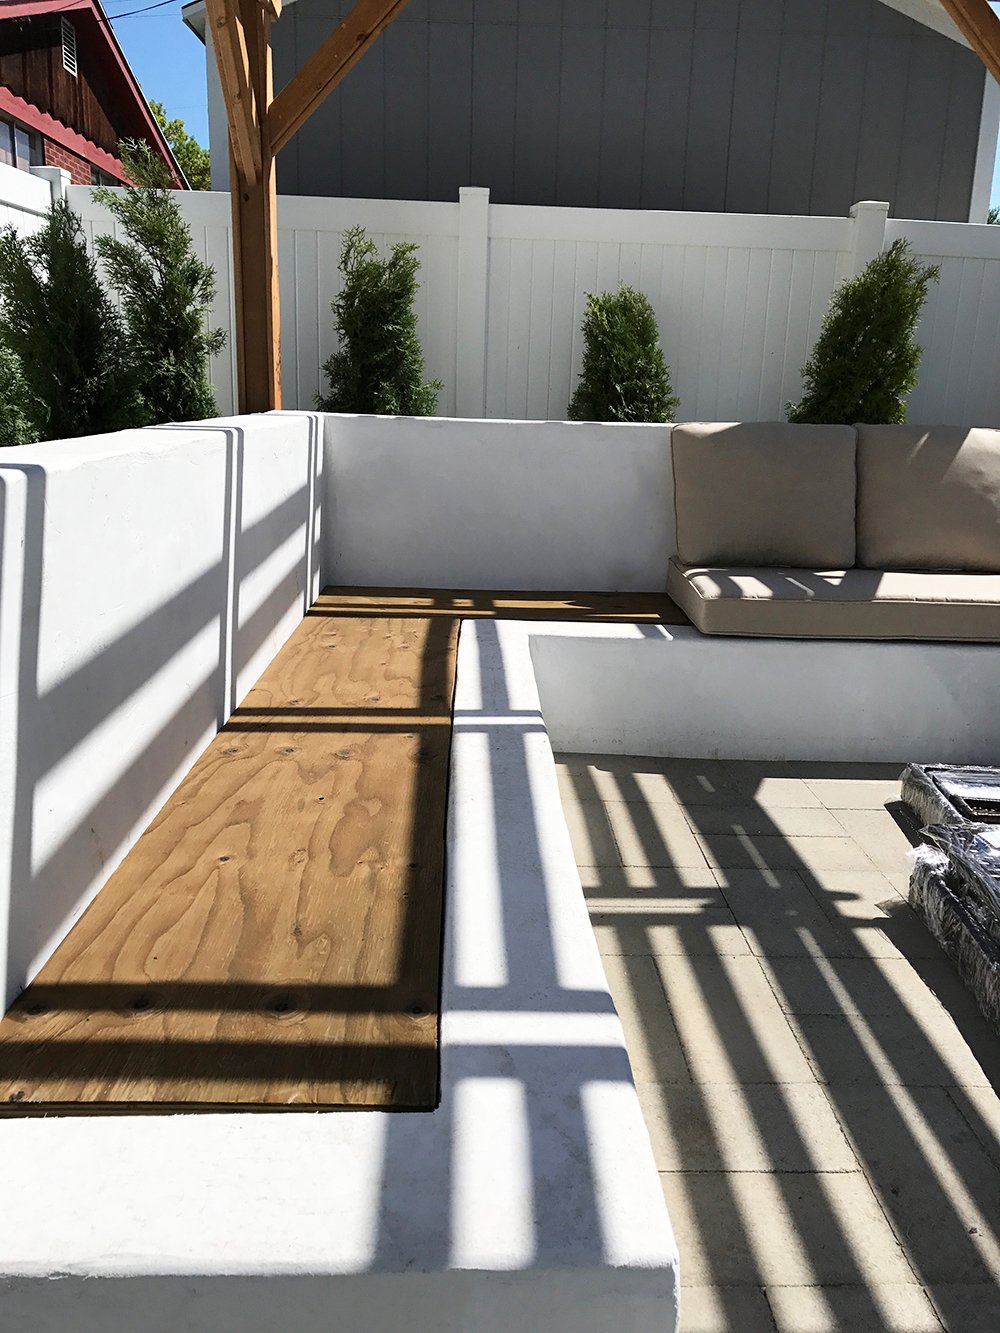
 Cut a piece of treated plywood to size, and sit it into the niche, on top of the grid support. It should be perfectly flush with the stone seat and look something like this…
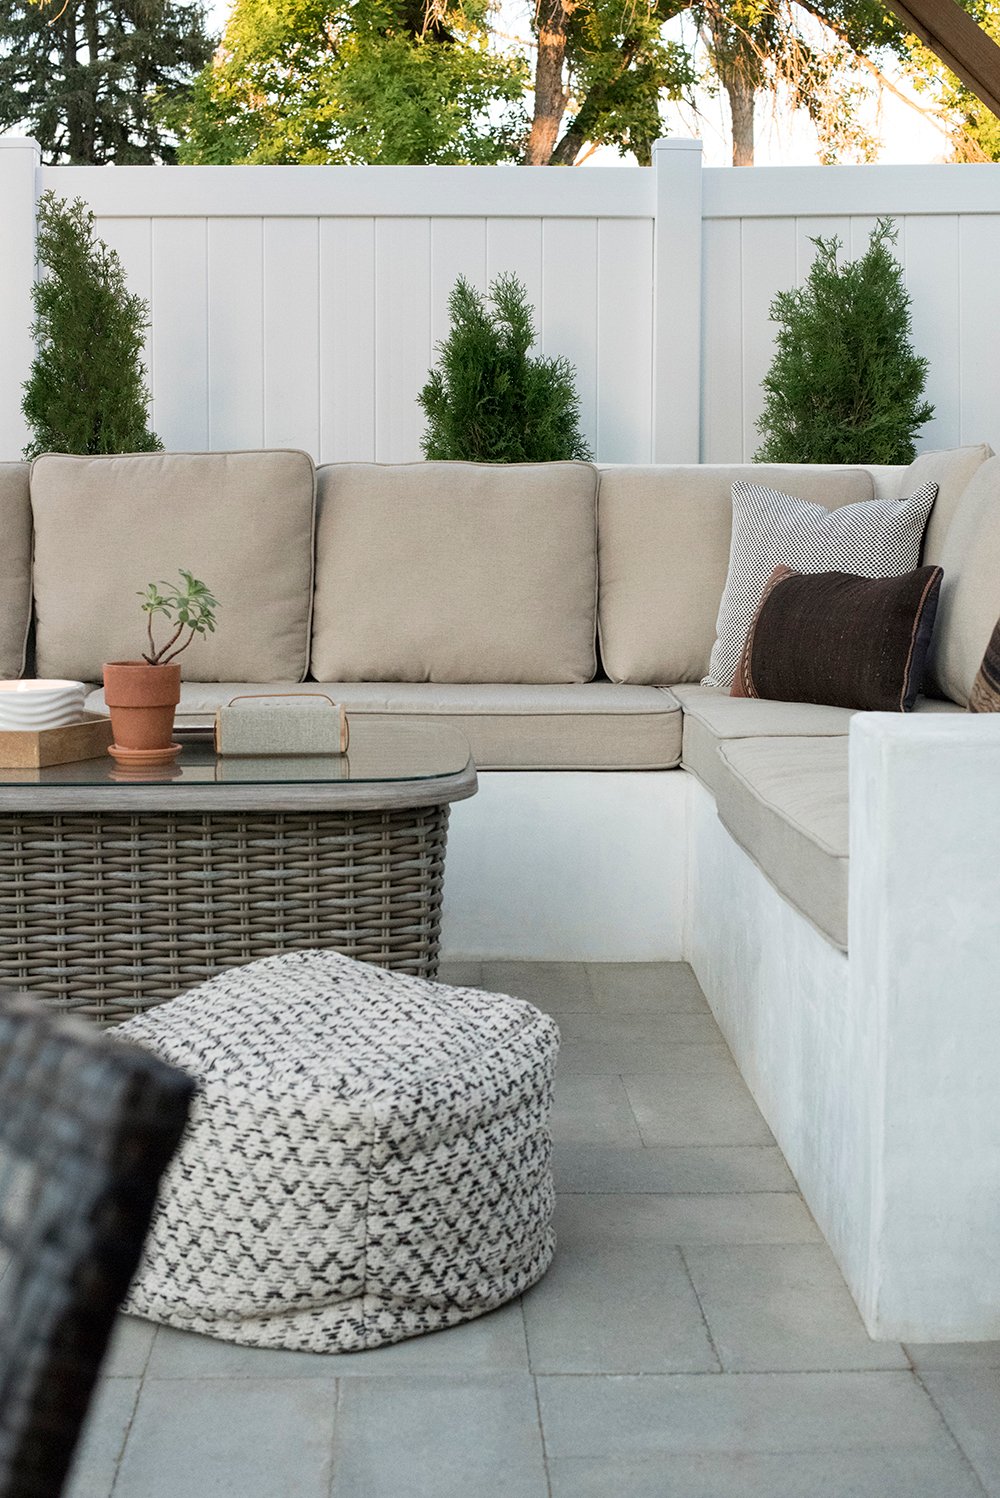
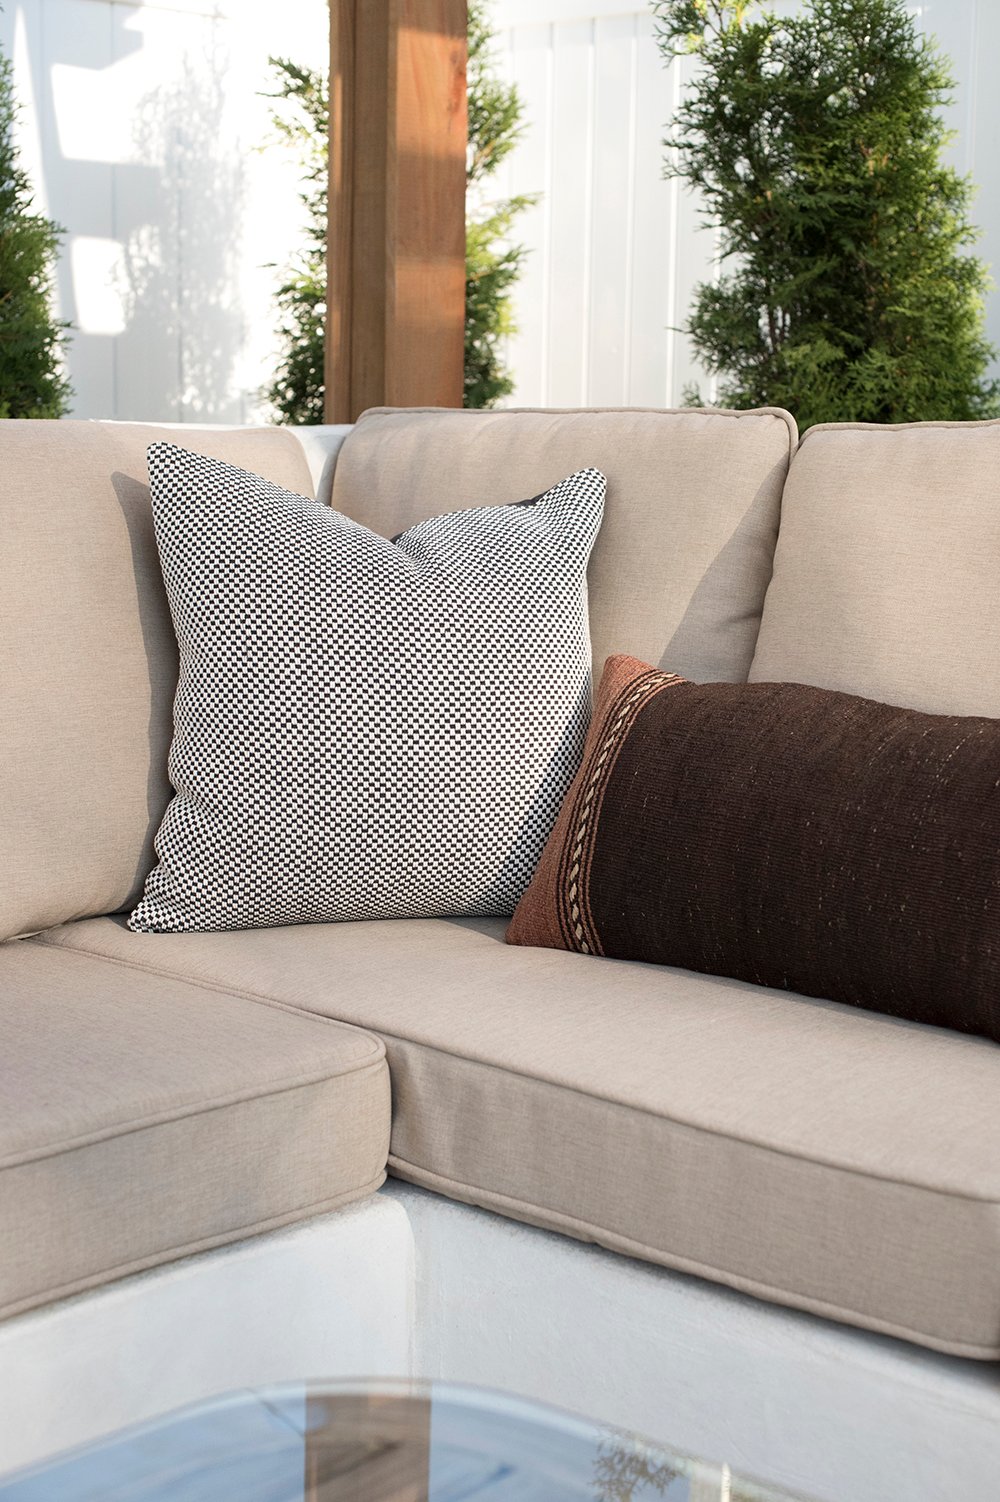
 Step 8 // Add the cushions! The best part is adding the cushions and seeing the finished result. Even though there are multiple steps to this DIY, this project went relatively quick in comparison to some of our other backyard projects (the paver patio, the fence installation, etc).
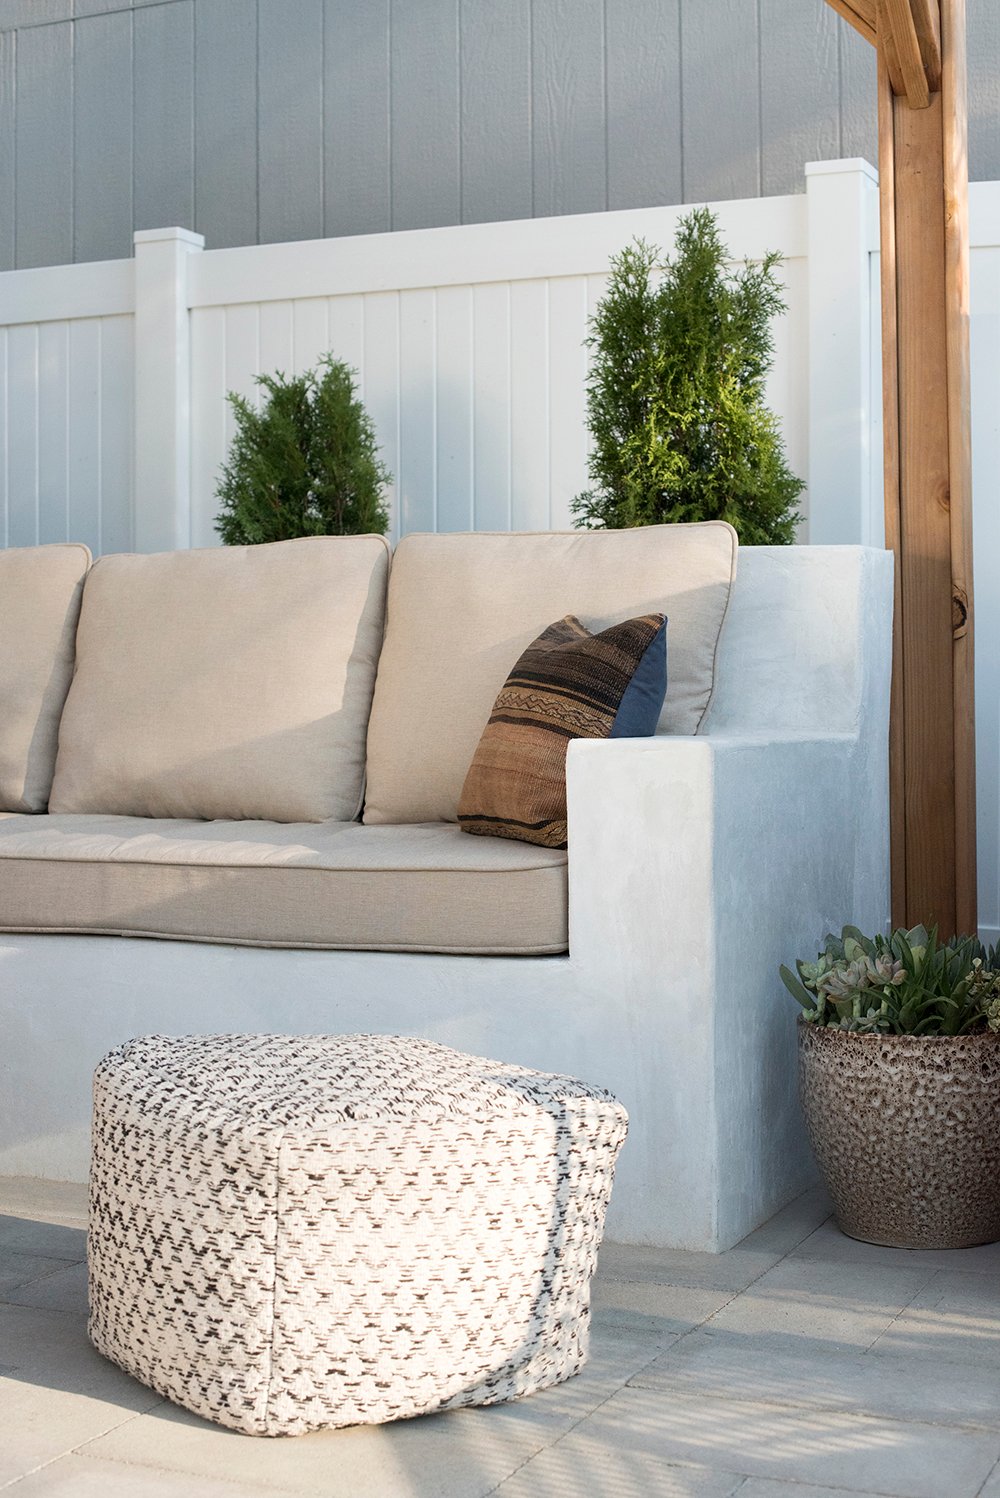
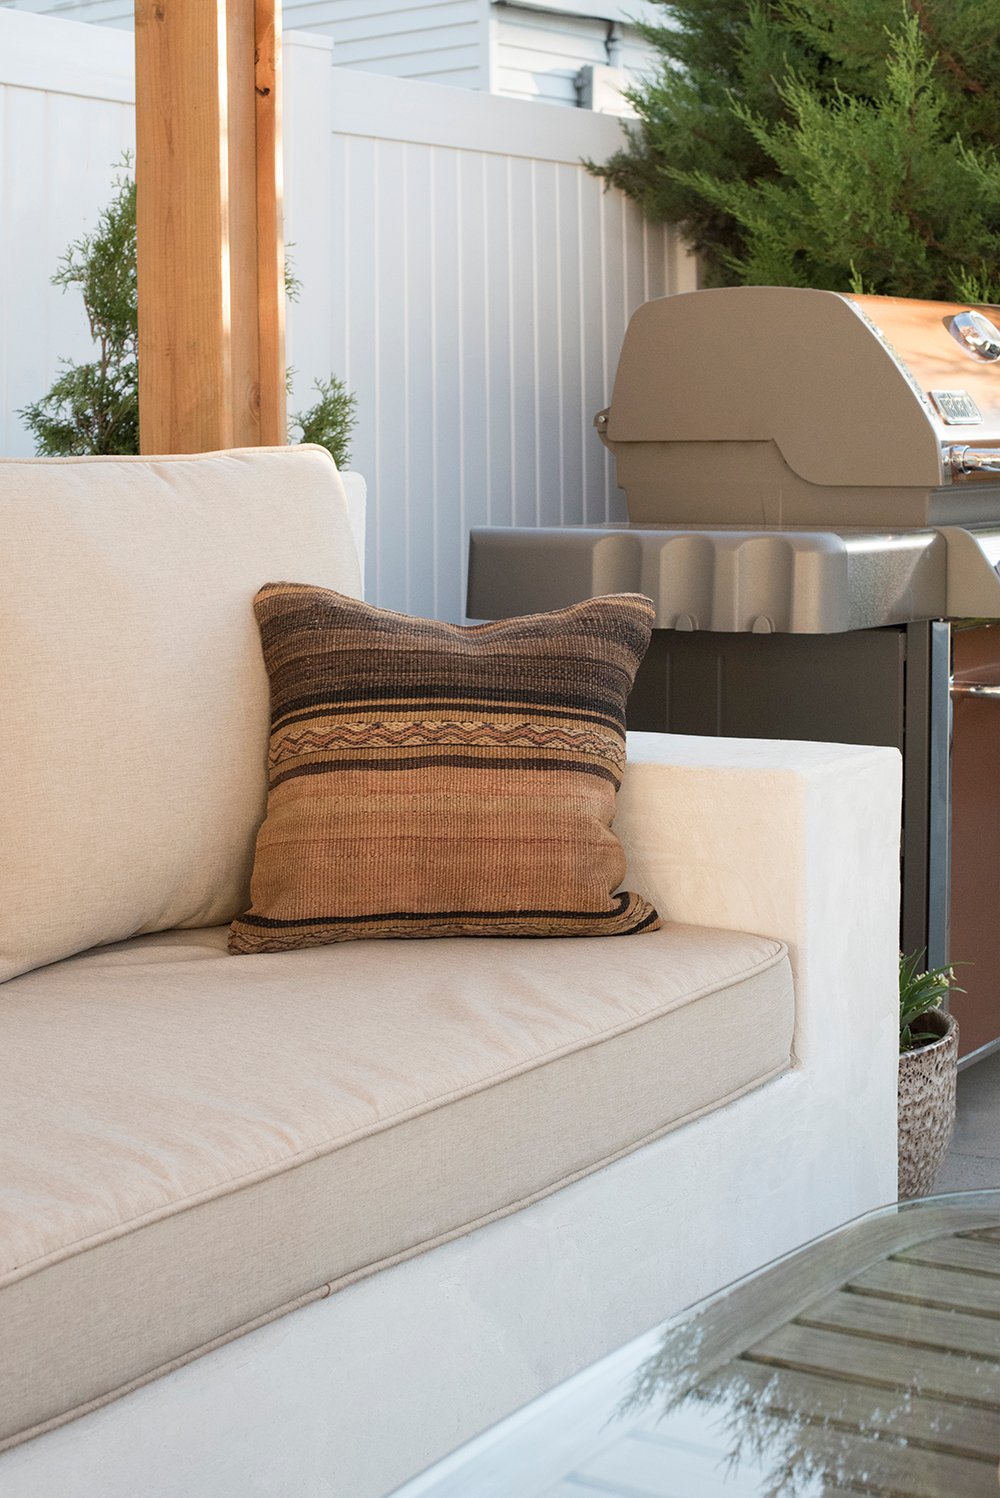 I’d love to hear your feedback! I’m pretty impressed that Emmett was able to find a way to make my vision come to life… and best of all- we built it together. We’re already spending a lot of time enjoying our yard and now we finally have a comfortable spot to hang out. This sofa comfortably seats eight. Hit me with any questions in the comments below… I’m all ears!
*This post is brought to you in collaboration with Lowes. All content, ideas, and words are my own. Thank you for supporting the sponsors that allow us to create unique content while featuring products we truly use and enjoy!
SaveSave