Client Project : Outdoor Living Space
 I probably should’ve waited to share this project until after I reveal my own backyard makeover because this one is a show stopper. I’m pretty sure outdoor living space doesn’t get better than this, friends. Last week, during my visit back to Ohio, I stopped in to shoot and see how this project turned out. Let’s just say I was not disappointed. Click through to see a massive outdoor add-on that includes a fireplace, outdoor living room (complete with a TV), a dining area, and lots of space to hang (literally). You guys are going to LOVE this one! Get ready to pin and scheme your own patio.
 You might remember this kitchen, this living room, or this dining room. What do all of these spaces have in common? This outdoor living space belongs to the same house / client, and let me tell you- I’m a little envious! When my friend Carmen asked for help designing her giant outdoor area, I was excited to dive in and brainstorm ways to create functional and cozy living quarters outside.
 The plan is to complete this project in phases and this preview is phase one. I custom designed a dual sided fireplace complete with firewood storage, and you might be wondering why it’s accessible from both sides. Phase two will include designing the backside area… which we’re thinking will include seating and an outdoor kitchen or grilling space of some sort. Fast forward to the longterm plan, and phase three will include a pool and deck that steps down from front side of the covered area. That probably won’t happen for a bit, so I wanted to make sure this outdoor living space was perfectly functional and beautiful in the meantime.

 I’ll go through each “area” and share my thoughts and design process behind each. Since we’re already on the topic of the fireplace, let’s start there!
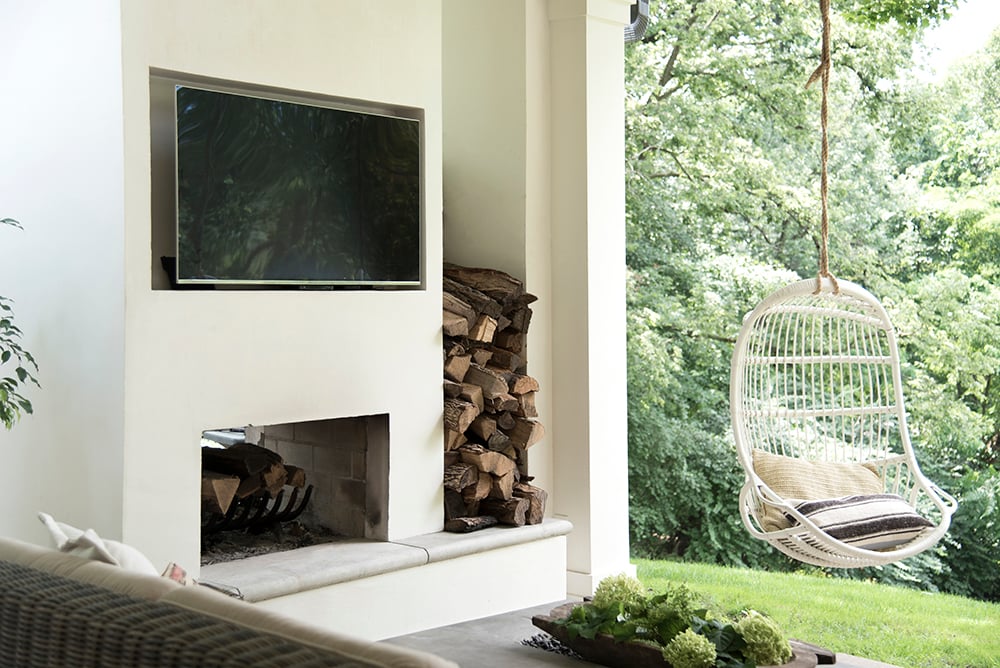
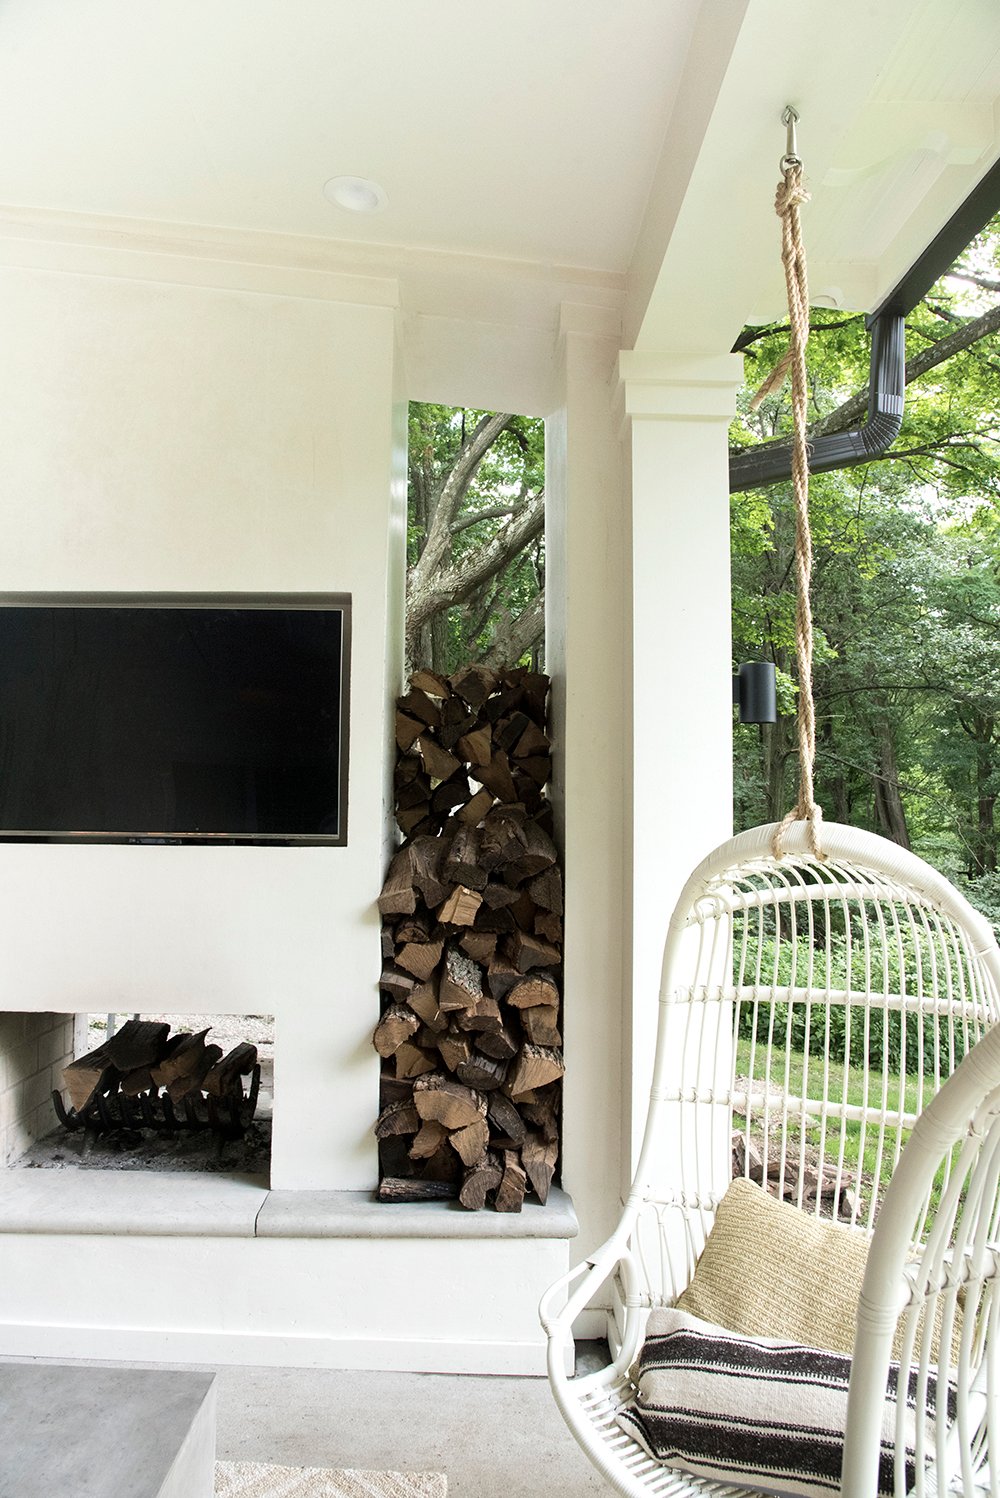
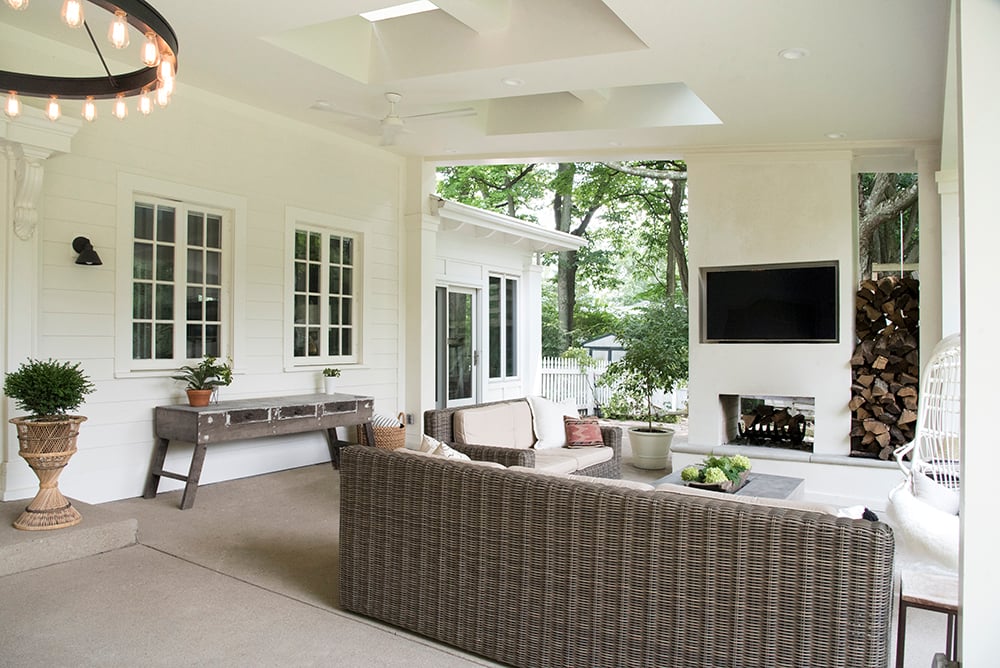
 The home itself is really old and historic- with SO much character. However, the homeowners don’t have a traditional style like the architecture of their home. They preferred something a bit more modern, bright, and airy, while keeping the integrity of the home’s exterior. Initially they had asked for a stone fireplace of some sort, but I felt it would be too heavy and not representative of their personal aesthetic. I envisioned a minimal structure with a plain, smooth surface that would match the farmhouse exterior and shaker style siding… and that’s how stucco came into play. I designed an area for firewood storage to balance the weight of the structure, but also for functionality. To finish the piece and create a polished, cohesive look, I had the contractors trim out the base and top of the fireplace with flat mouldings that match the home’s interior.
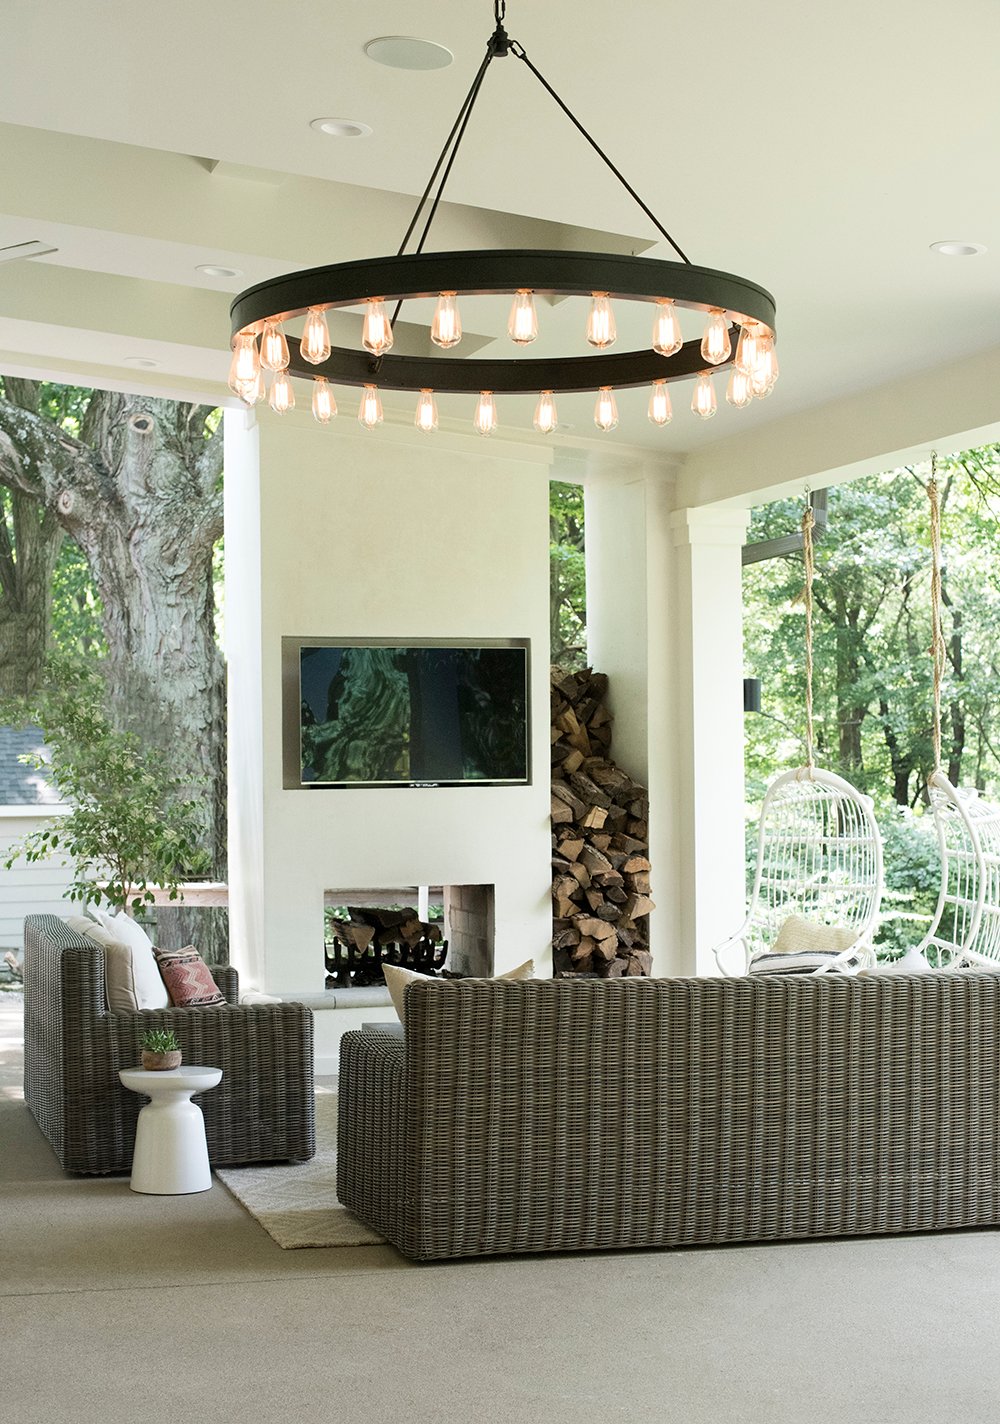
 The fireplace still feels very open, despite the enormous size. They also asked for a solution for a television. This was honestly the most challenging part of the fireplace. After presenting multiple options, we landed on a simple recessed niche. Since the area is completely covered, once the TV is tucked into the niche, it’s 100% protected from the elements. I considered covering it with art, a sliding panel, and even doors, but it just felt like we were trying too hard. I think this is the best solution, and it can be viewed from all angles. The TV is on a hinge so you can pull it out and angle it however you please.
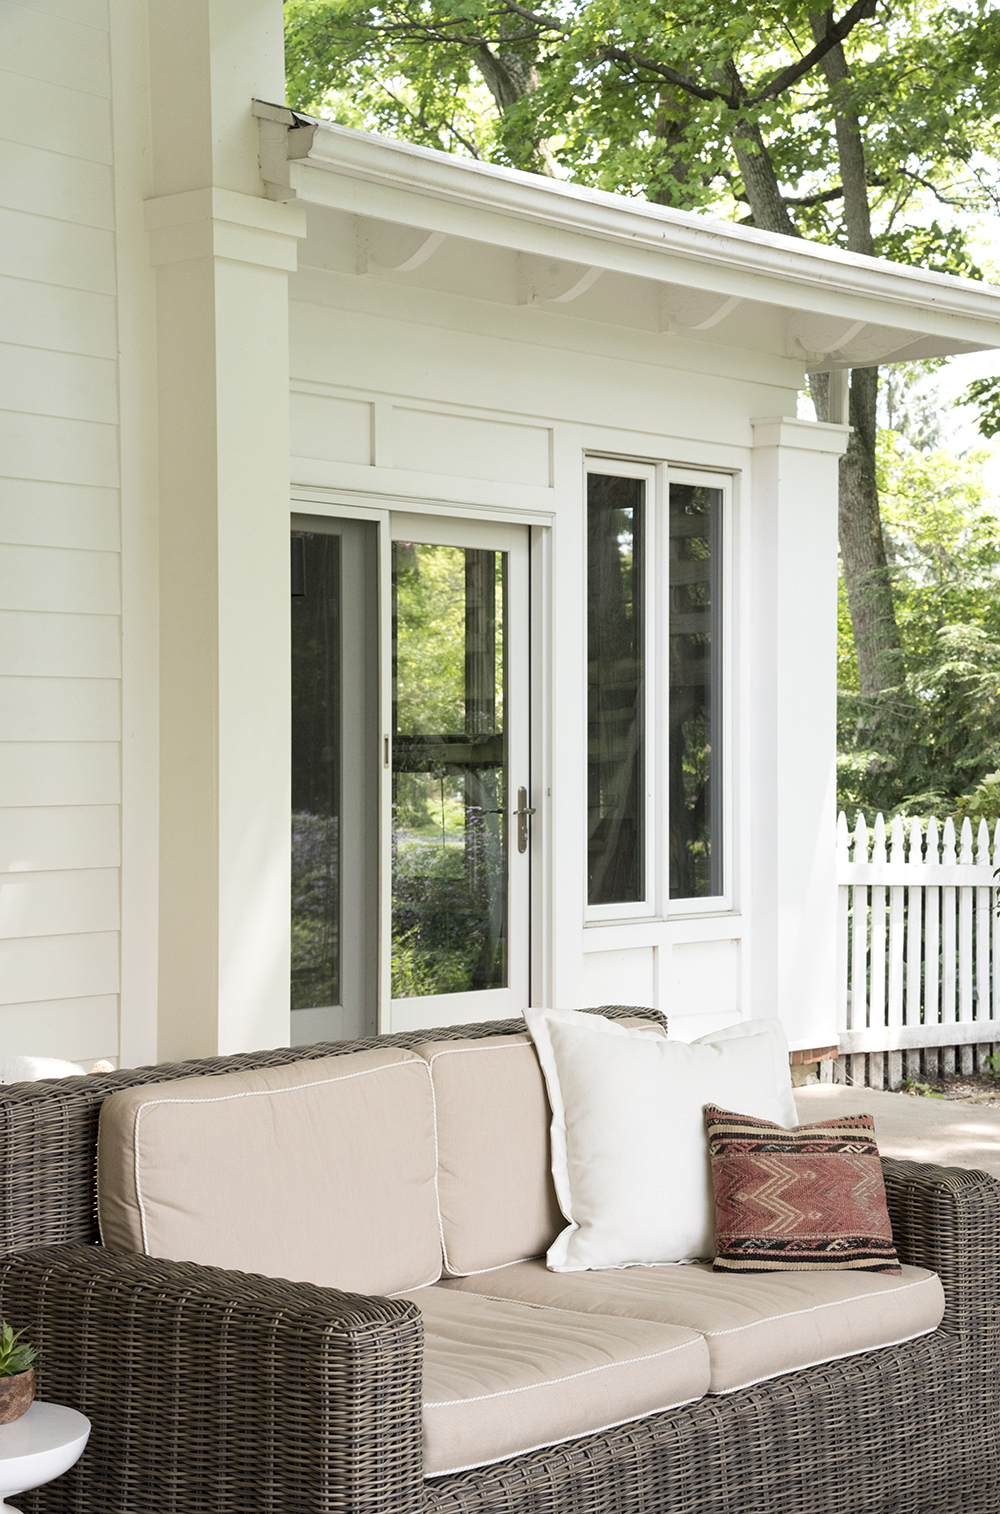
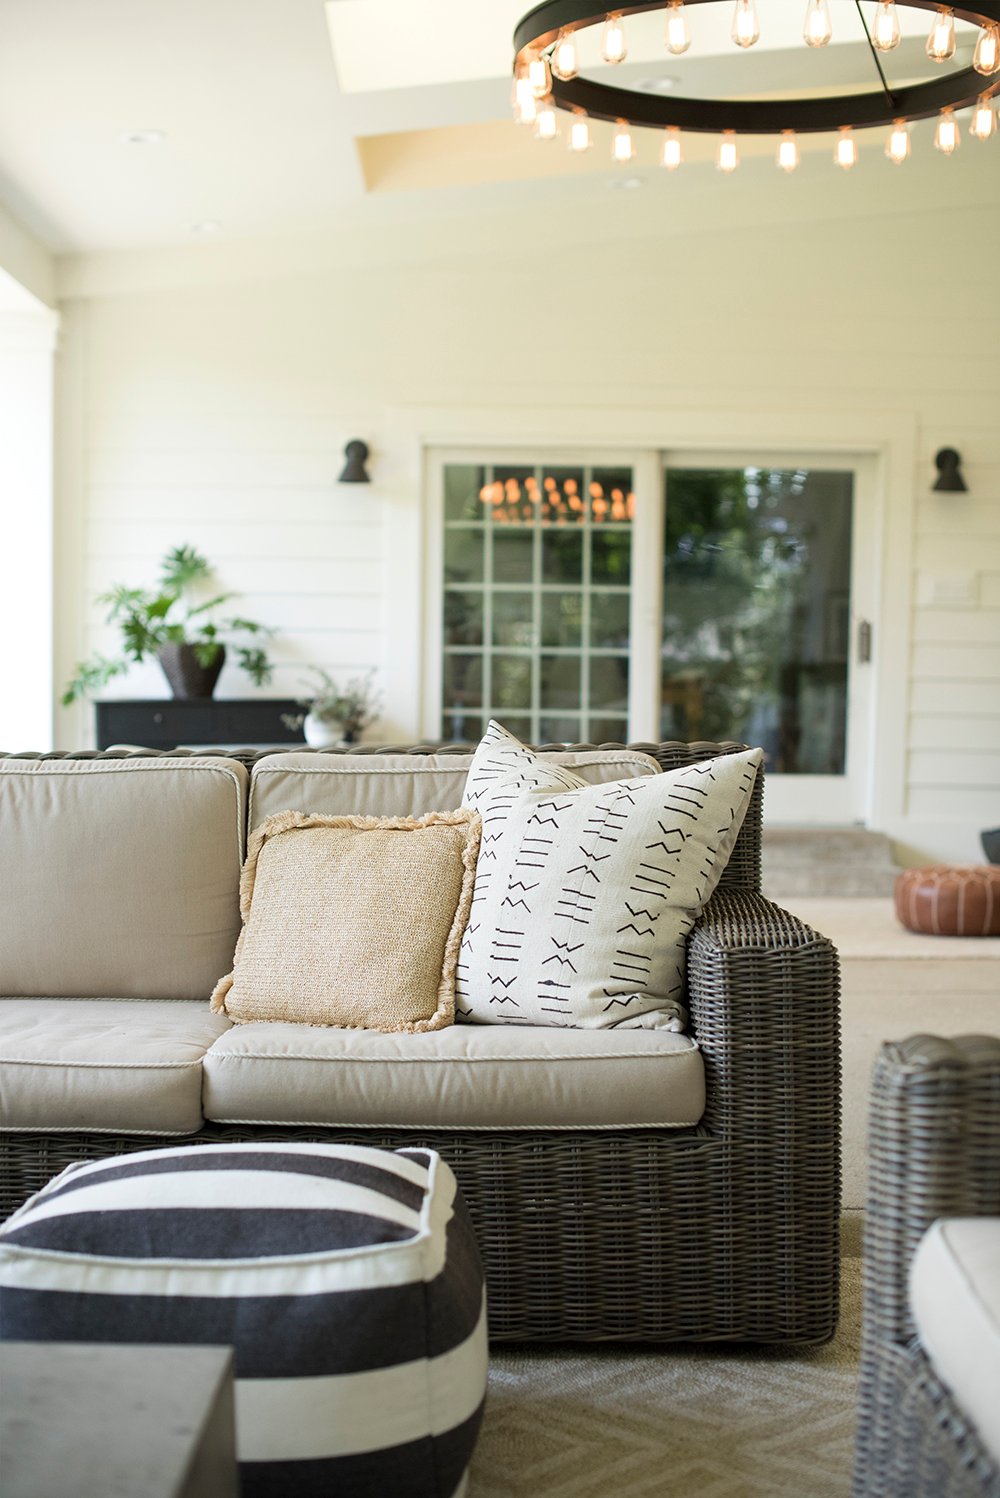
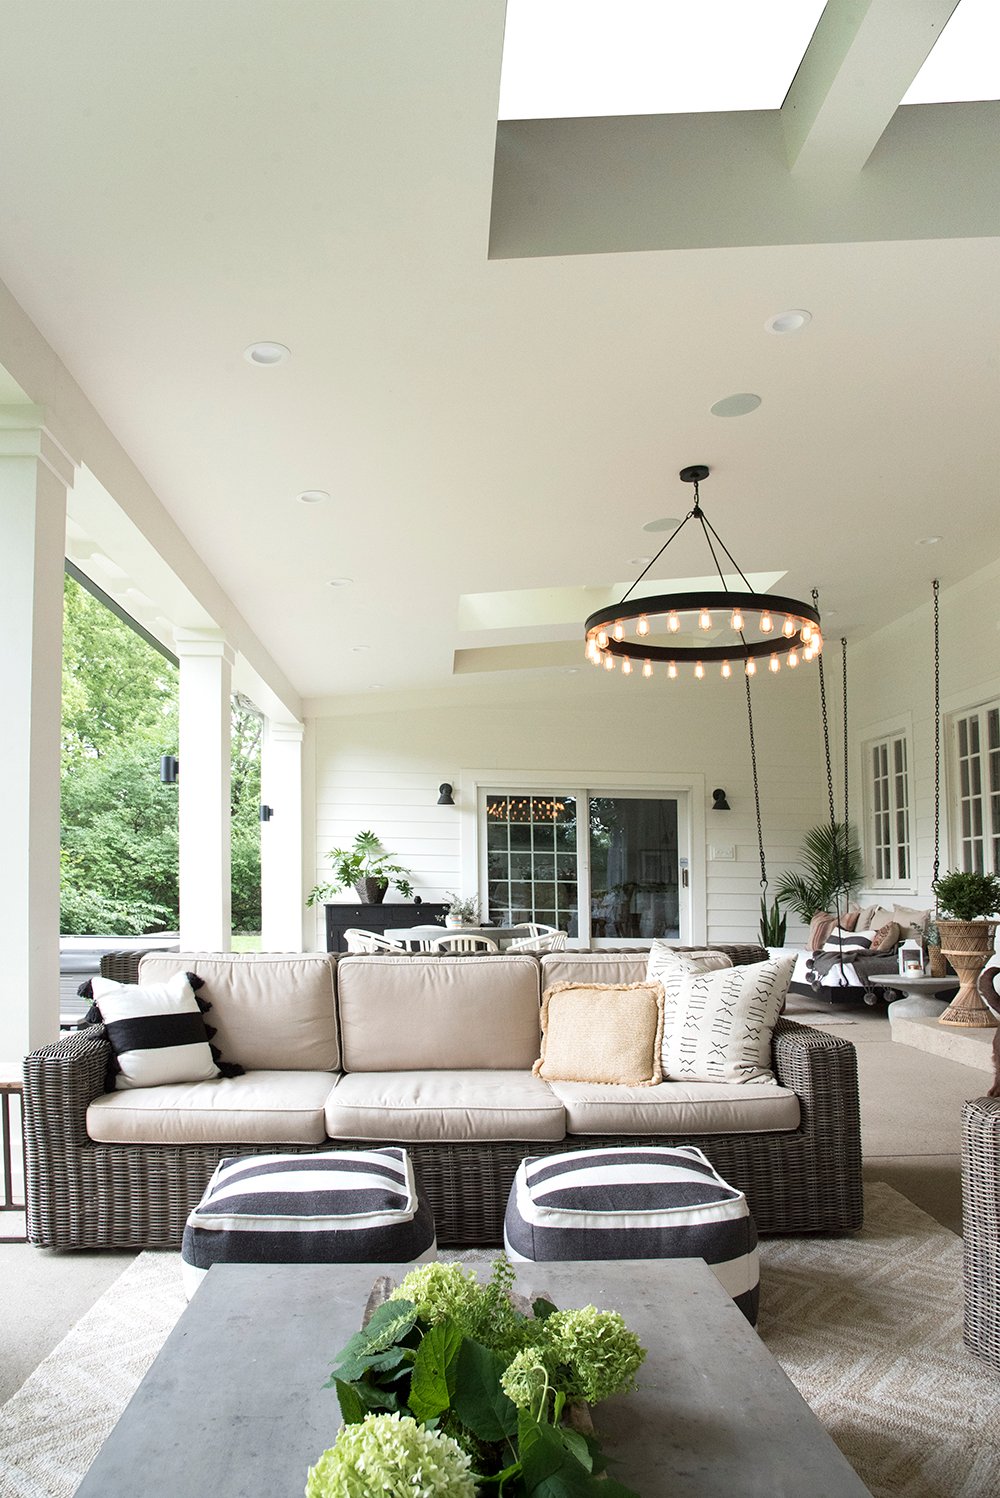
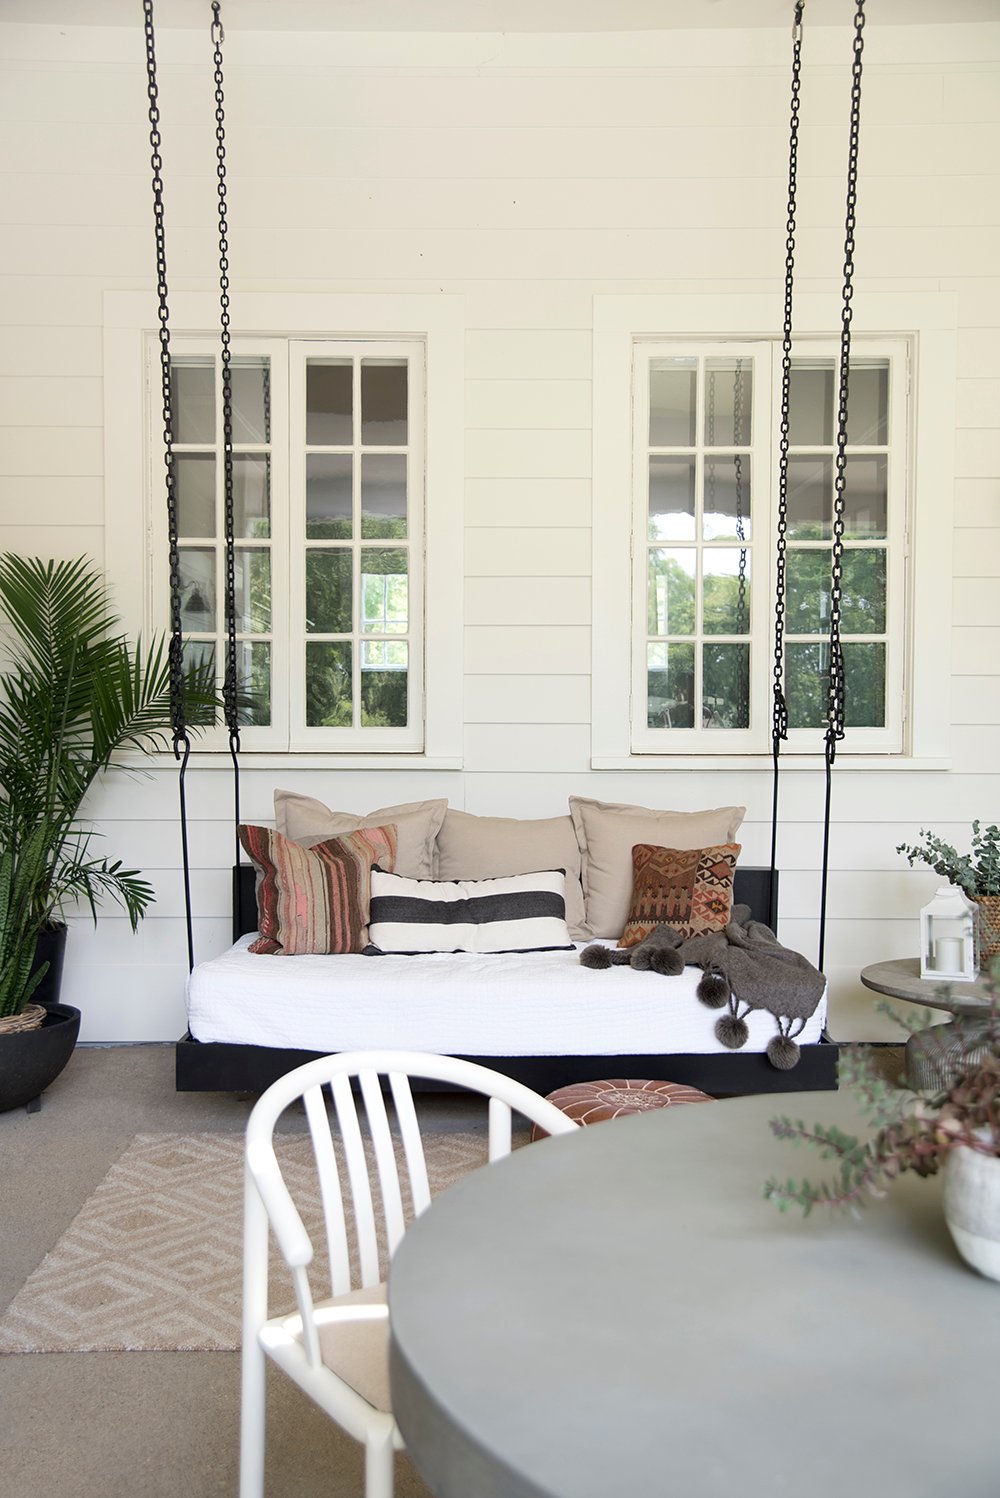
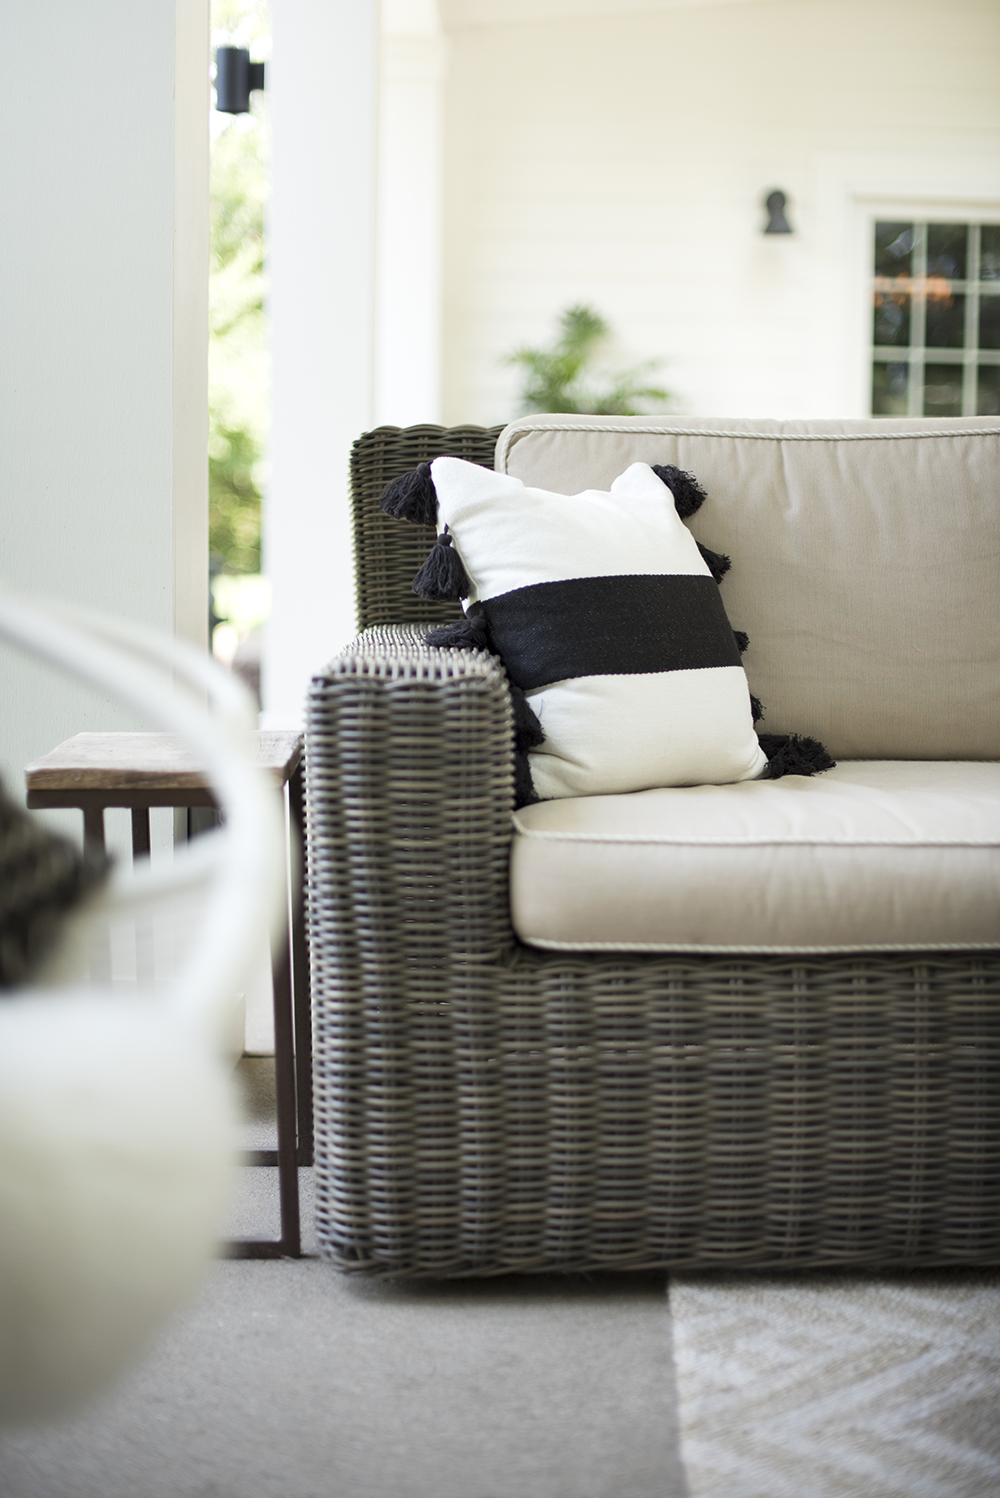
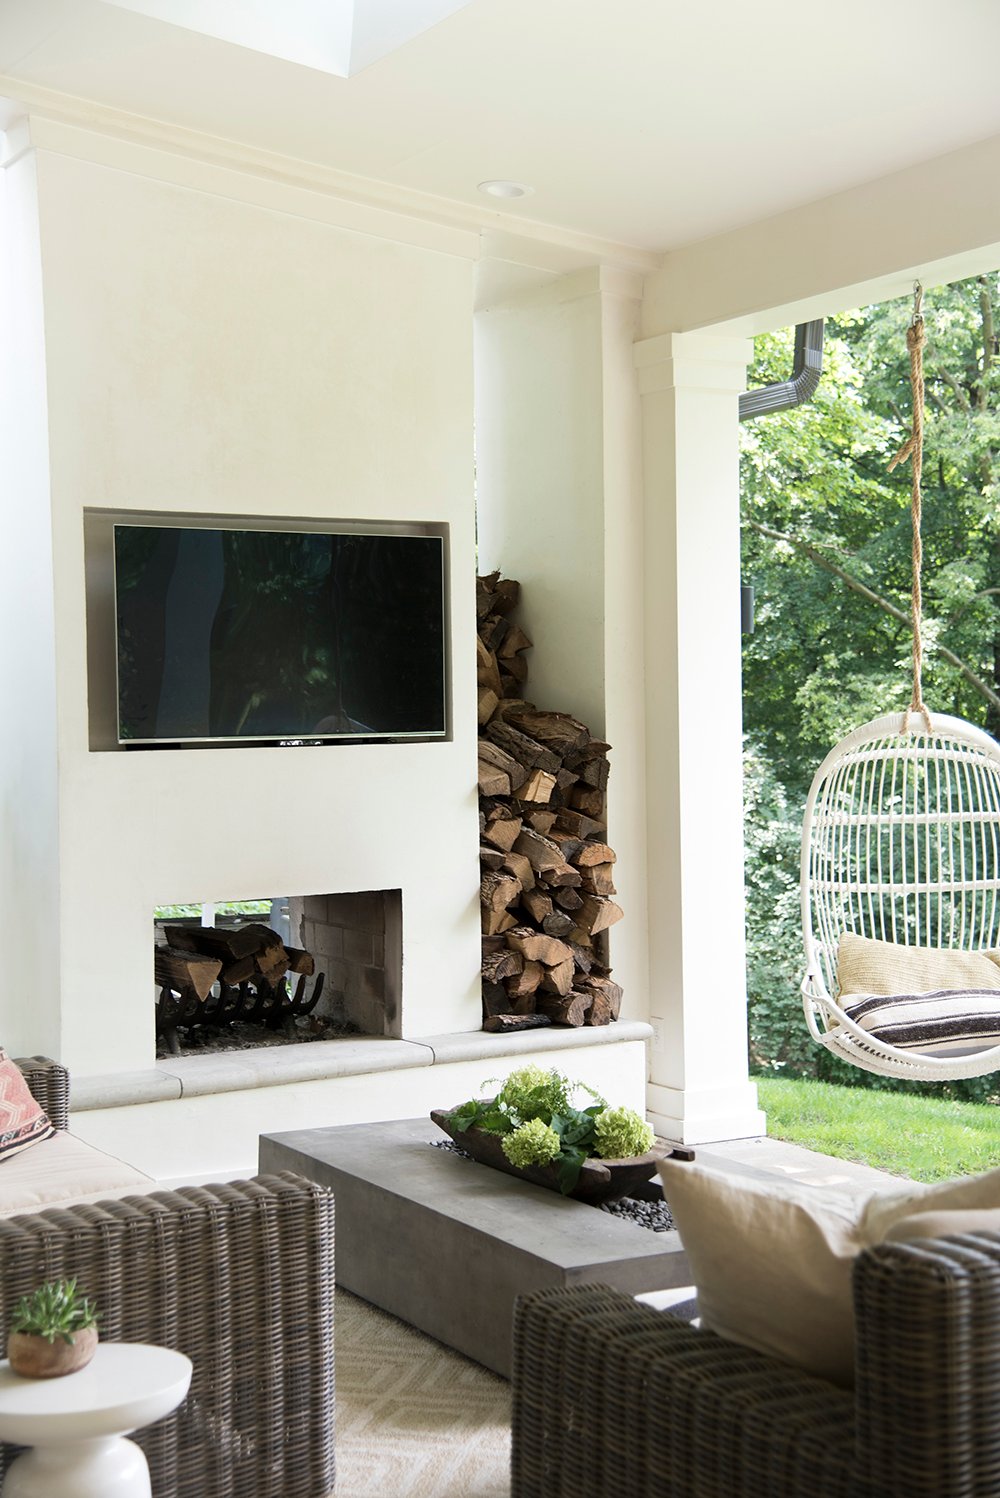 Believe it or not, the furniture was existing. When floor planning I had to consider the giant scale of the sofas and cocktail table. We added a couple hanging swings to create a cozy and conversational environment, which I hear Carmen’s boys are putting to good use. Layering an outdoor rug on top of the concrete also makes this vignette feel more inviting. With some simple styling, vintage throw pillows, and a few plants, this space really came to life!
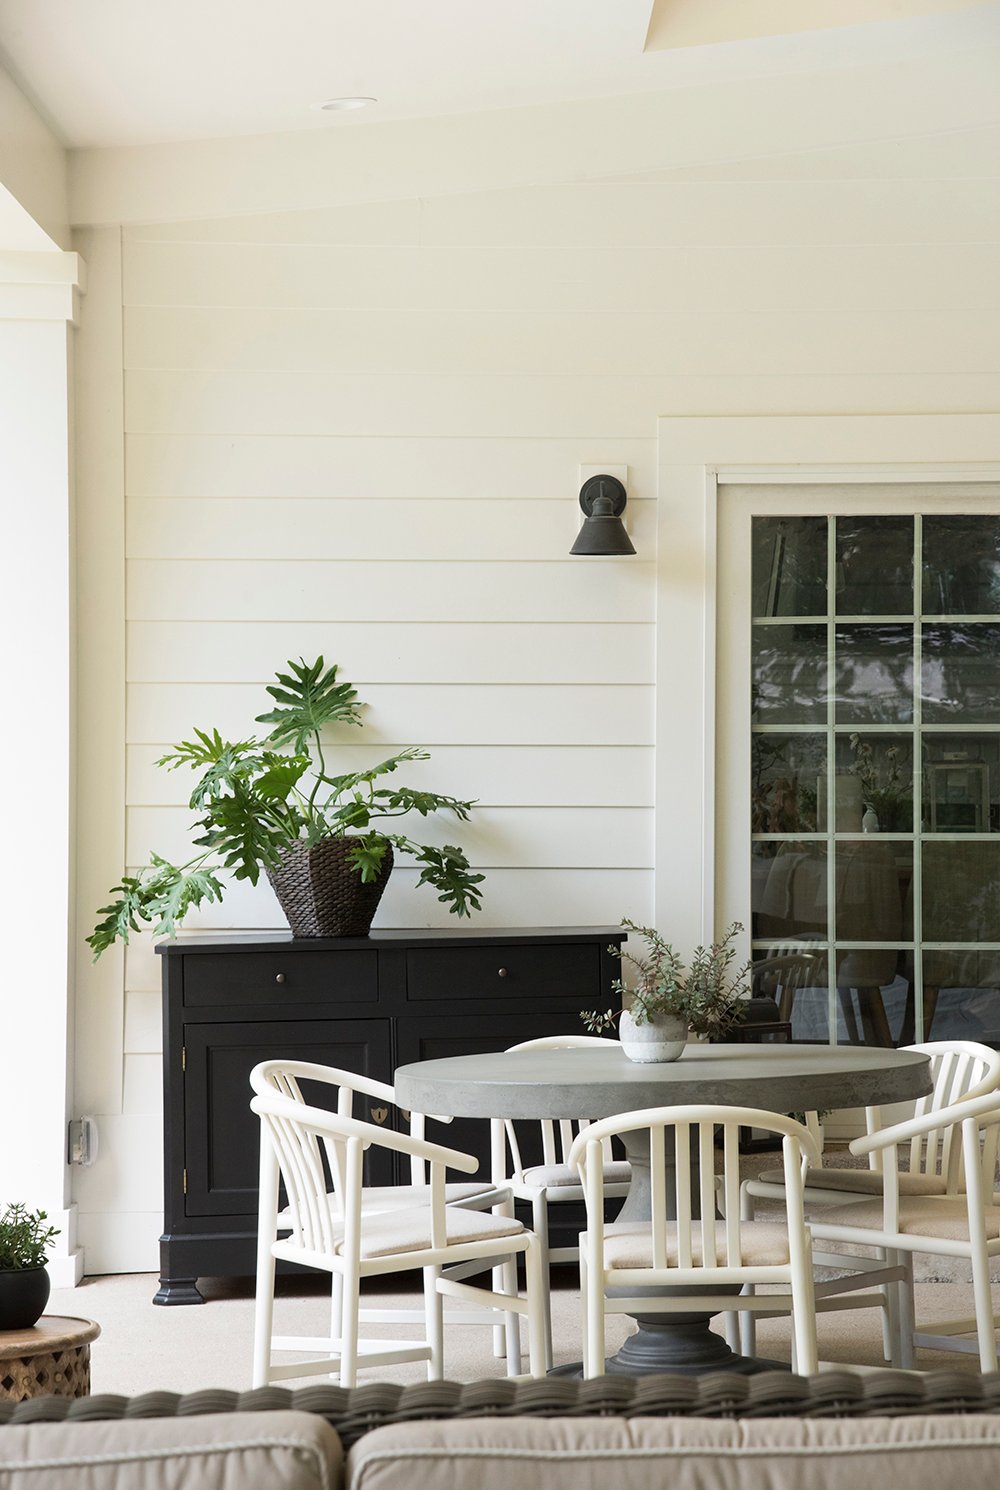
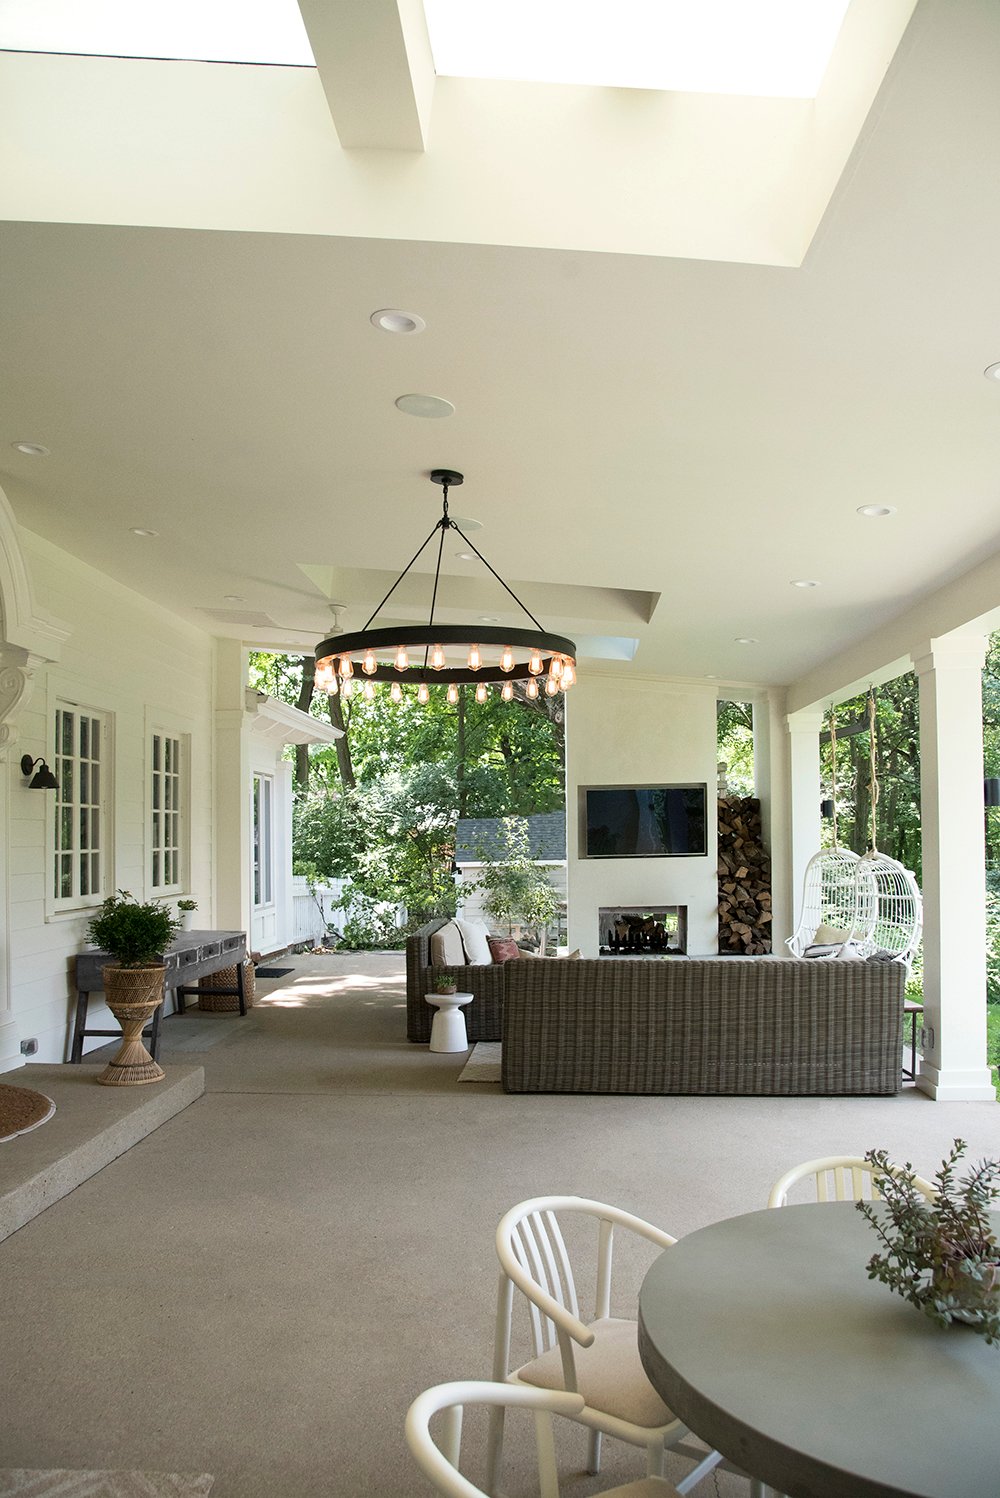
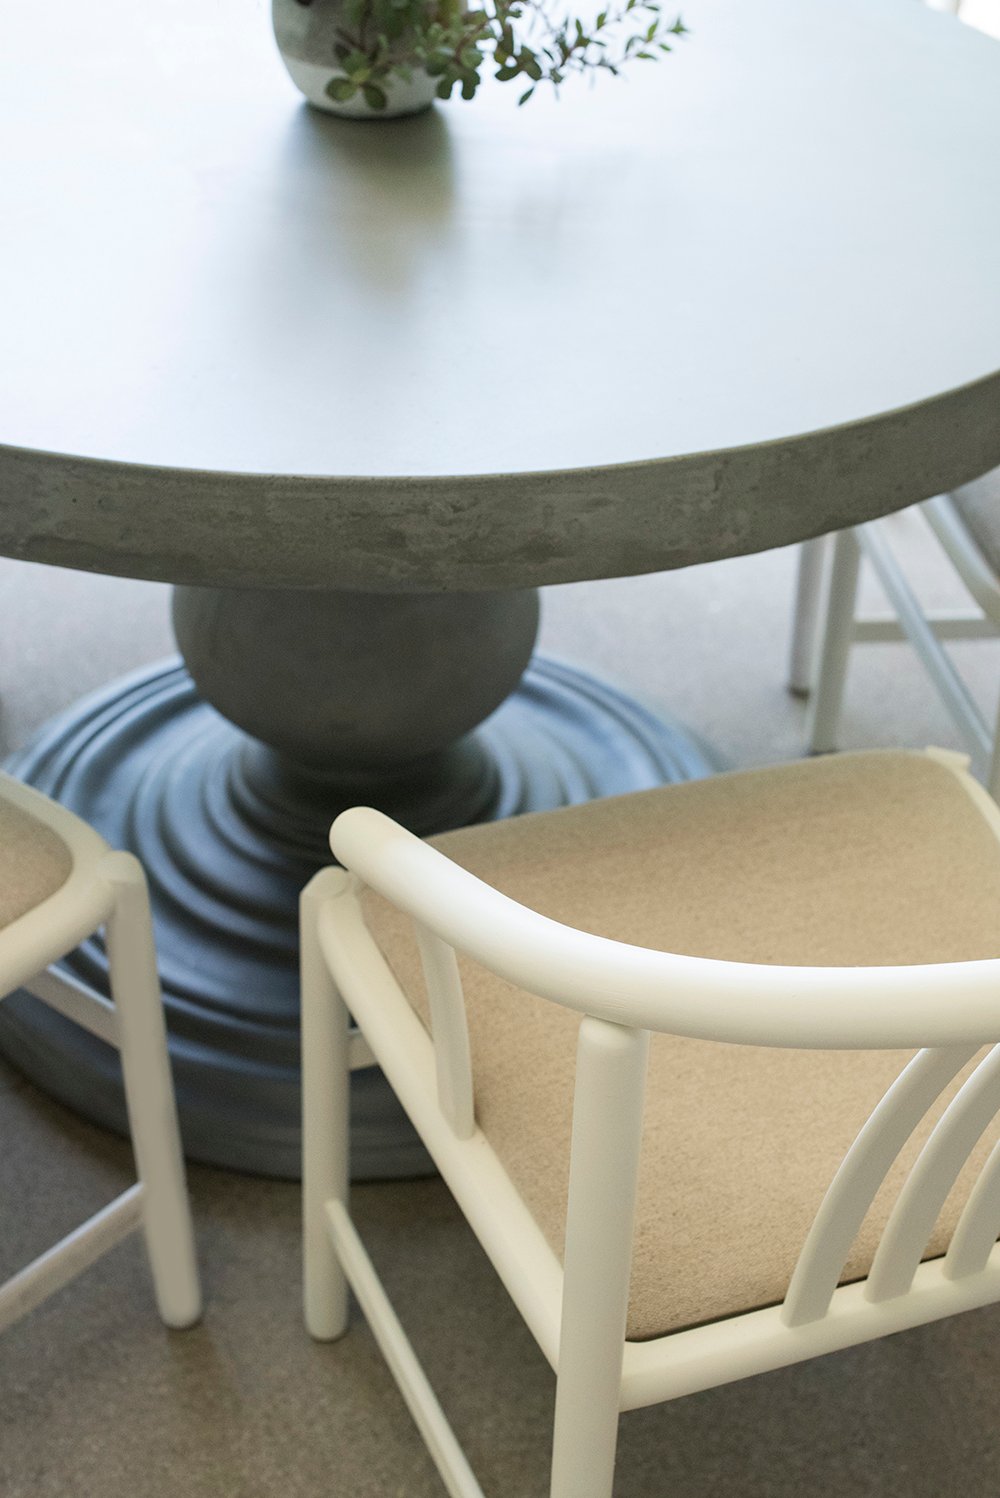
In the opposing corner of the fireplace lives the dining area. There were a couple requests… storage and a six person dining table. I opted for a round, concrete pedestal table to break up all of the rectangular and modular furniture in the living space.
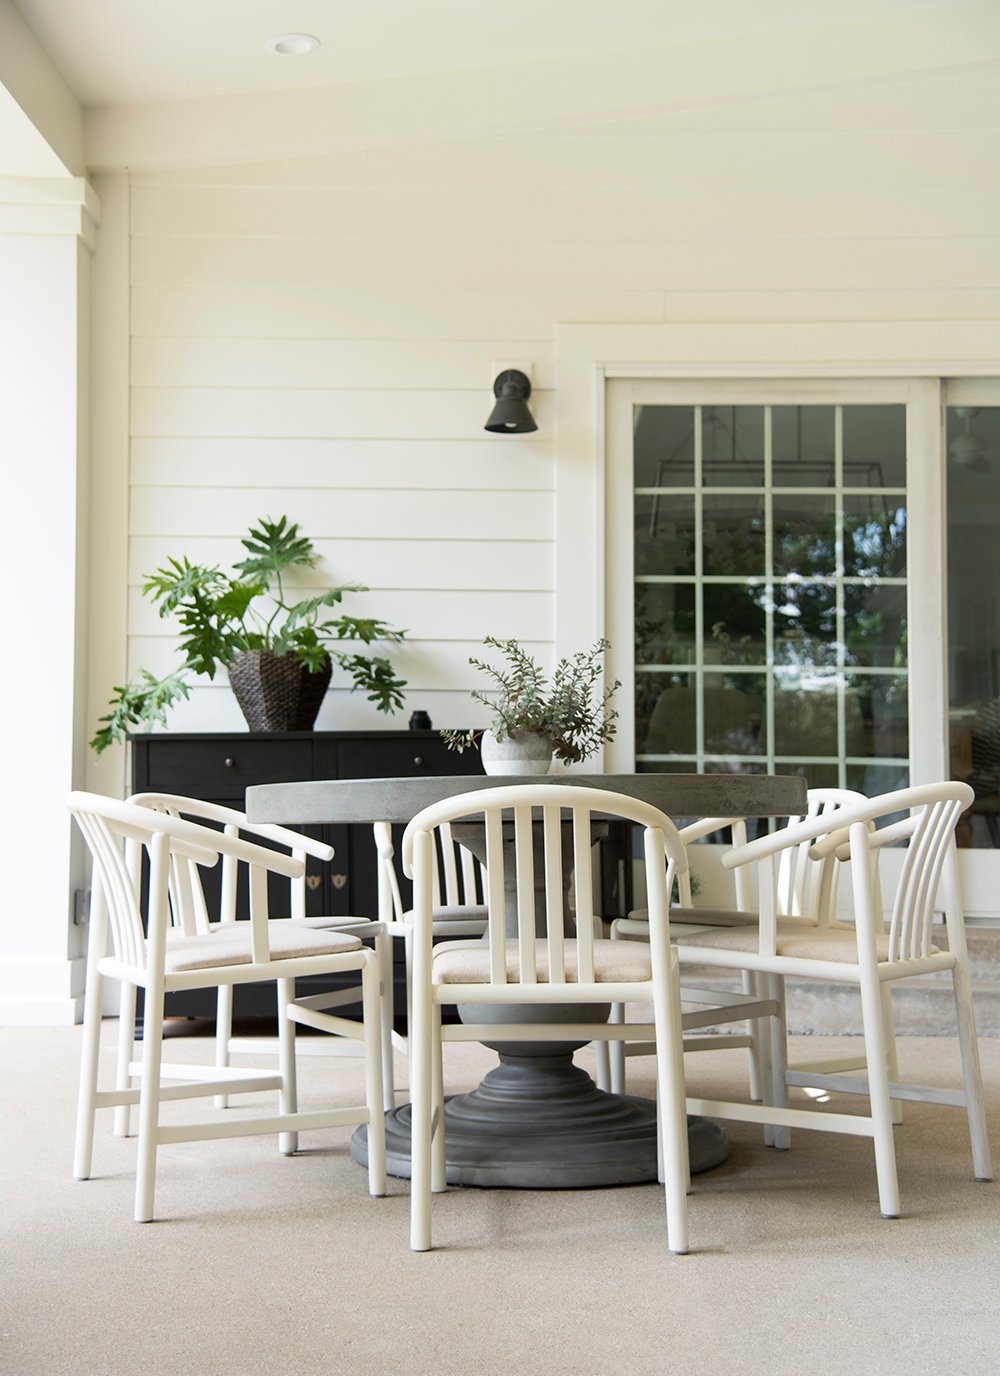 The chairs were a lucky vintage find! Carmen stumbled across them at a local thrift store, text me, and I told her to snatch those babies up. She put in a lot of work, sanding, painting, and reupholstering them with outdoor fabric. They look stunning alongside the pedestal table.
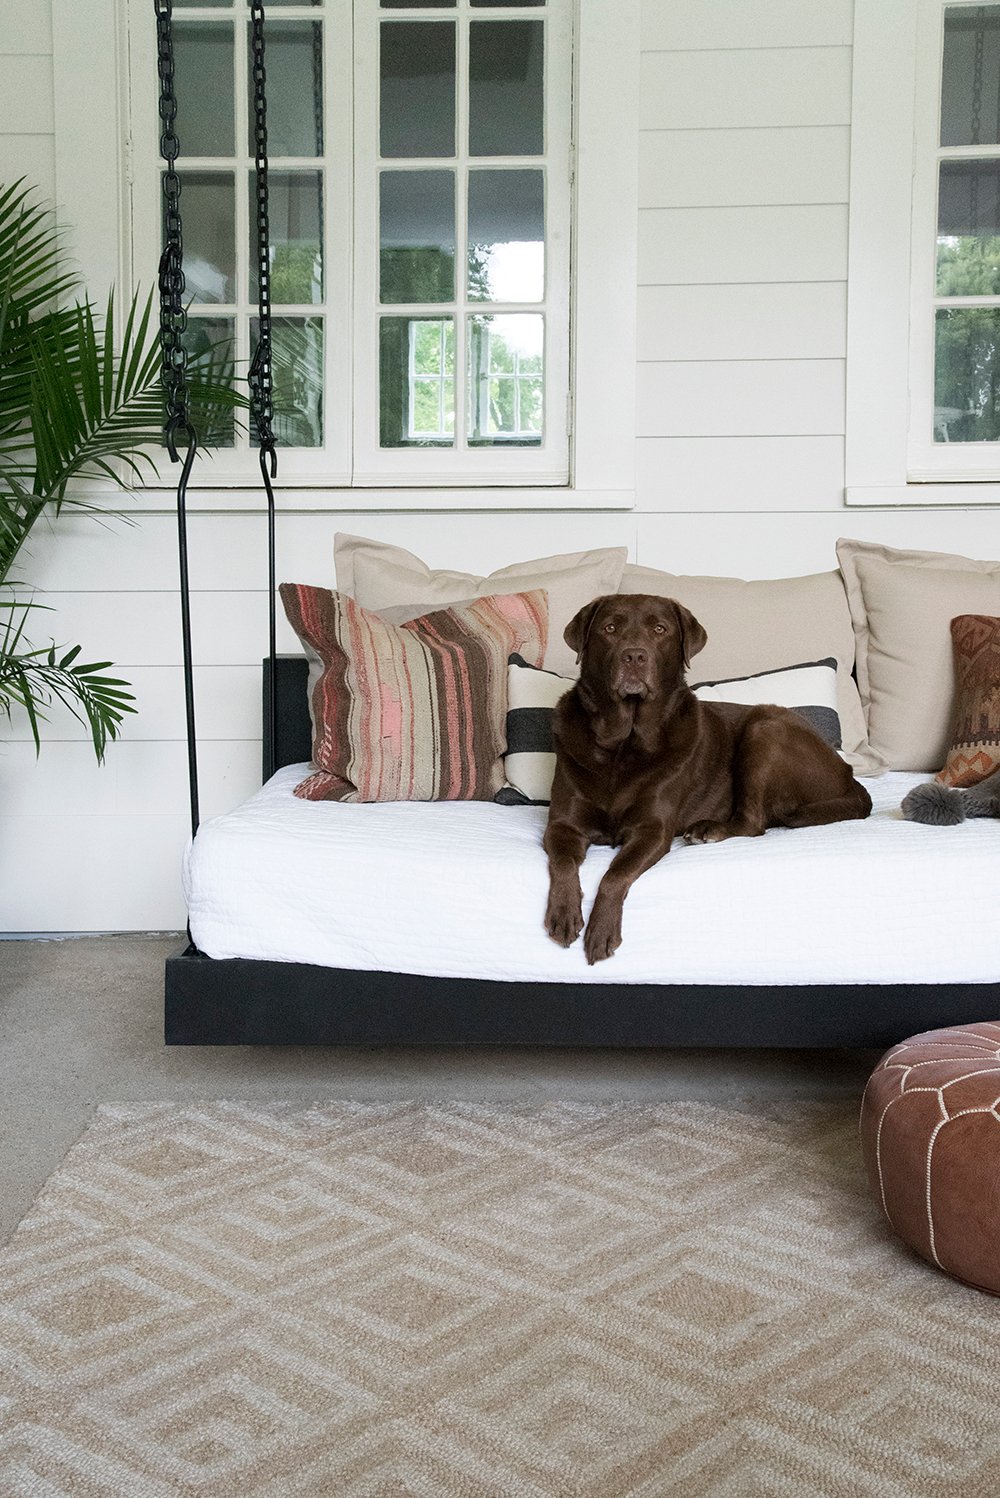
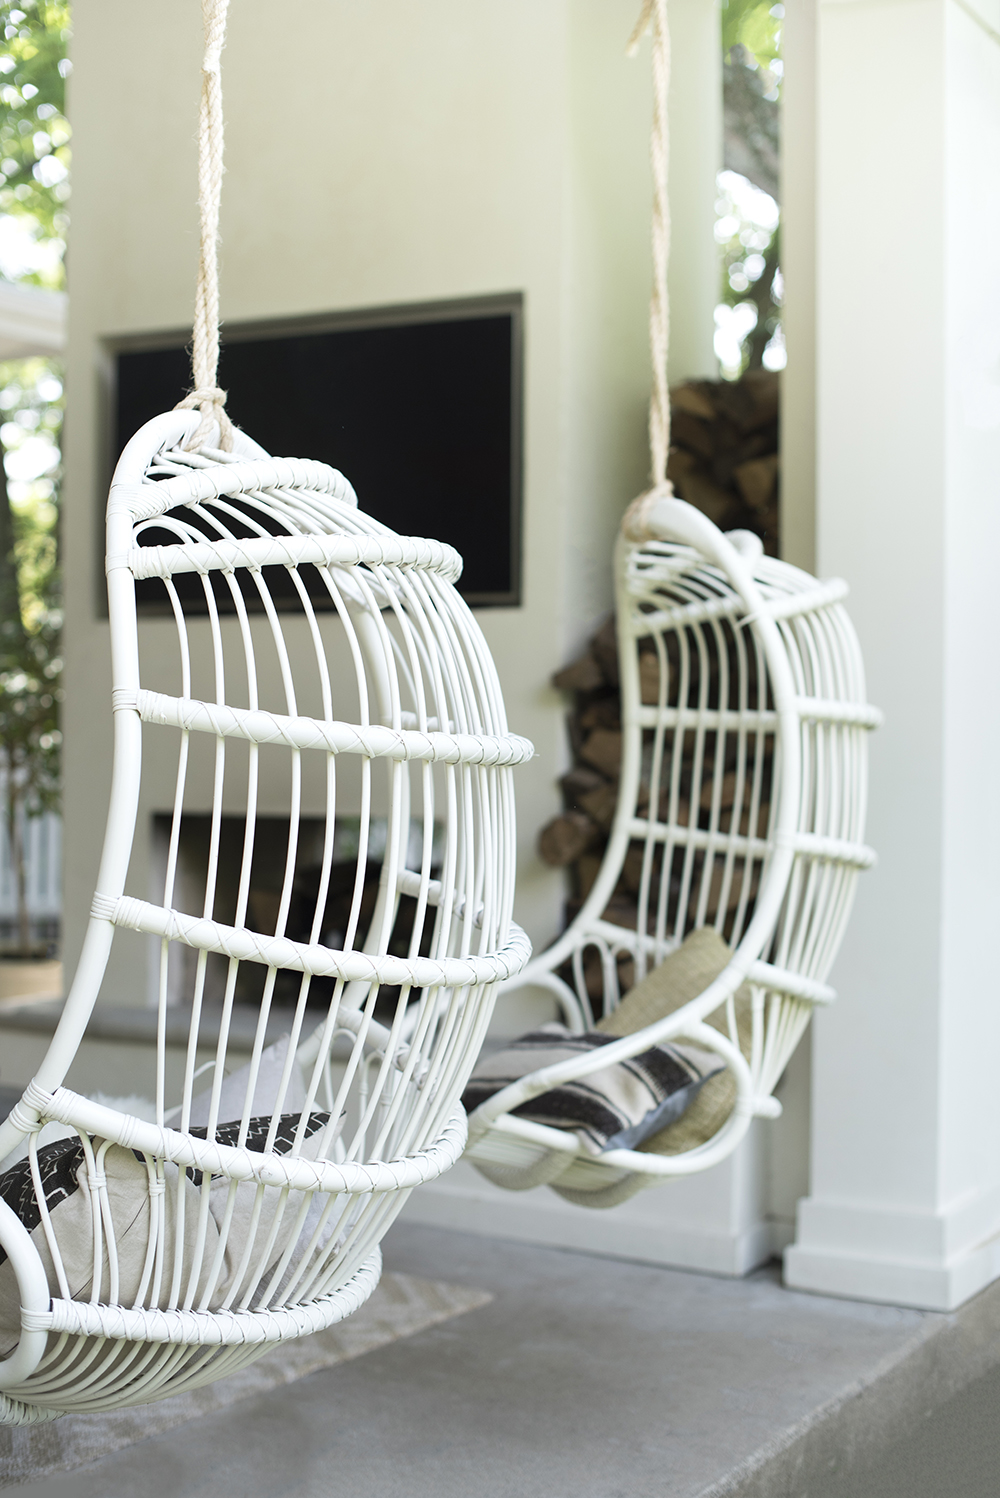
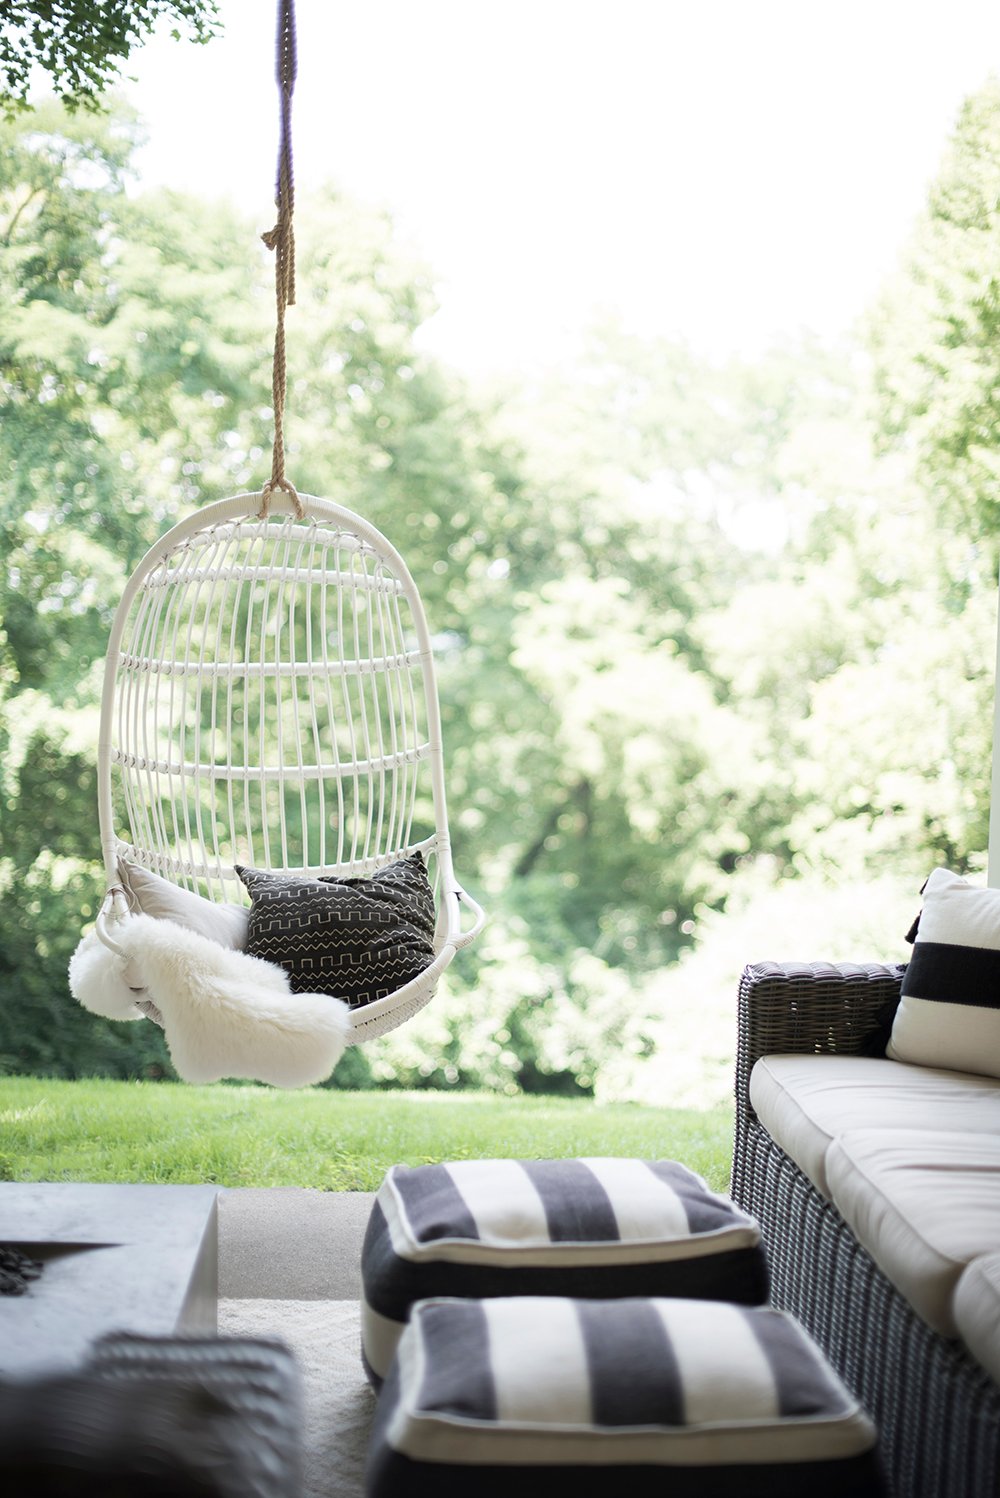
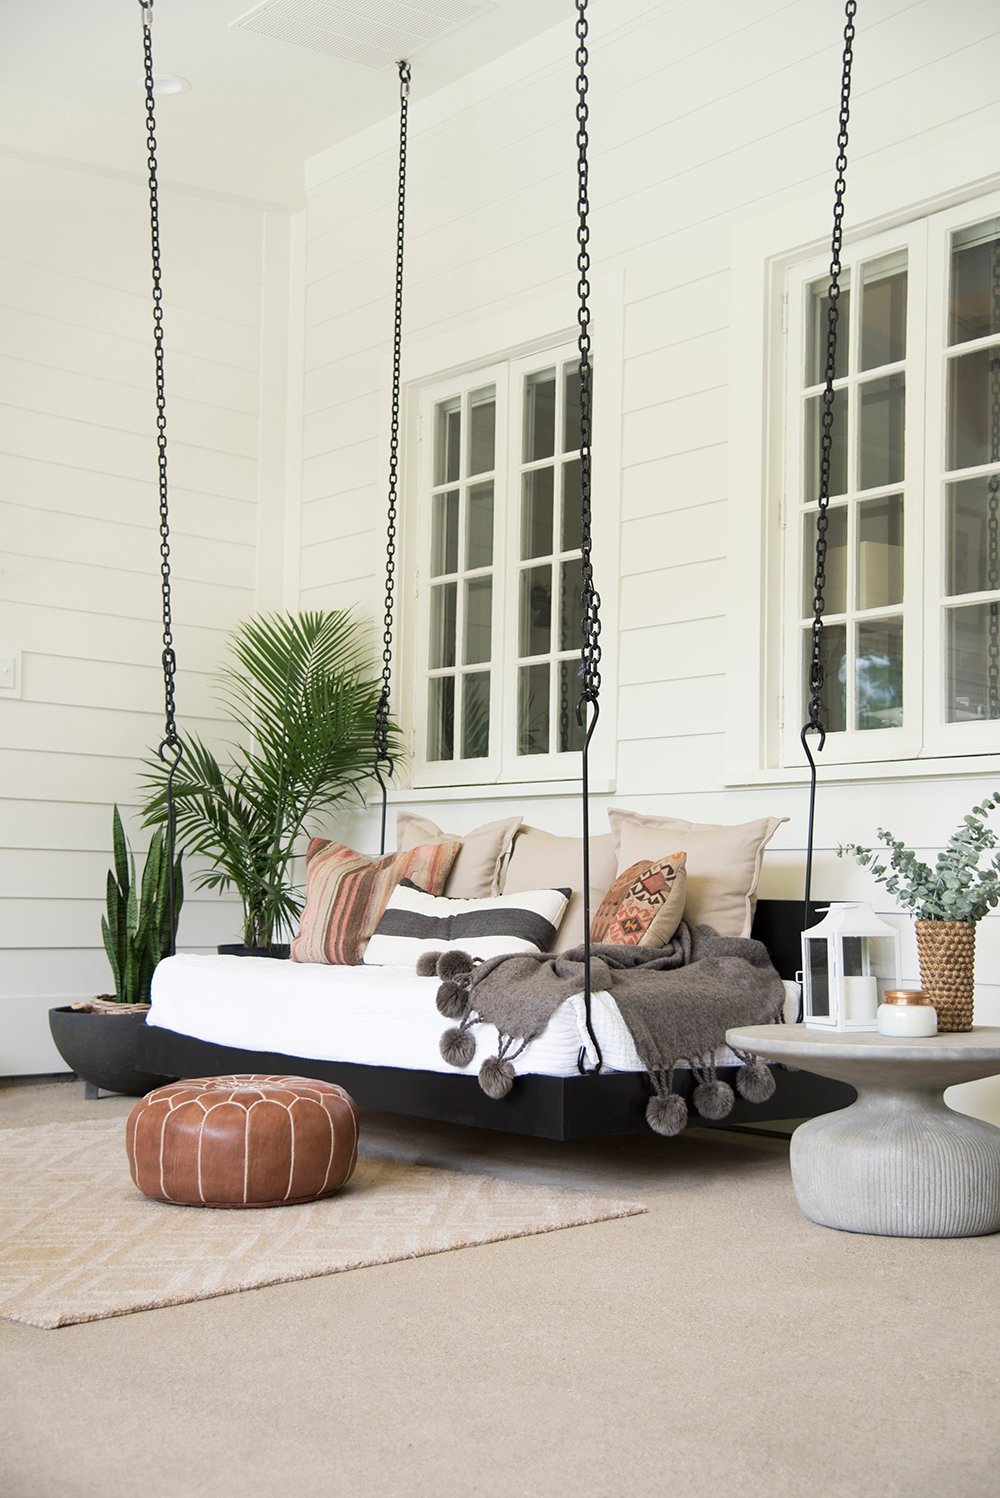
 To the right of dining area is another lounging space. I’m convinced everyone needs a hanging bed. I’m sadly wishing my own backyard would have room for one of these gorgeous swings, but I’m pretty sure it’s not going to happen.
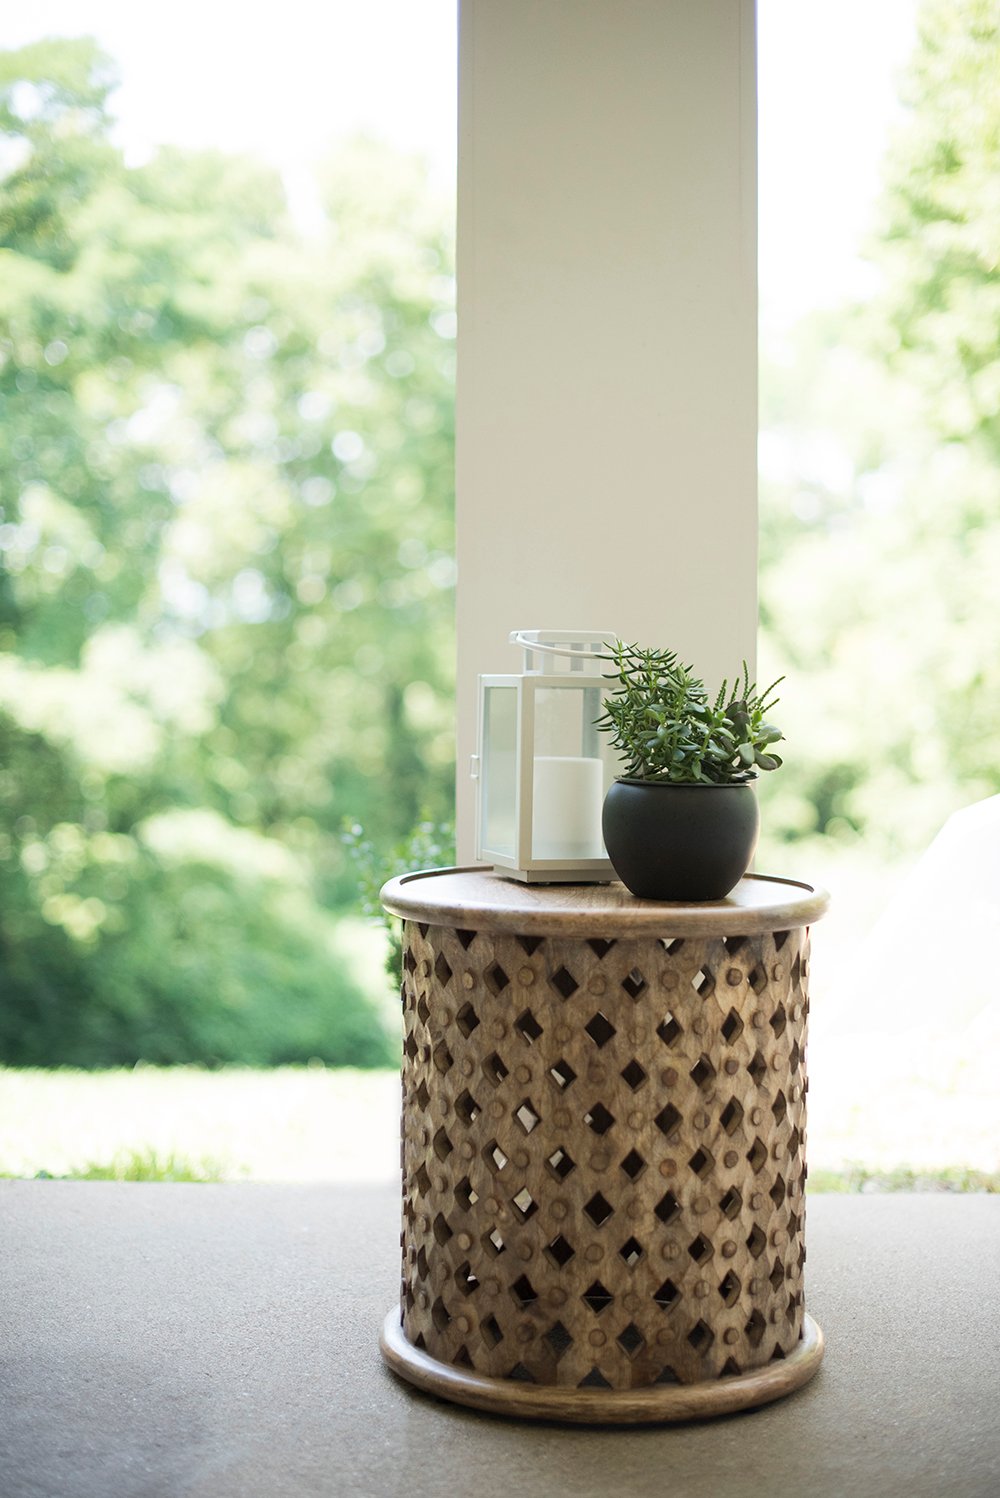
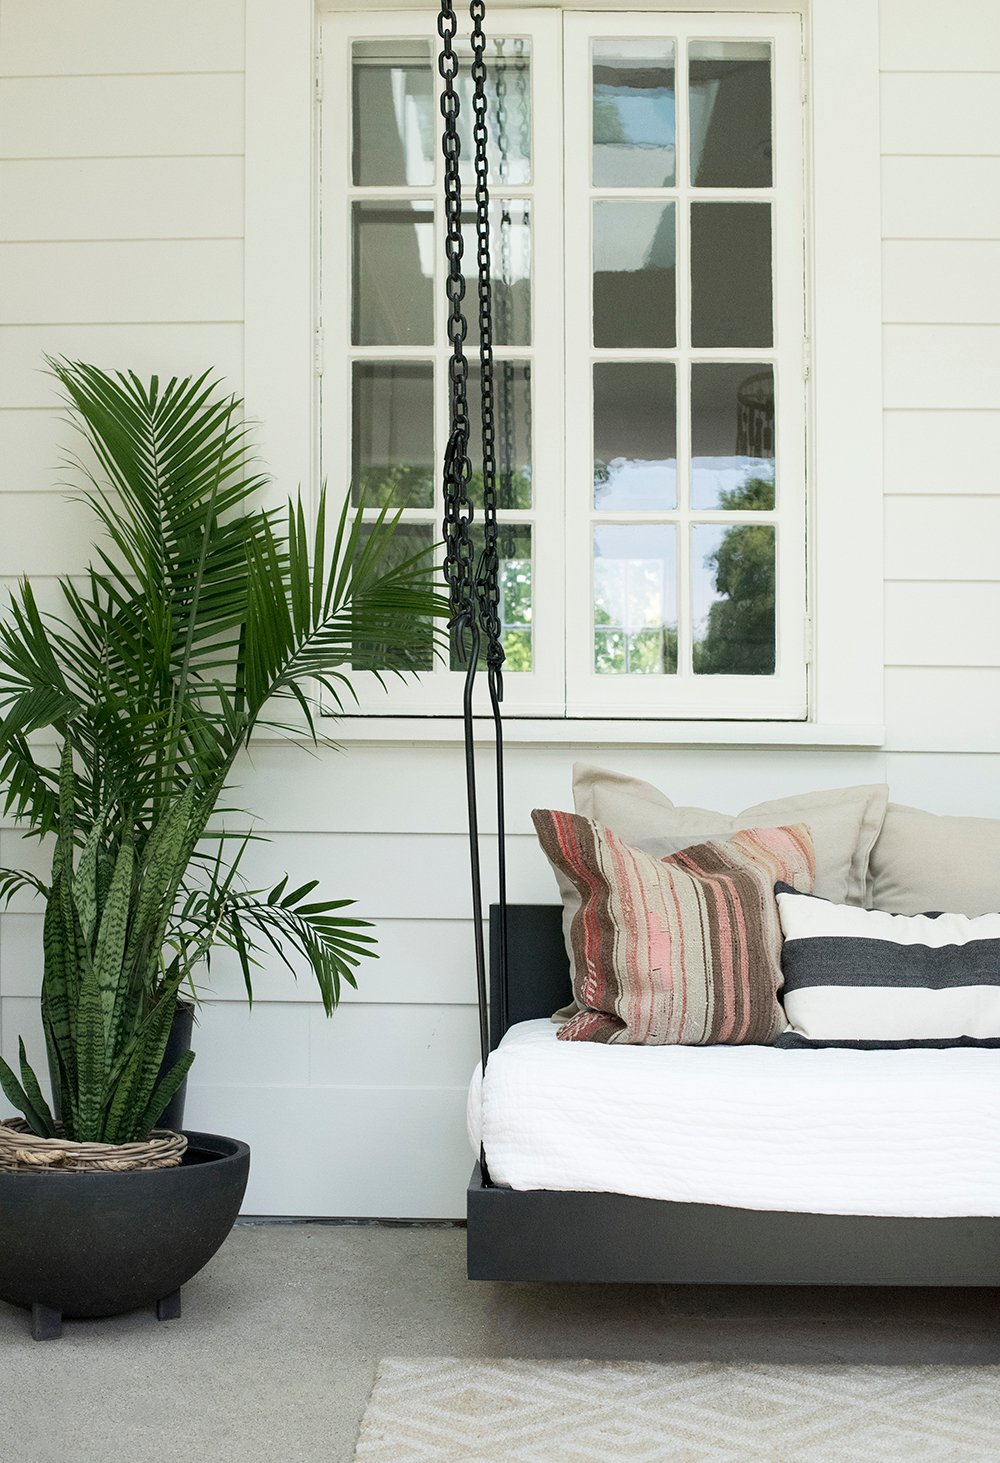 I added a matching outdoor rug to make it more comfortable underfoot and bring in a subtle pattern. Paired with greenery, vintage down cushions, and a modern side table (perfect for wine, coffee, or your book of choice), this vignette might be my favorite in the outdoor space.
 Can’t you just imagine snuggling up here on a cool fall evening, or reading while a rainstorm passes? This is the stuff that weekend dreams are made of!
You might be wondering why the bedding or cushion isn’t outdoor grade? This is tucked in the corner furthest away from any weather. Carmen opted for comfortable bedding rather than a stiff outdoor fabric. Since it isn’t exposed to the elements, it’s easier to throw it in the wash from time to time.
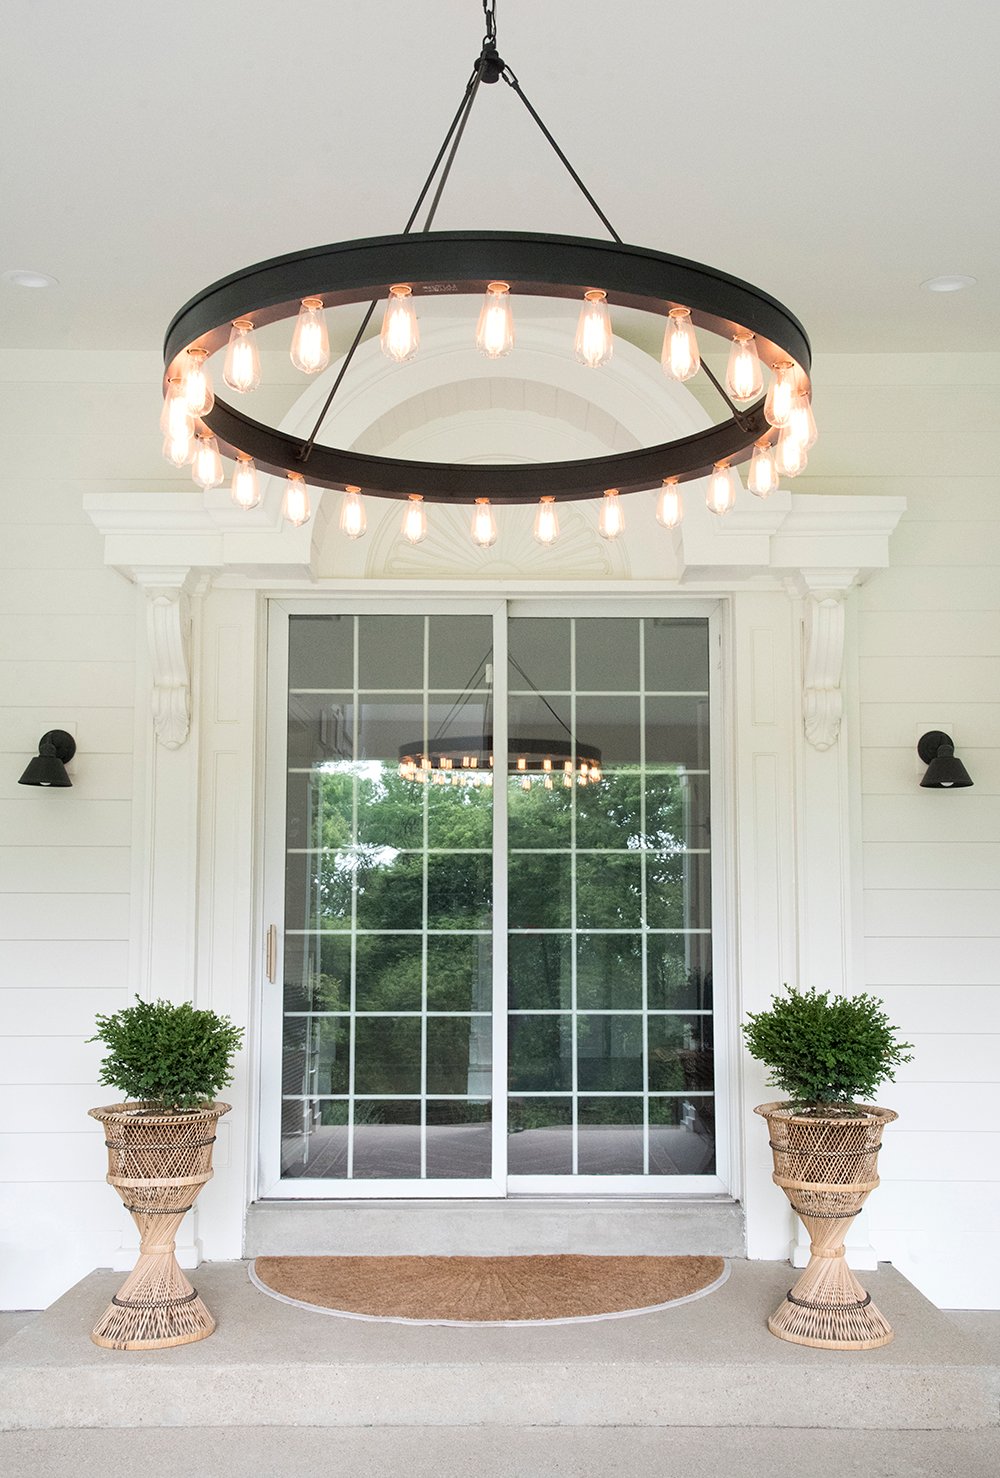
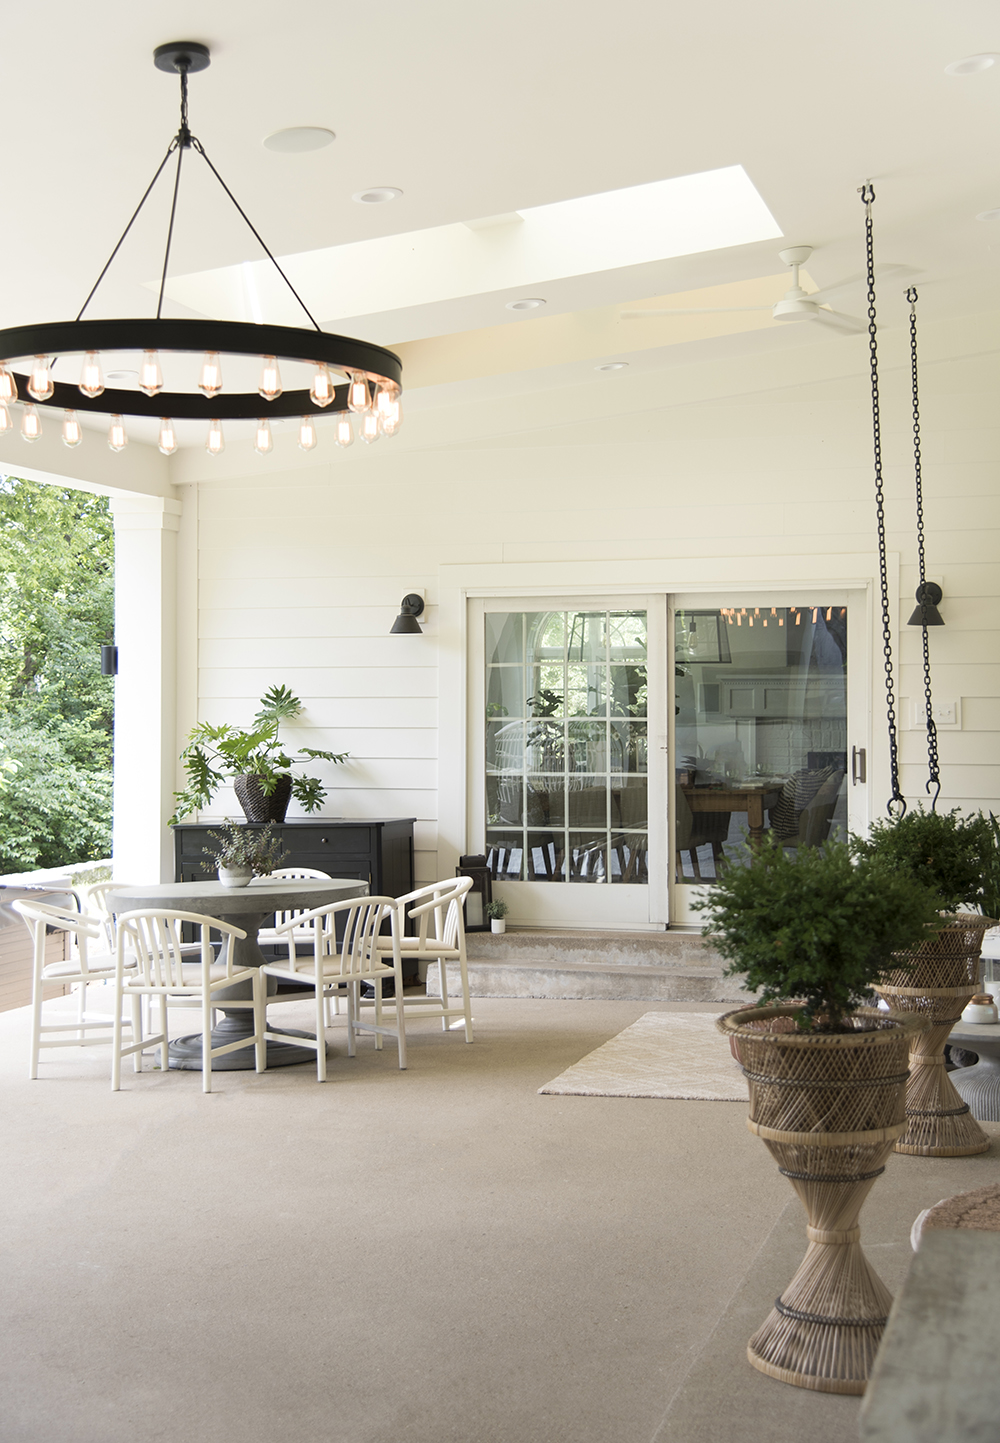
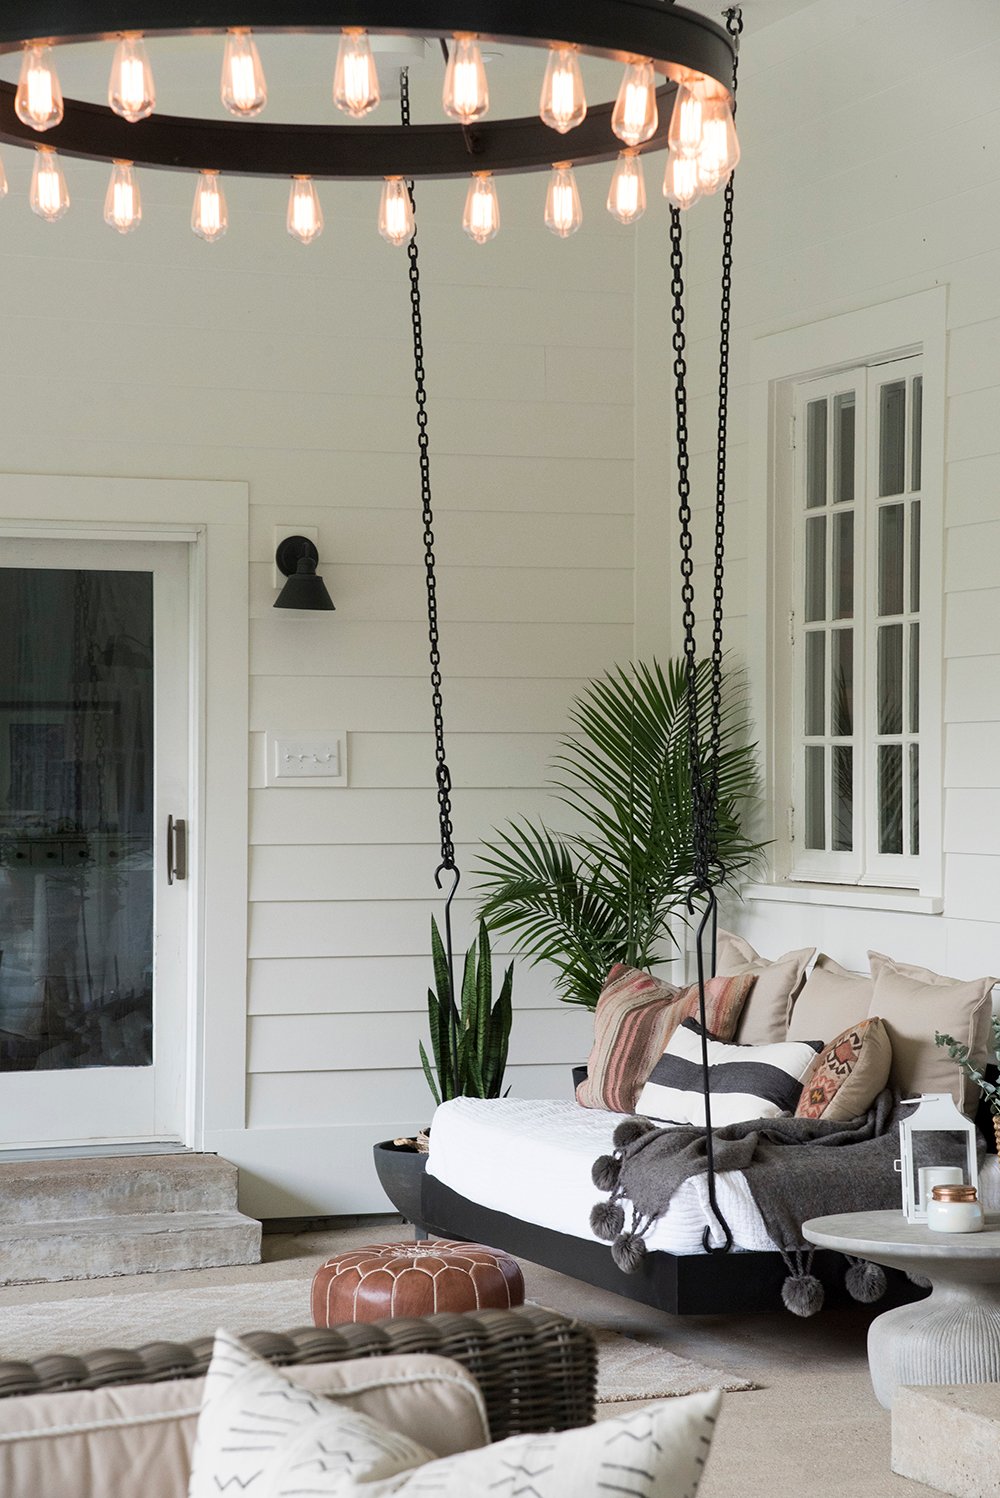
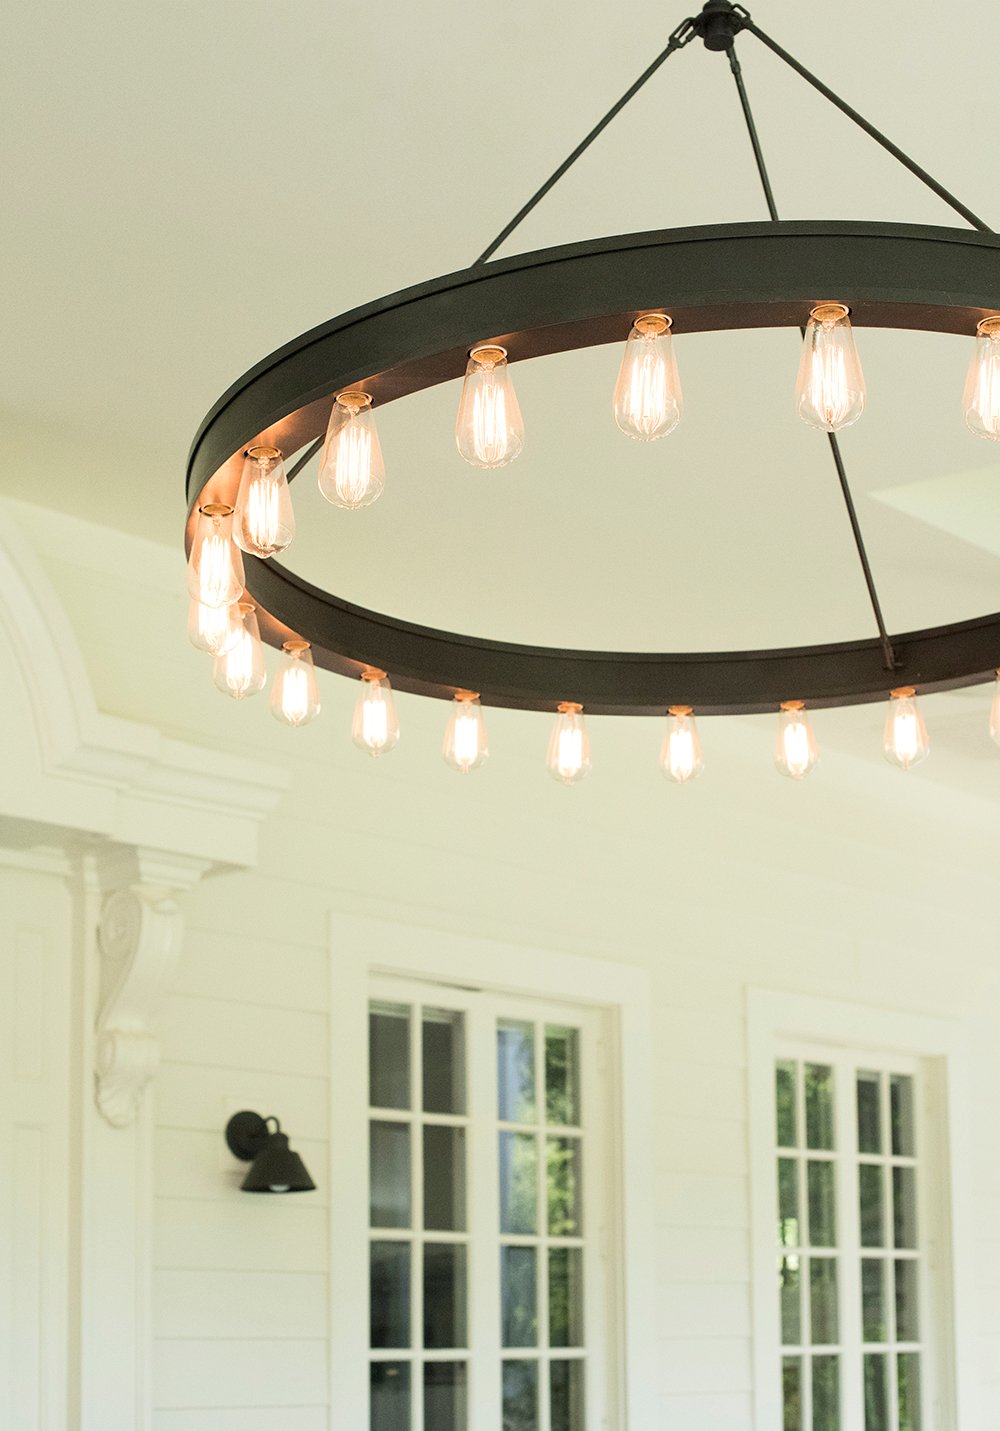
 Lastly, I’ll touch on a few of the little details… one being not so little. I knew this huge space needed a giant light fixture to balance the scale. This was my chance to make a statement and frame the entry. I can’t even begin to tell you how amazing this light looks in person and the soft glow it gives at dusk. It certainly exceeded my expectations. Carmen also had recessed can lights installed for additional light.
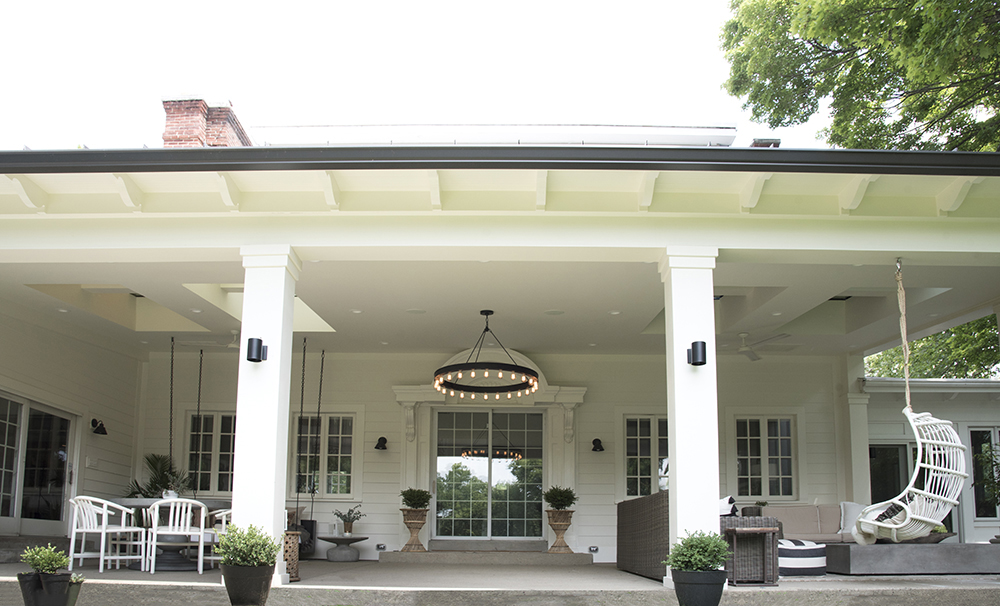 From an exterior perspective, the black gutters create a beautiful, high-contrast, graphic statement… especially in contrast to the uber traditional architecture.
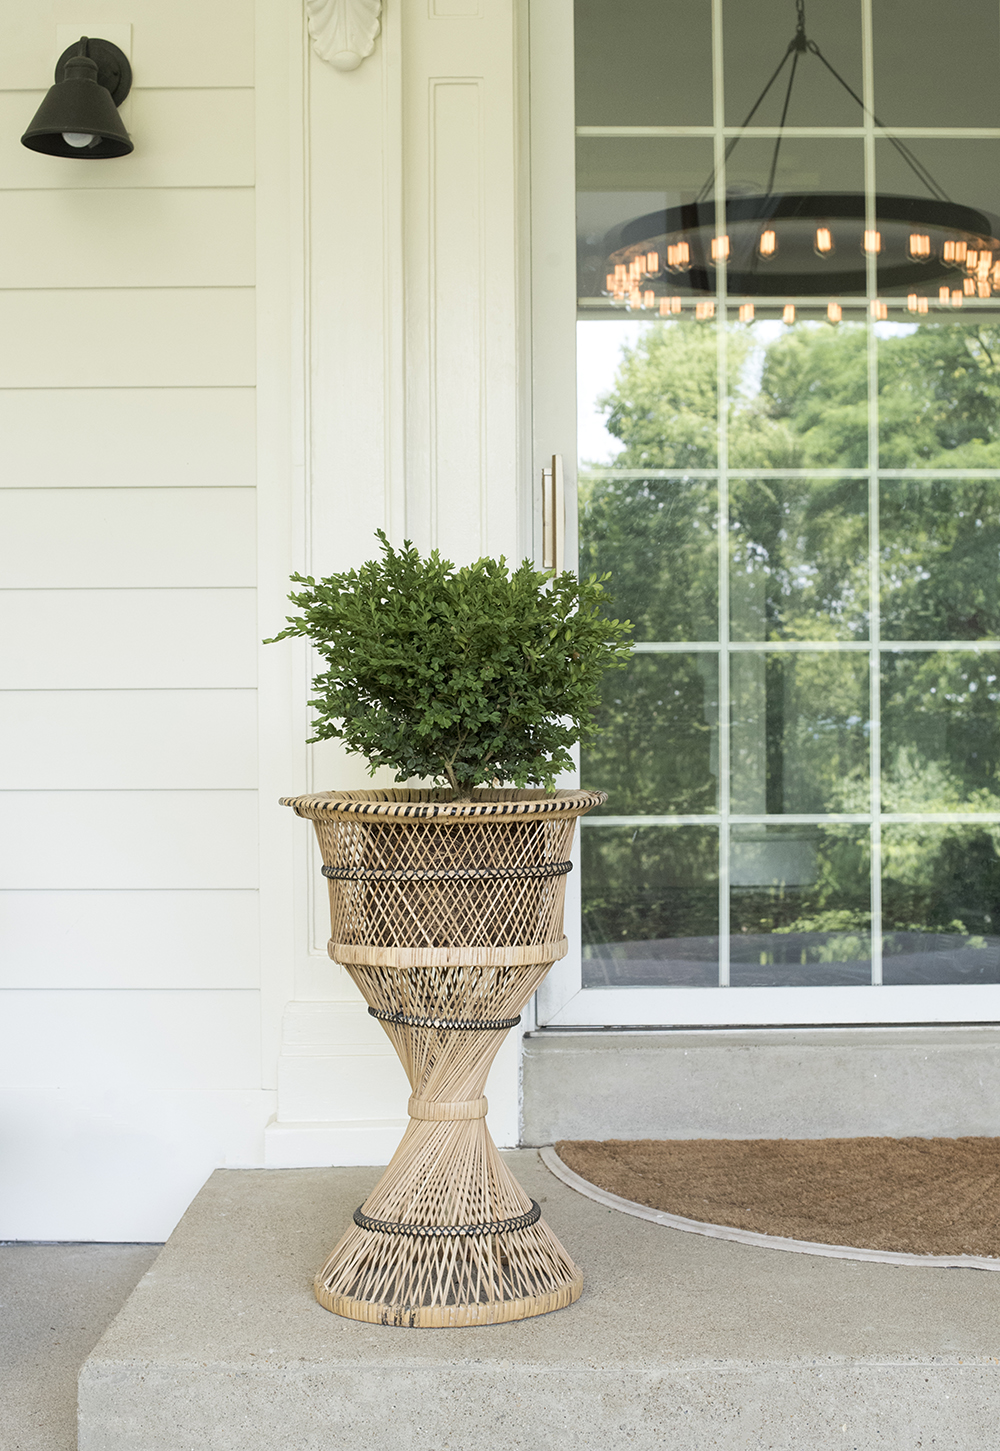
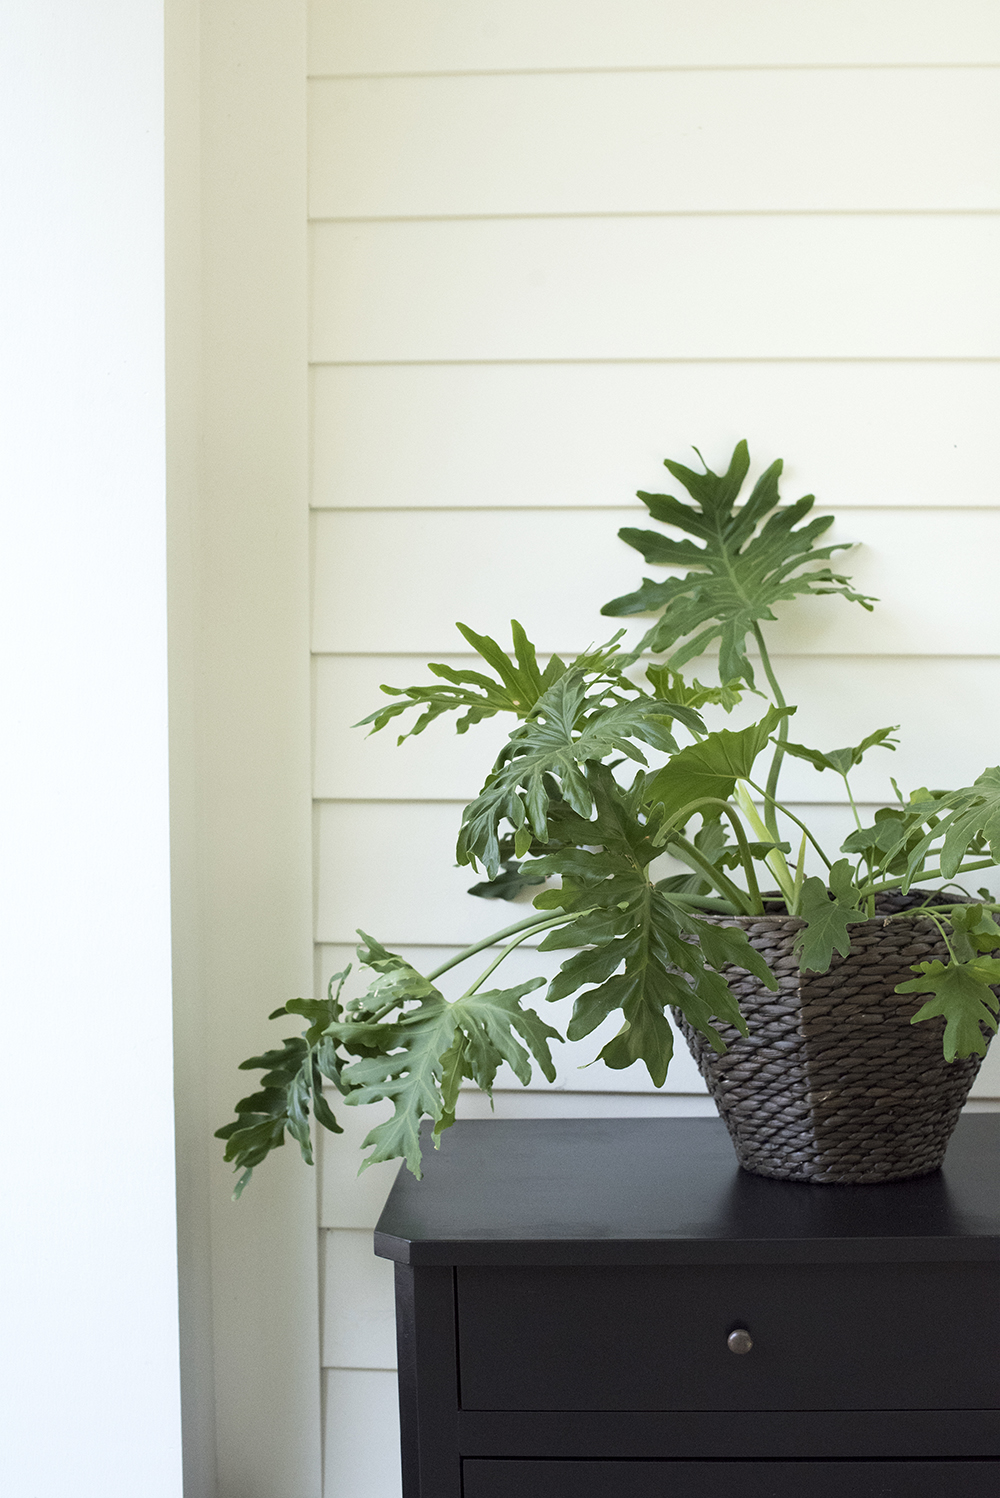
 As for the color palette, Carmen is attracted to mostly neutrals and it totally worked in this space. Everything is primarily white, black, gray, or beige… with the exception of greenery and some accessories.
 I know this post is getting super lengthy, so if you’ve made it all the way to the end- thank you! For those of you who would like resources, click here to Get the Look!
If you have any questions, leave them below. I’d love to hear your feedback! Like I mentioned in the intro, I probably should’ve shared this after MY backyard project, because I’m pretty sure this home is going to make mine look like DIY amateur hour (but hopefully not).